Manage user accounts
Overview
User accounts allow people to access your platform. This includes not only your players, but also anyone at your organization who has access to the Admin Portal. This guide shows you how to manage user accounts in the Admin Portal.
Prerequisites
- Access to the Admin Portal and the permissions for user management.
Managing accounts in the Admin Portal
Search for a user
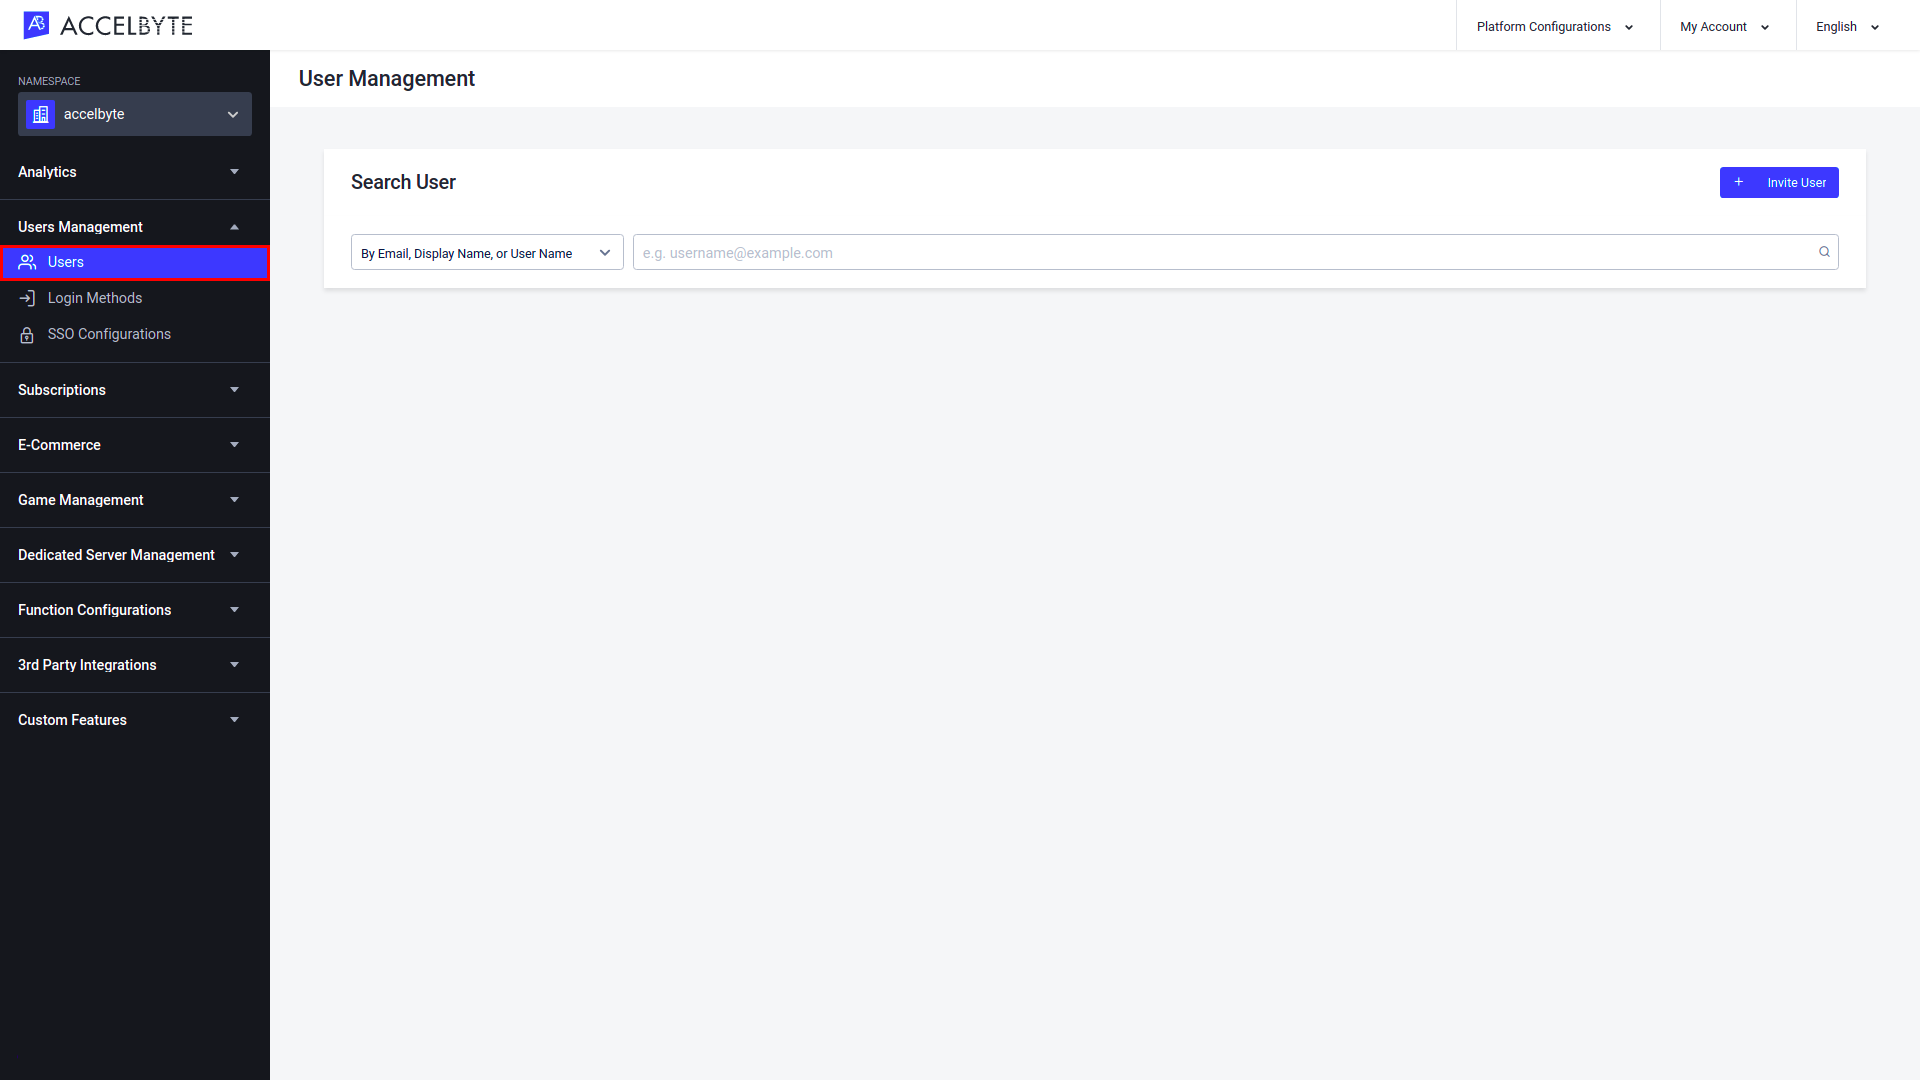
In the desired namespace of the Admin Portal, expand the Users Management section and click Users.
Select the search filter from the dropdown menu in the Search User panel that corresponds to the user’s account information that you have on hand.
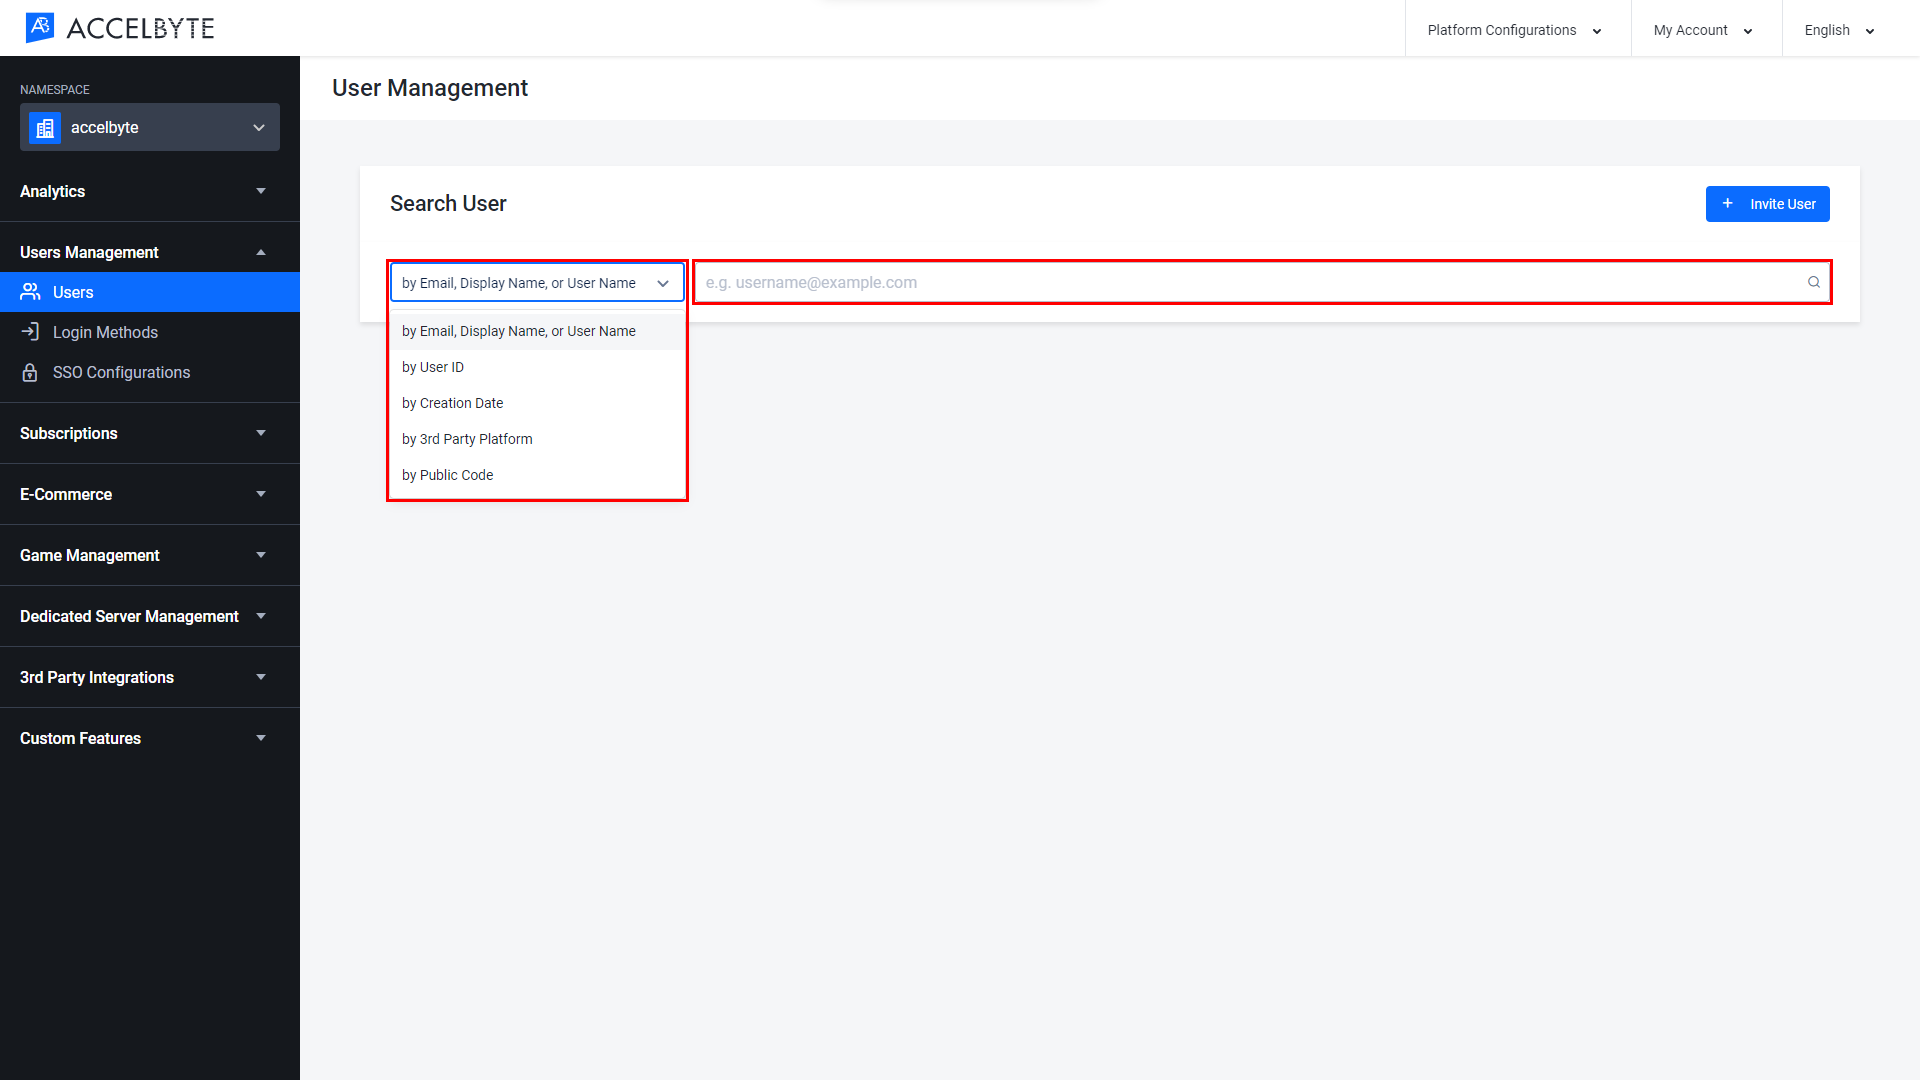
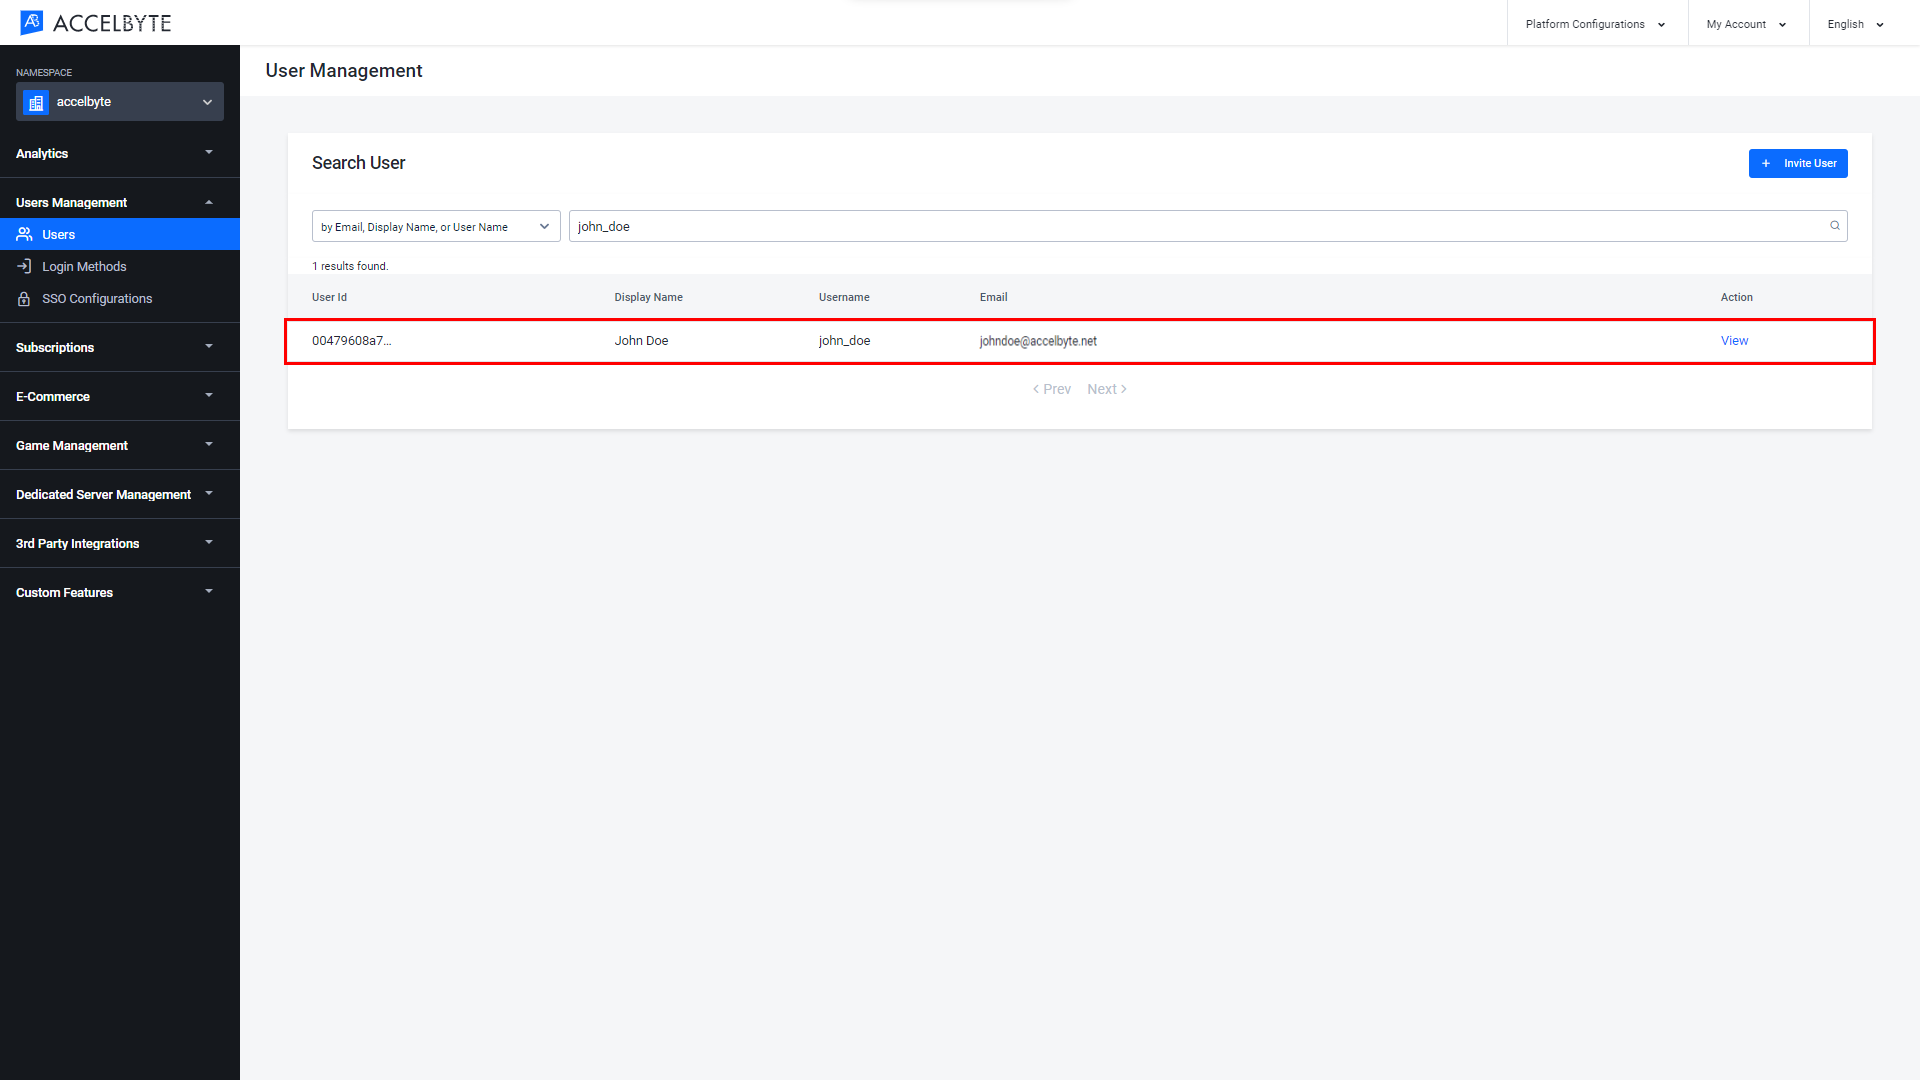
Then, type the user’s credentials into the text box and press Enter to search. The search results will appear.
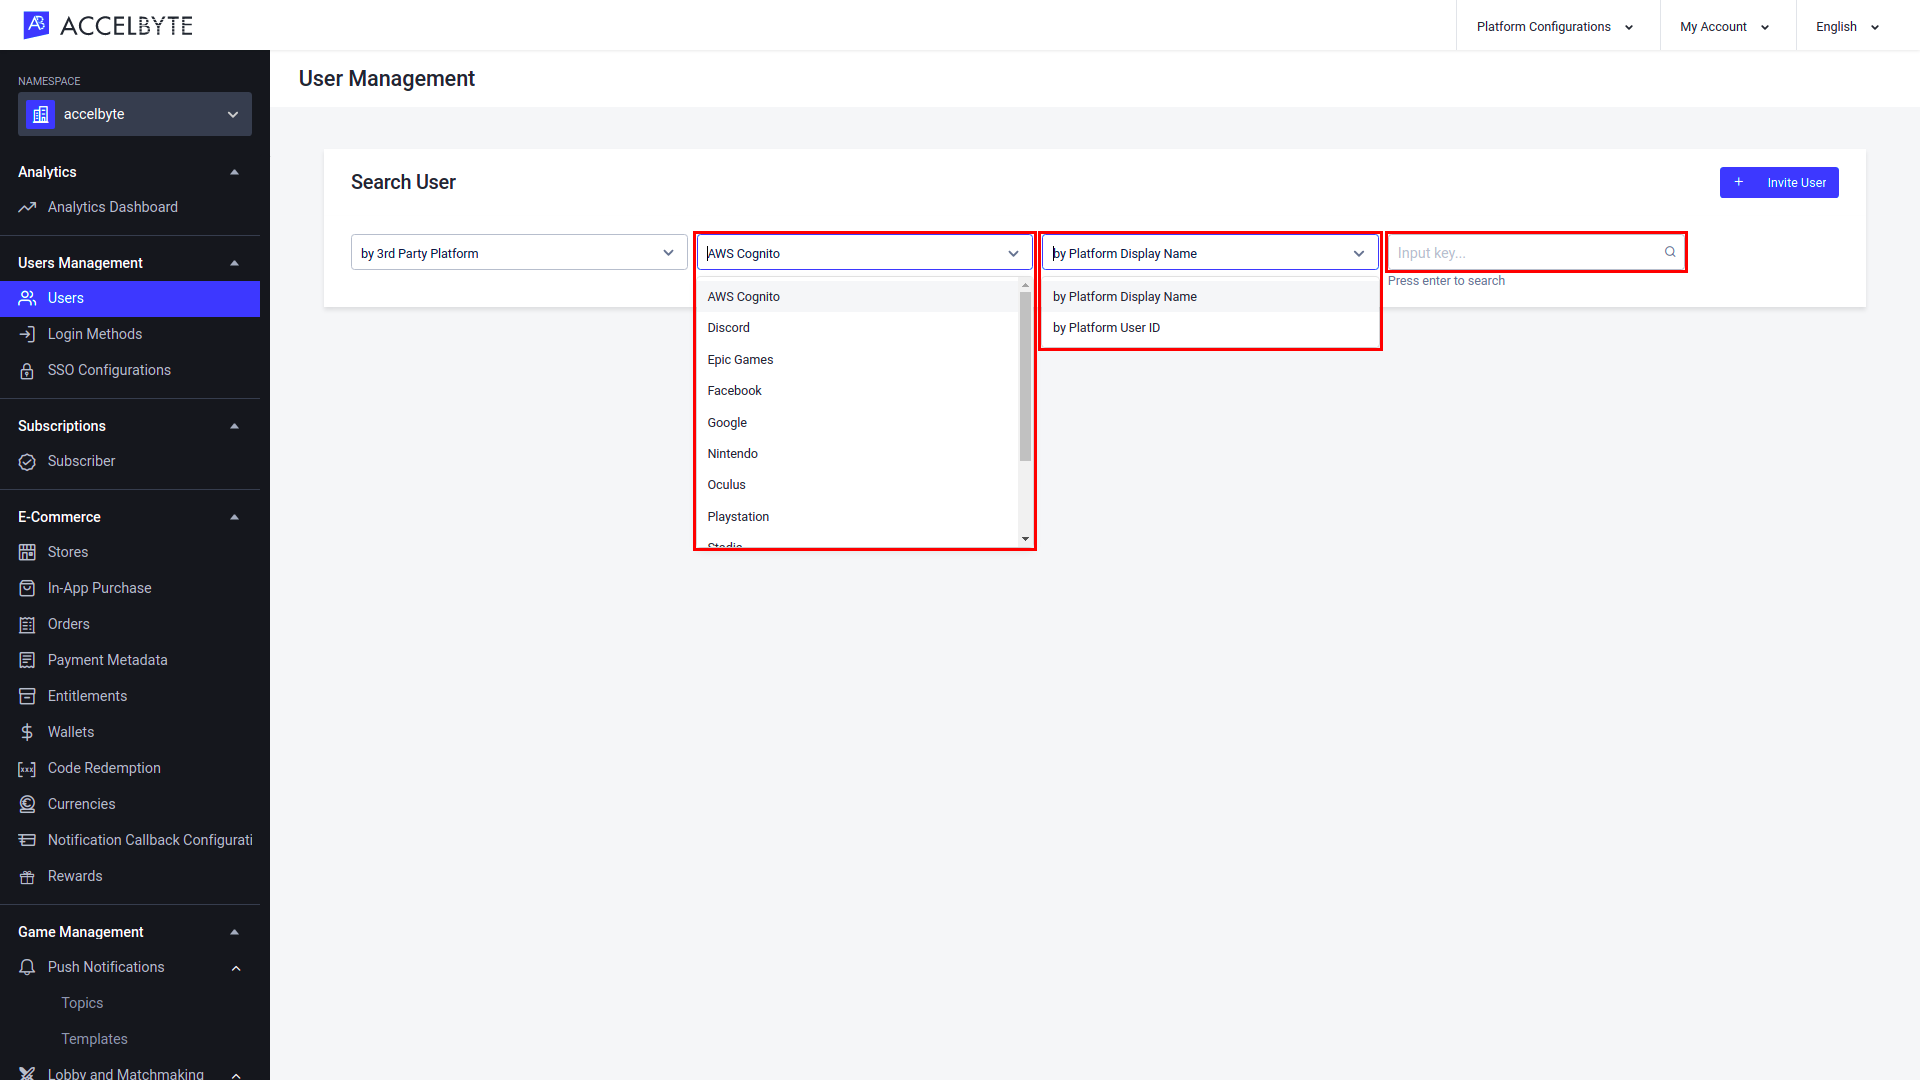
If you choose to search for a player using third-party platform credentials, two new dropdown menus will appear. From the first dropdown menu, select the third-party platform your player comes from, such as Steam or Epic Games. In the second dropdown menu, select either Platform Display Name or Platform User ID, depending on which credentials you have.
Invite a player
You can also quickly invite your colleagues to create player accounts from the Admin Portal. This can be useful for playtesting purposes. To invite your team to create player accounts for your game, follow the steps below:
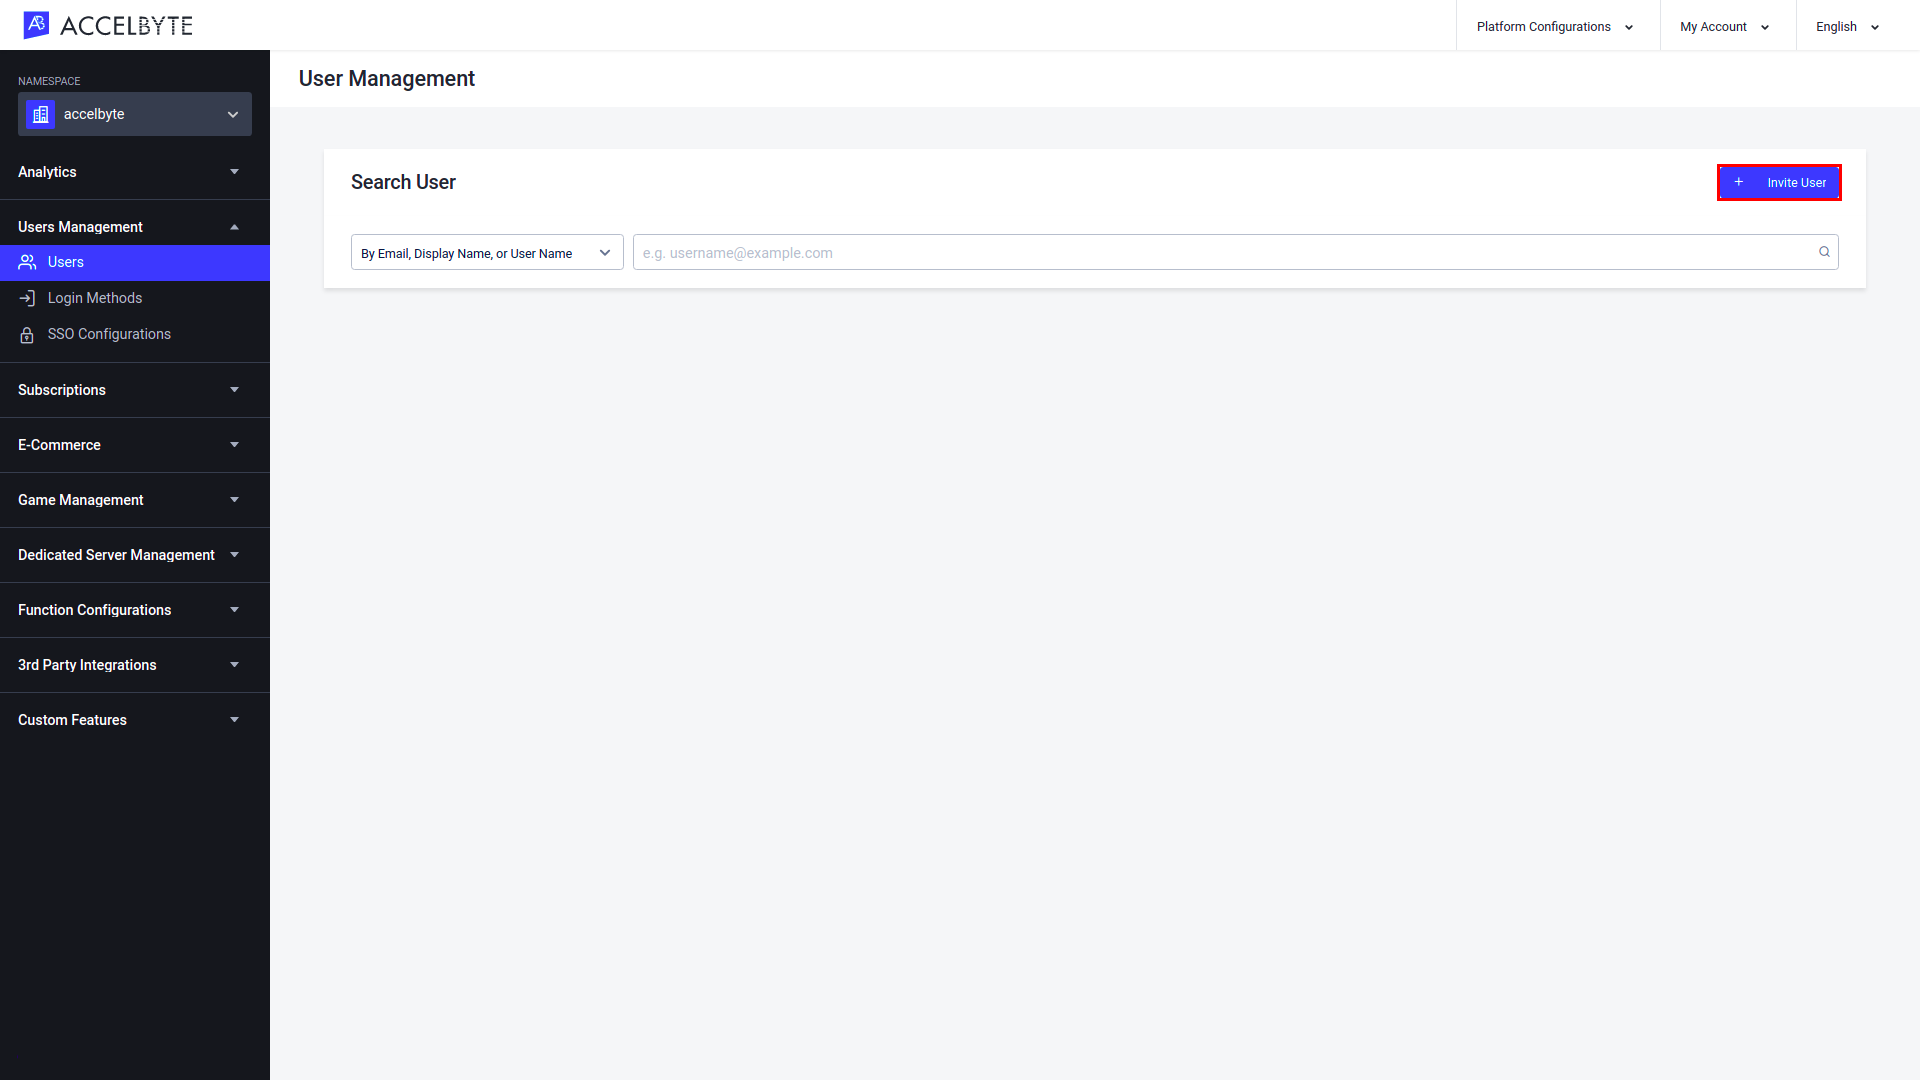
In the Publisher namespace of the Admin Portal, expand the Users Management section and click Users.
Click the Invite User button in the top-right corner of the page.
The Invite User form appears. Input the users’ email addresses that you want to invite. You can invite more than one user at once by pressing enter, tab, or comma on your keyboard.
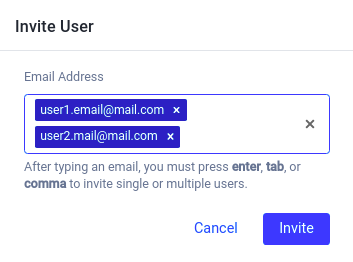
When you're finished, click the Invite button. Invitations will be sent to the email addresses you provided.
noteThe invitation email is only valid for 24 hours by default. If the invited user does not complete account registration within 24 hours of receiving the email, you’ll need to send them a new invitation.
Invite an admin user
You can also quickly invite your colleagues or community managers from your game to the Admin Portal. To do so, follow the steps below:
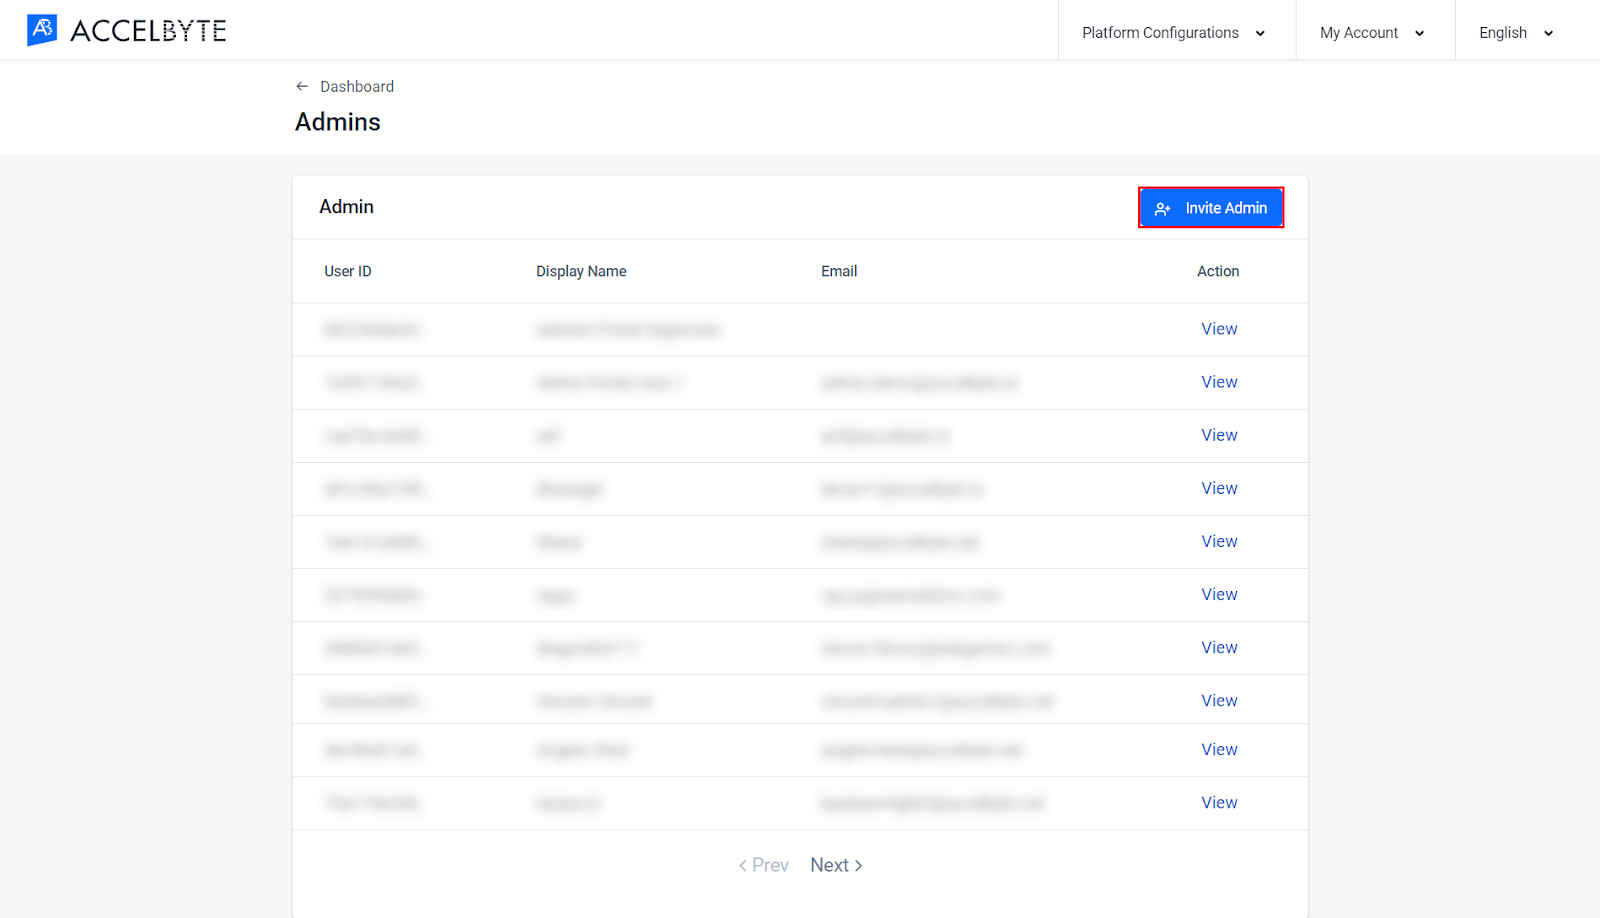
In the Admin Portal, open the Platform Configurations menu in the top-right corner of the page and click Admins.

On the Admins page, click the Invite Admin button.
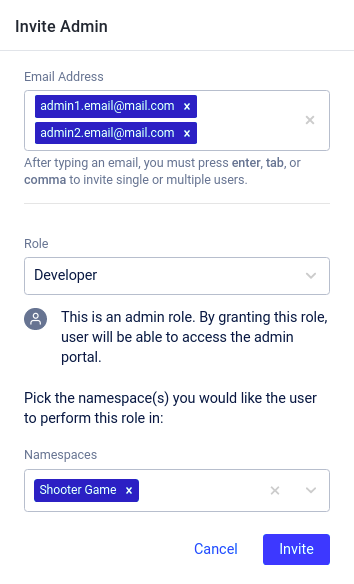
The Invite Admin form appears. Fill in the fields with the following information:
In the Email Address field, enter the email address for each person that you wish to give admin access to. You can invite more than one user at once by pressing enter, tab, or comma on your keyboard to separate each email address.
In the Roles field, choose the roles that you want the new admins to have.
The Namespace field appears after you select your roles. In this field, select the checkbox next to each namespace you want the new admins to have access to.
noteThe Namespace field won't appear if you chose a global role in the previous step as global roles can access all namespaces.
When you're finished, click the Invite button. Invitations will be sent to the email addresses you provided.
noteThe invitation email is only valid for 24 hours by default. If the invited admin user does not complete account registration within 24 hours of receiving the email, you’ll need to send them a new invitation.
Change a user's email address
You can follow the procedure below to change any user’s email address, including your own:
In the Admin Portal, expand the Users Management section and click Users.
Select the search filter from the dropdown menu in the Search User panel that corresponds to the player’s account information that you have on hand. Then type that information in the text box and press enter on your keyboard to search.
noteFuzzy search is allowed here, so you can find the player you’re looking for by typing just the first few characters of the player’s credentials that you have.
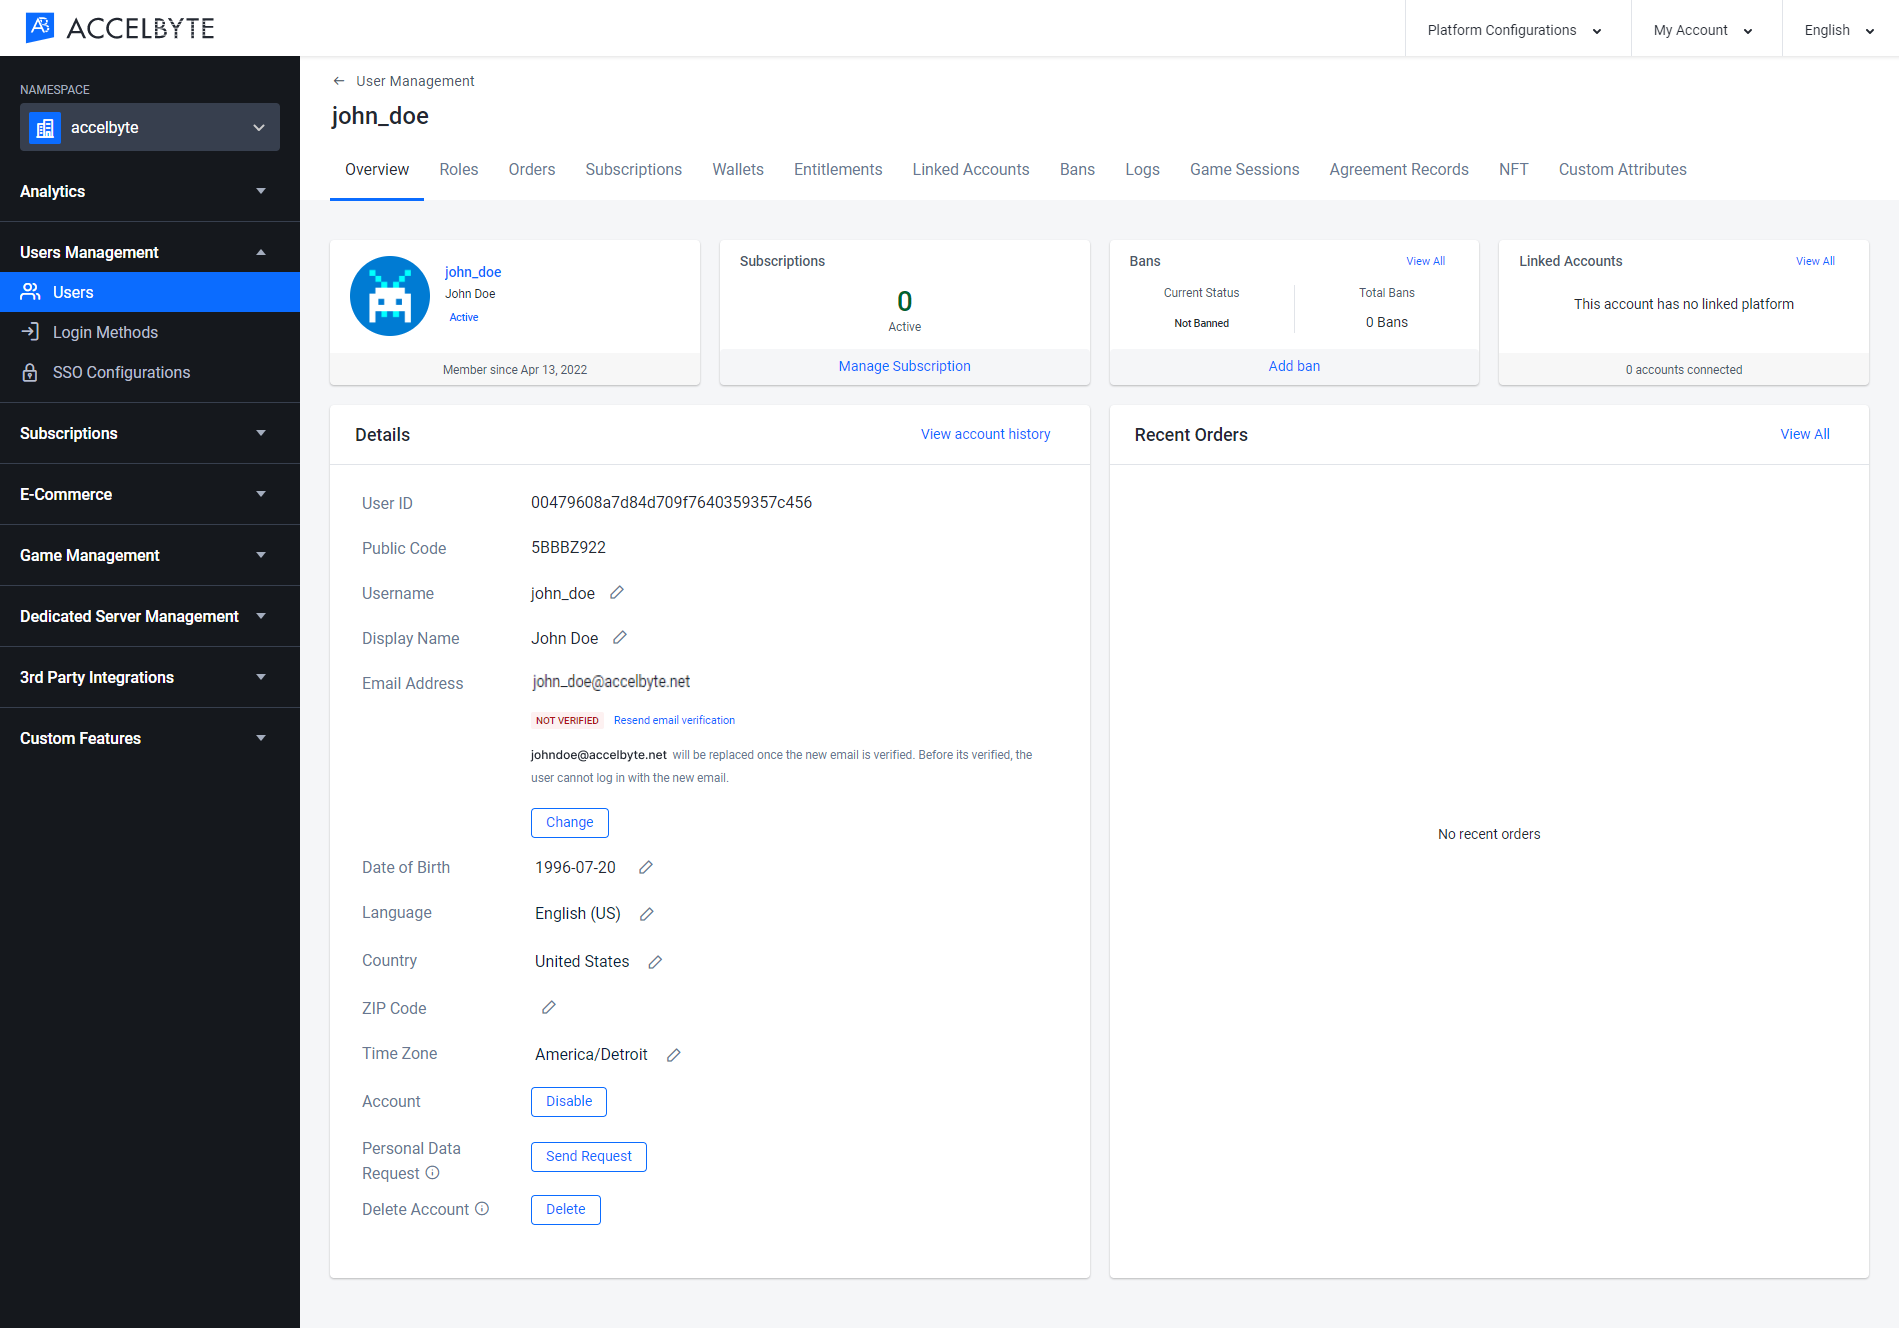
The results of your search will appear. Browse the list to find the account you’re looking for and click View in the Action column of the account listing to open it.
The User Overview will appear, giving you a quick look at the user’s account data. Click Change under the user’s email address to change it.

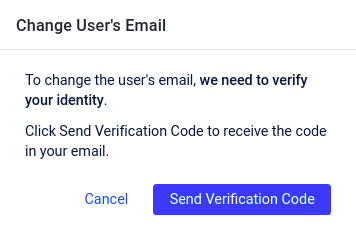
To change a user’s email address, first you’ll need to verify your identity. In the Change User’s Email confirmation box that appears, click the Send Verification Code button to send a verification code to the email address with which you’re logged into the Admin Portal.
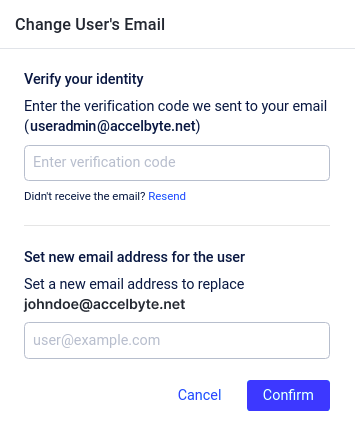
The Change User’s Email confirmation box changes to show two forms. Enter the verification code that was sent to your email address in the Verify your identity field, and enter a new email address for the user in the Set new email address for the user field. Once you’re done, click the Confirm button.
You’ll be redirected back to the User Overview page. The user will be sent a verification message to their old email address.
After the user confirms the update, their email address will be changed automatically.

View a user’s event log
The user event log shows you the history of any changes or actions made by a user, such as when a user logged into the portal or downloaded their personal data. You will only be able to see events from namespaces for which you have permission to view users’ login histories.
Search the target user and go to the User Overview page. Click the Log tab.

On the Logs tab, you will see a list of user logs, the namespace they belong to, and the time each log was created. You can sort the logs by creation time and/or namespace to help you find a particular log.
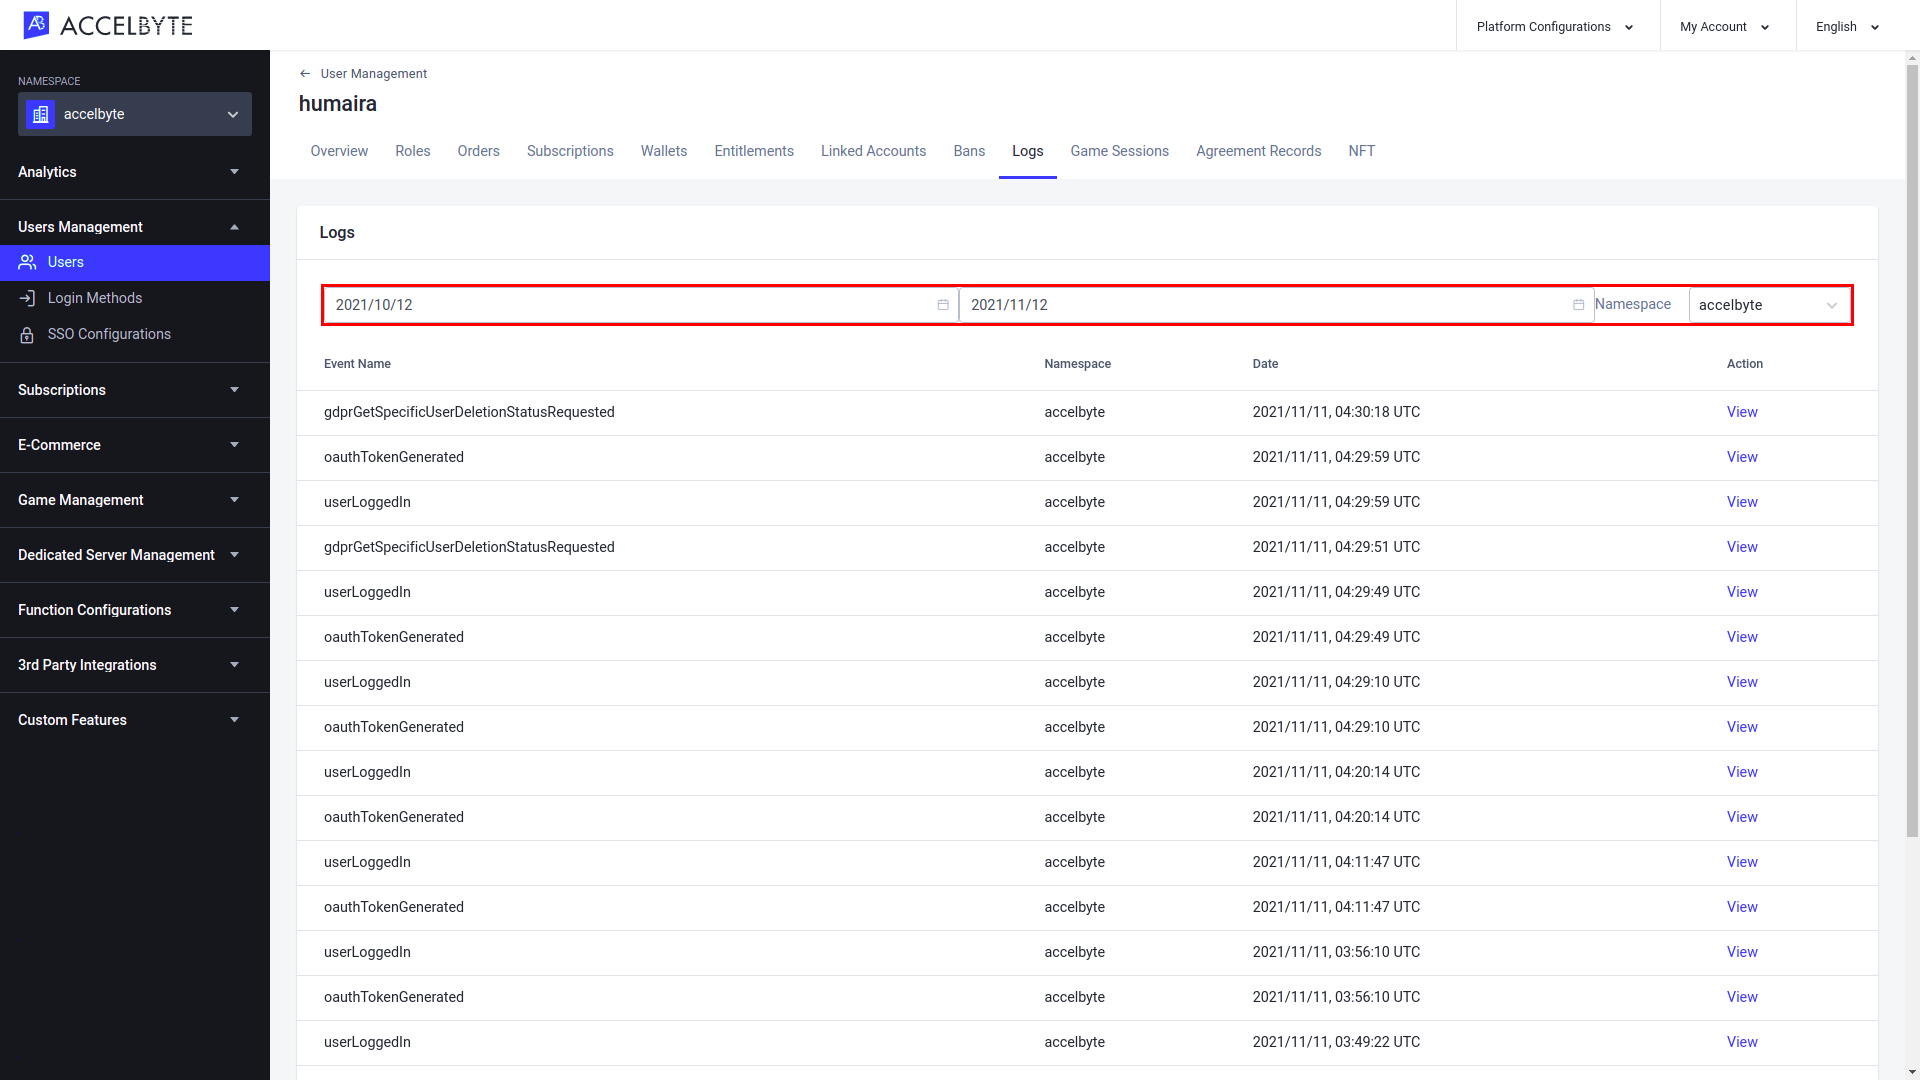
To open a log, click View in that log’s Action column.
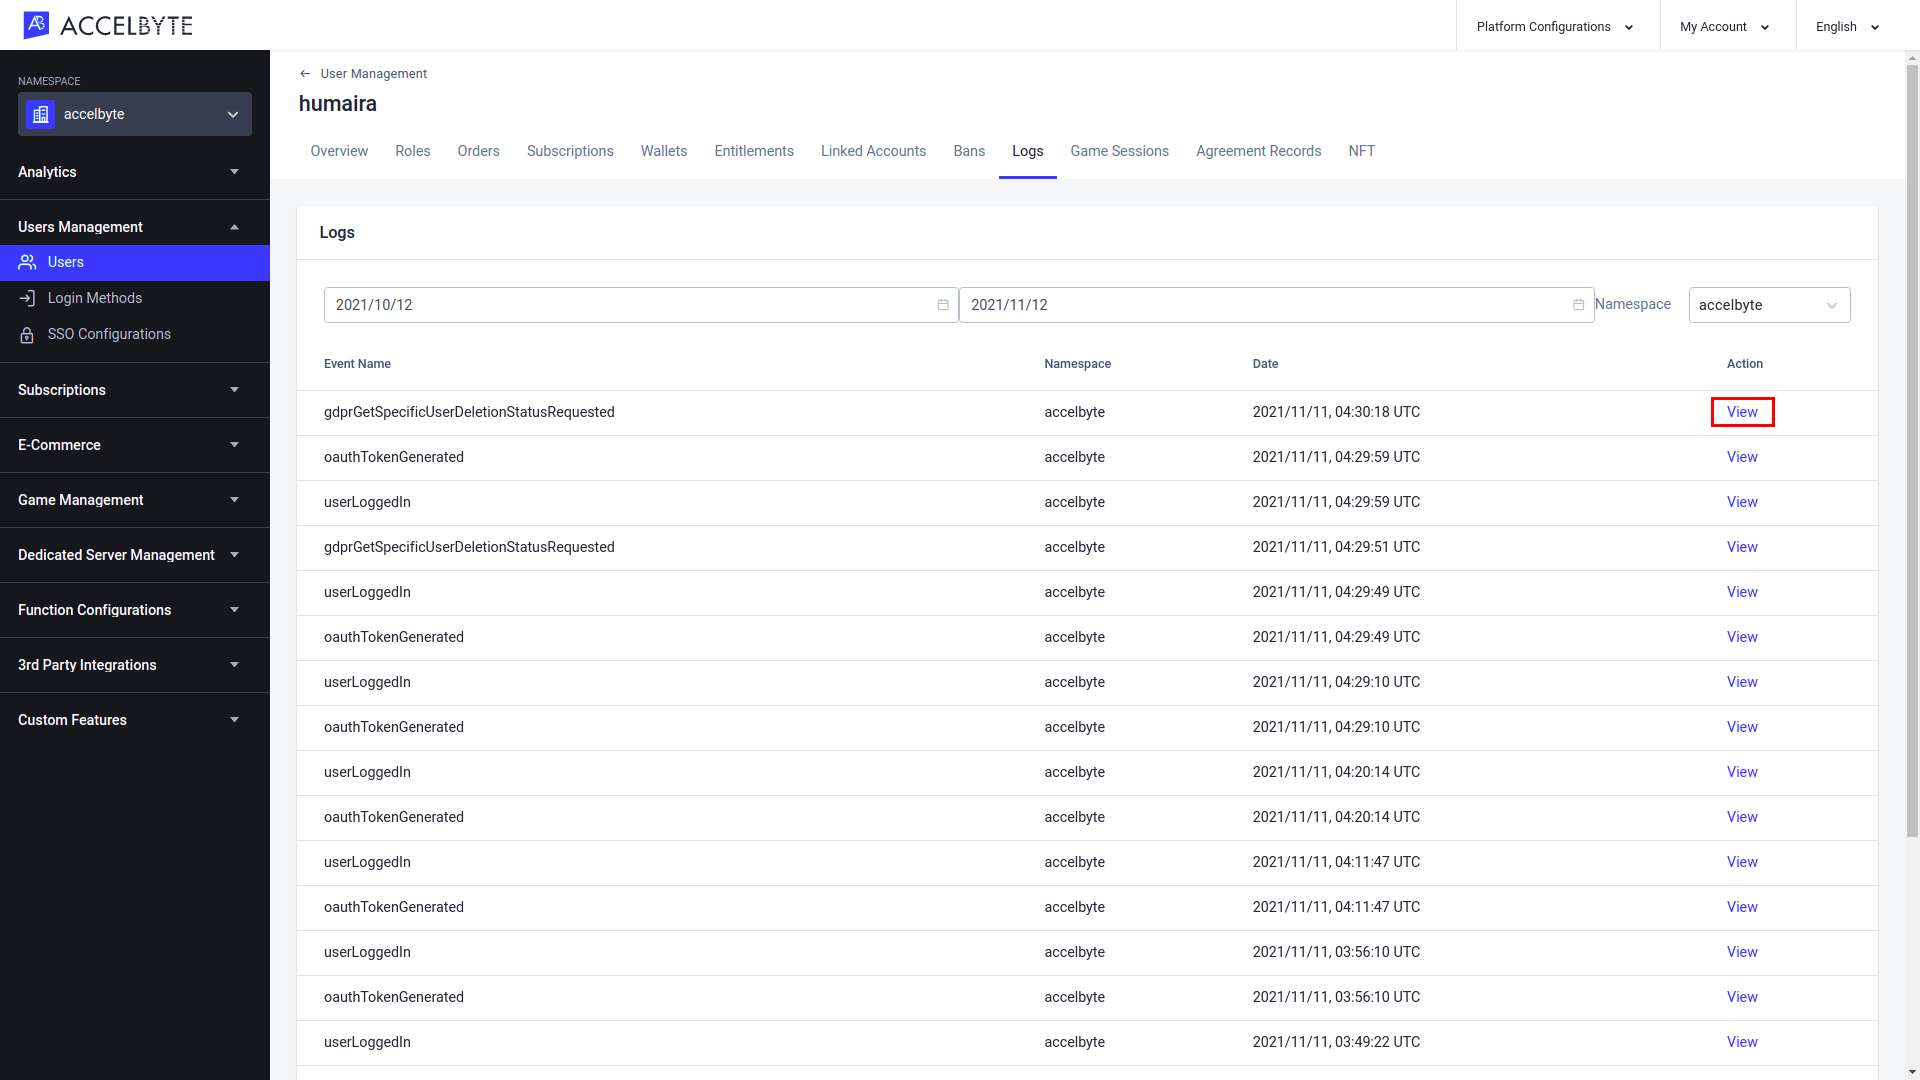
The Event Log Details window appears. Here you can see the log’s contents.

View a user’s edit history
The account history feature allows you to see changes made to account data by users. The information available includes changes made to a user’s display name, email address, or password.
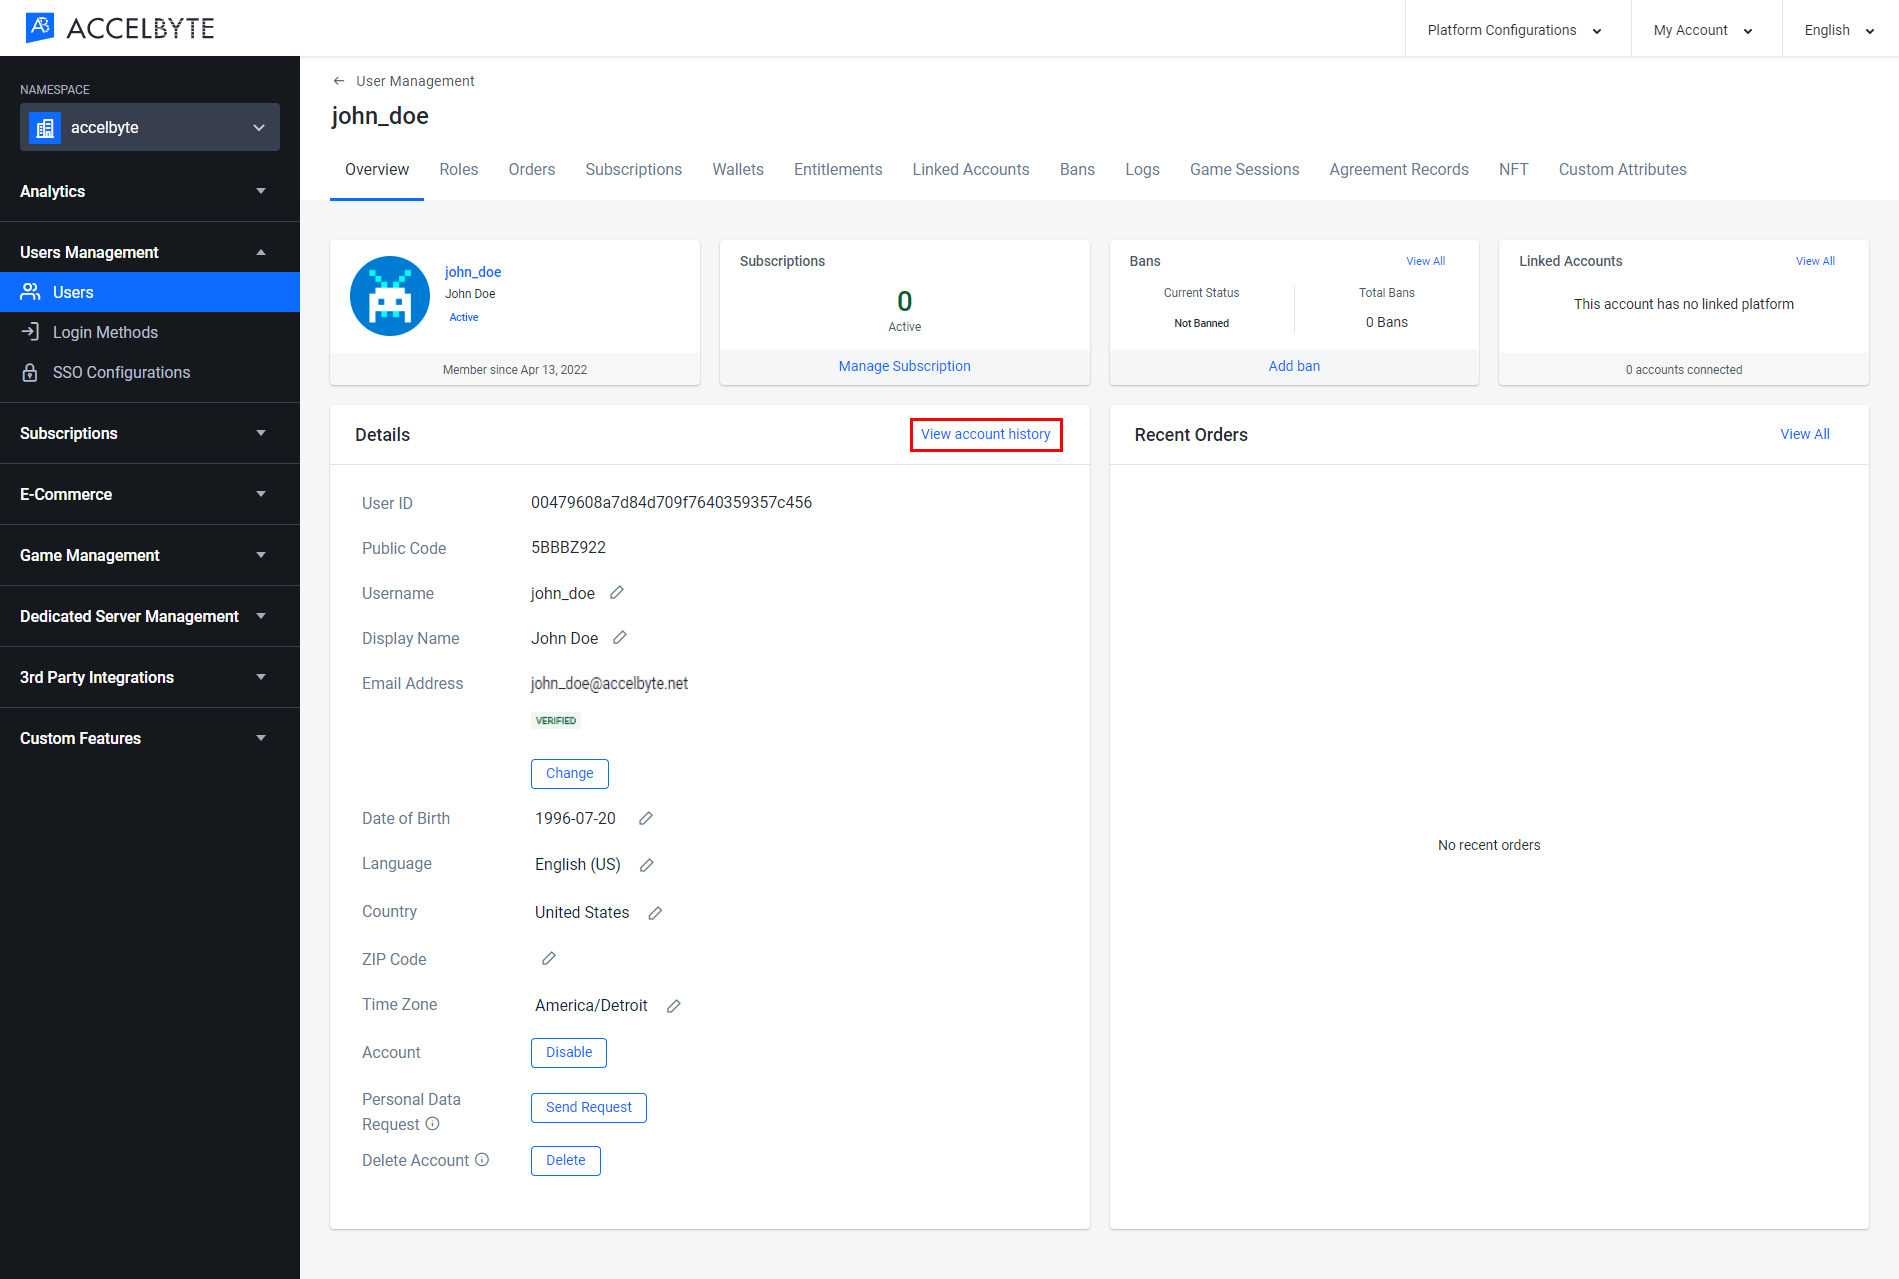
Search the target user and go to the User Overview page. Click View Account History to get their edit history.
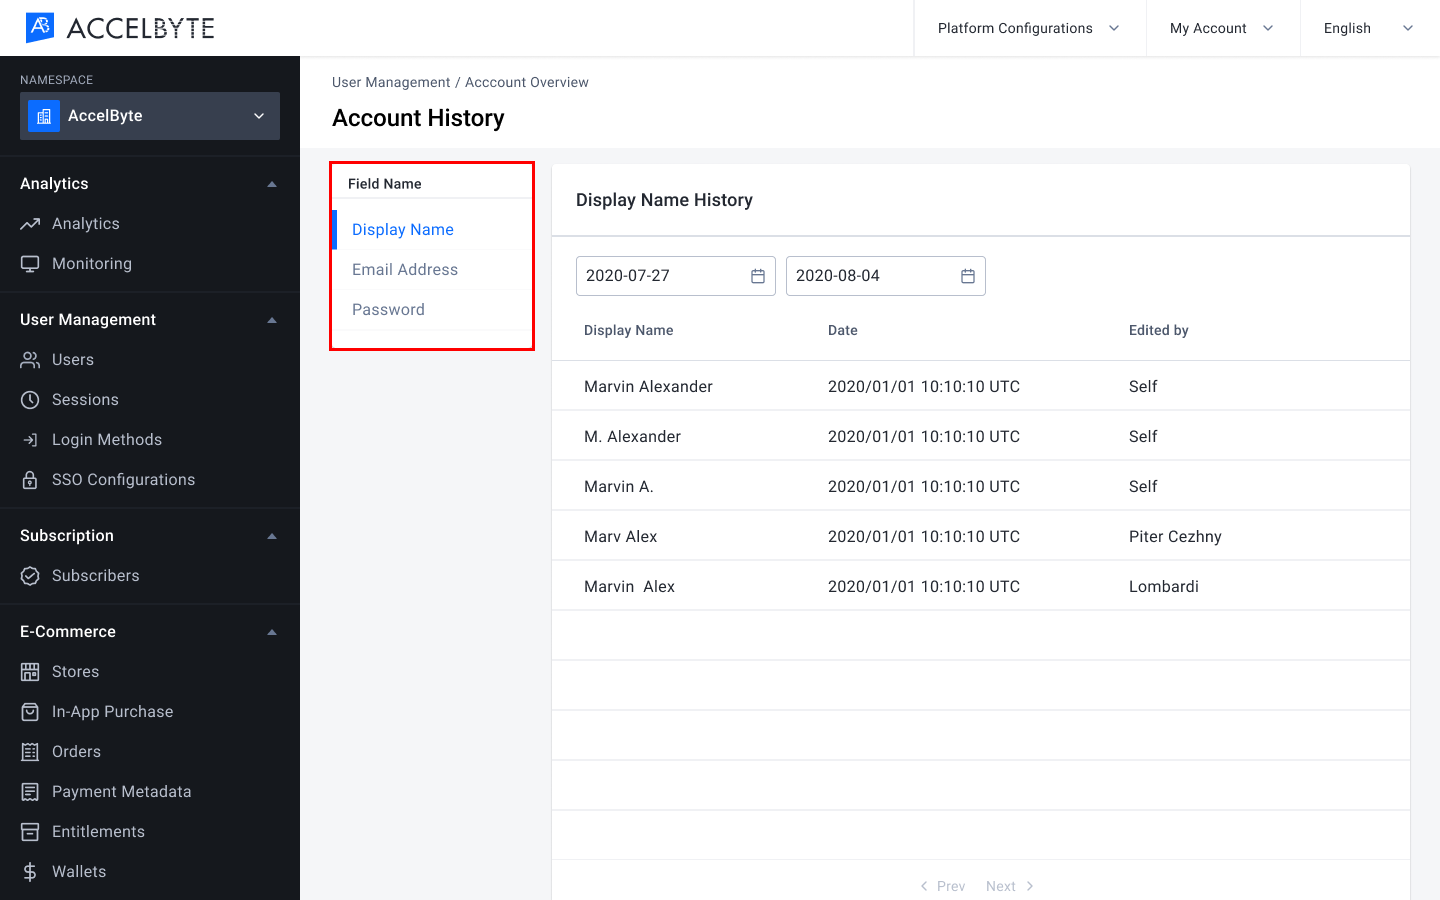
You can choose to see the history based on the Display Name, Email Address, or Password. Select the desired field name from the list on the left side of the Account History page.
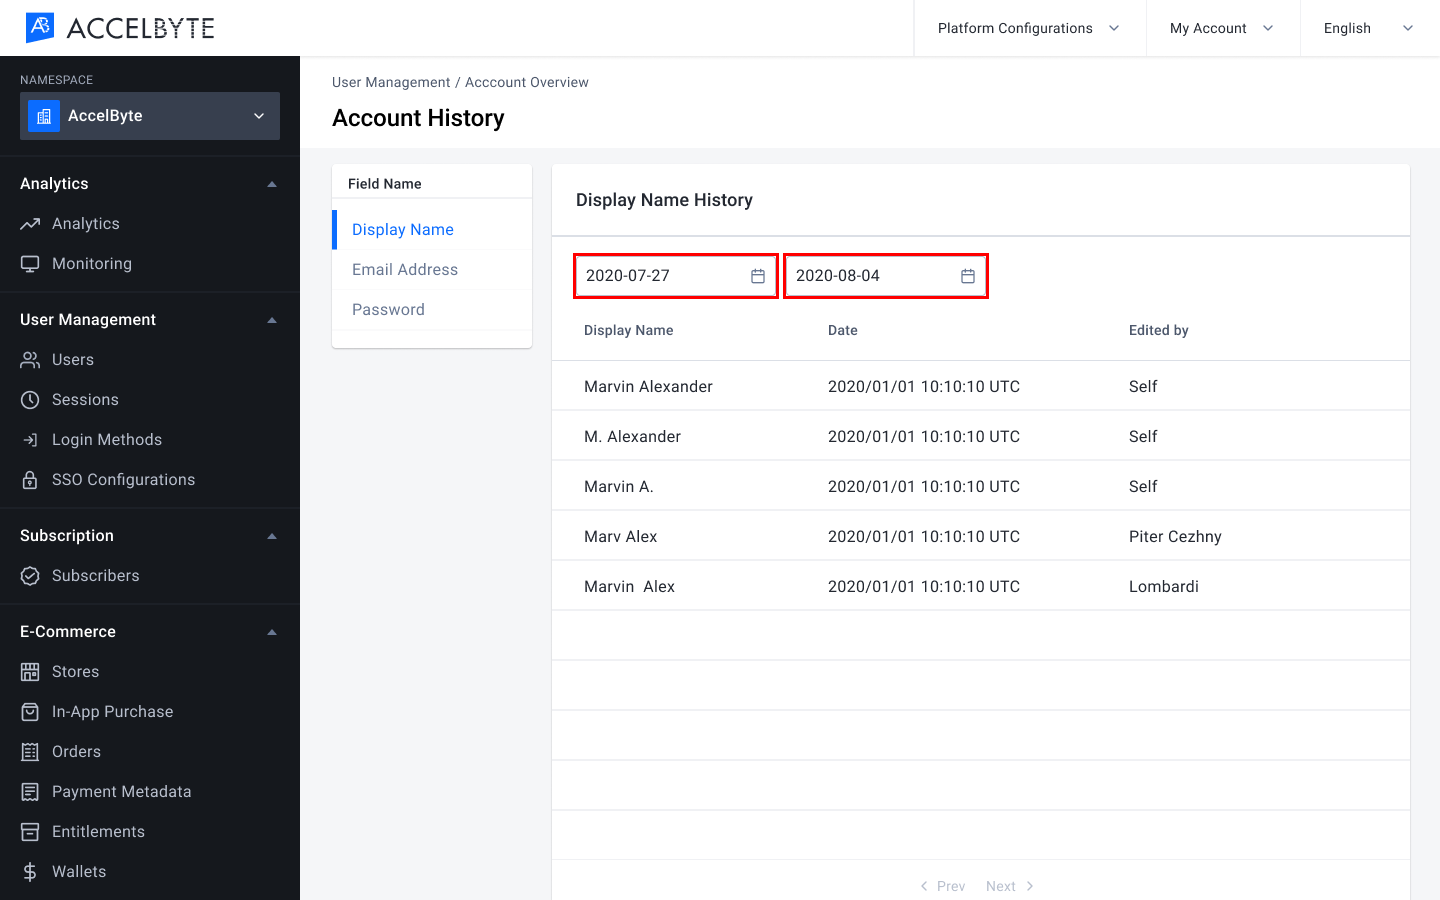
Input the start and end dates of the time period for which you want to retrieve the history.
Link a third-party account
Use the following procedure to link third-party accounts.
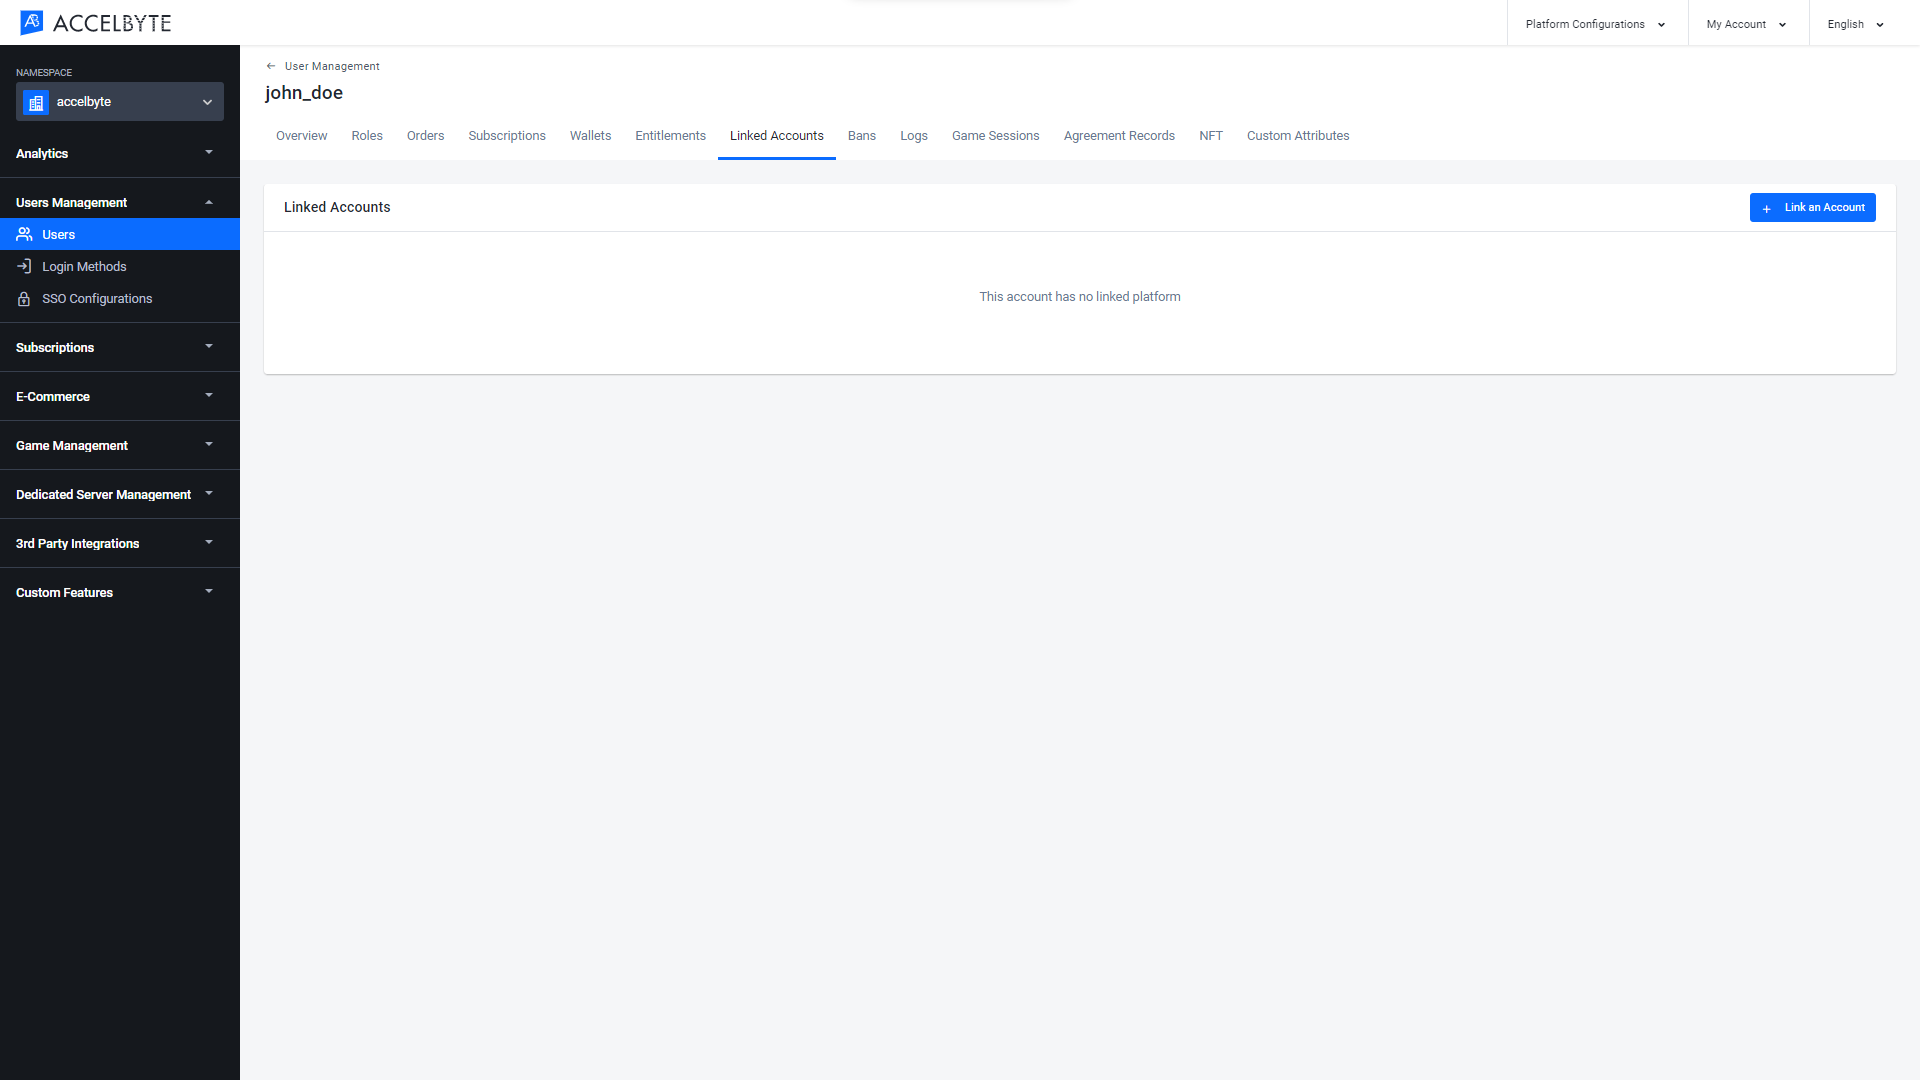
Search the target user and go to the User Overview page. Select the Linked Accounts tab.

On the Linked Accounts tab, click the Link an Account button.
The Link an Account popup will appear. Fill in the following information:
In the Platform ID field, select the desired third-party platform from the dropdown menu.
Fill the Platform User ID with the player’s account ID.
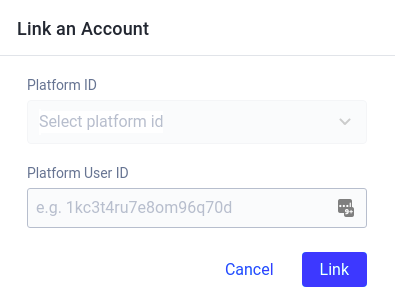
Once completed, click Link.
A confirmation message will appear. Check the information you have entered is correct and click Confirm to proceed.
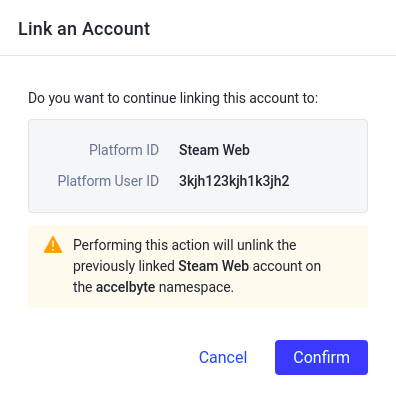
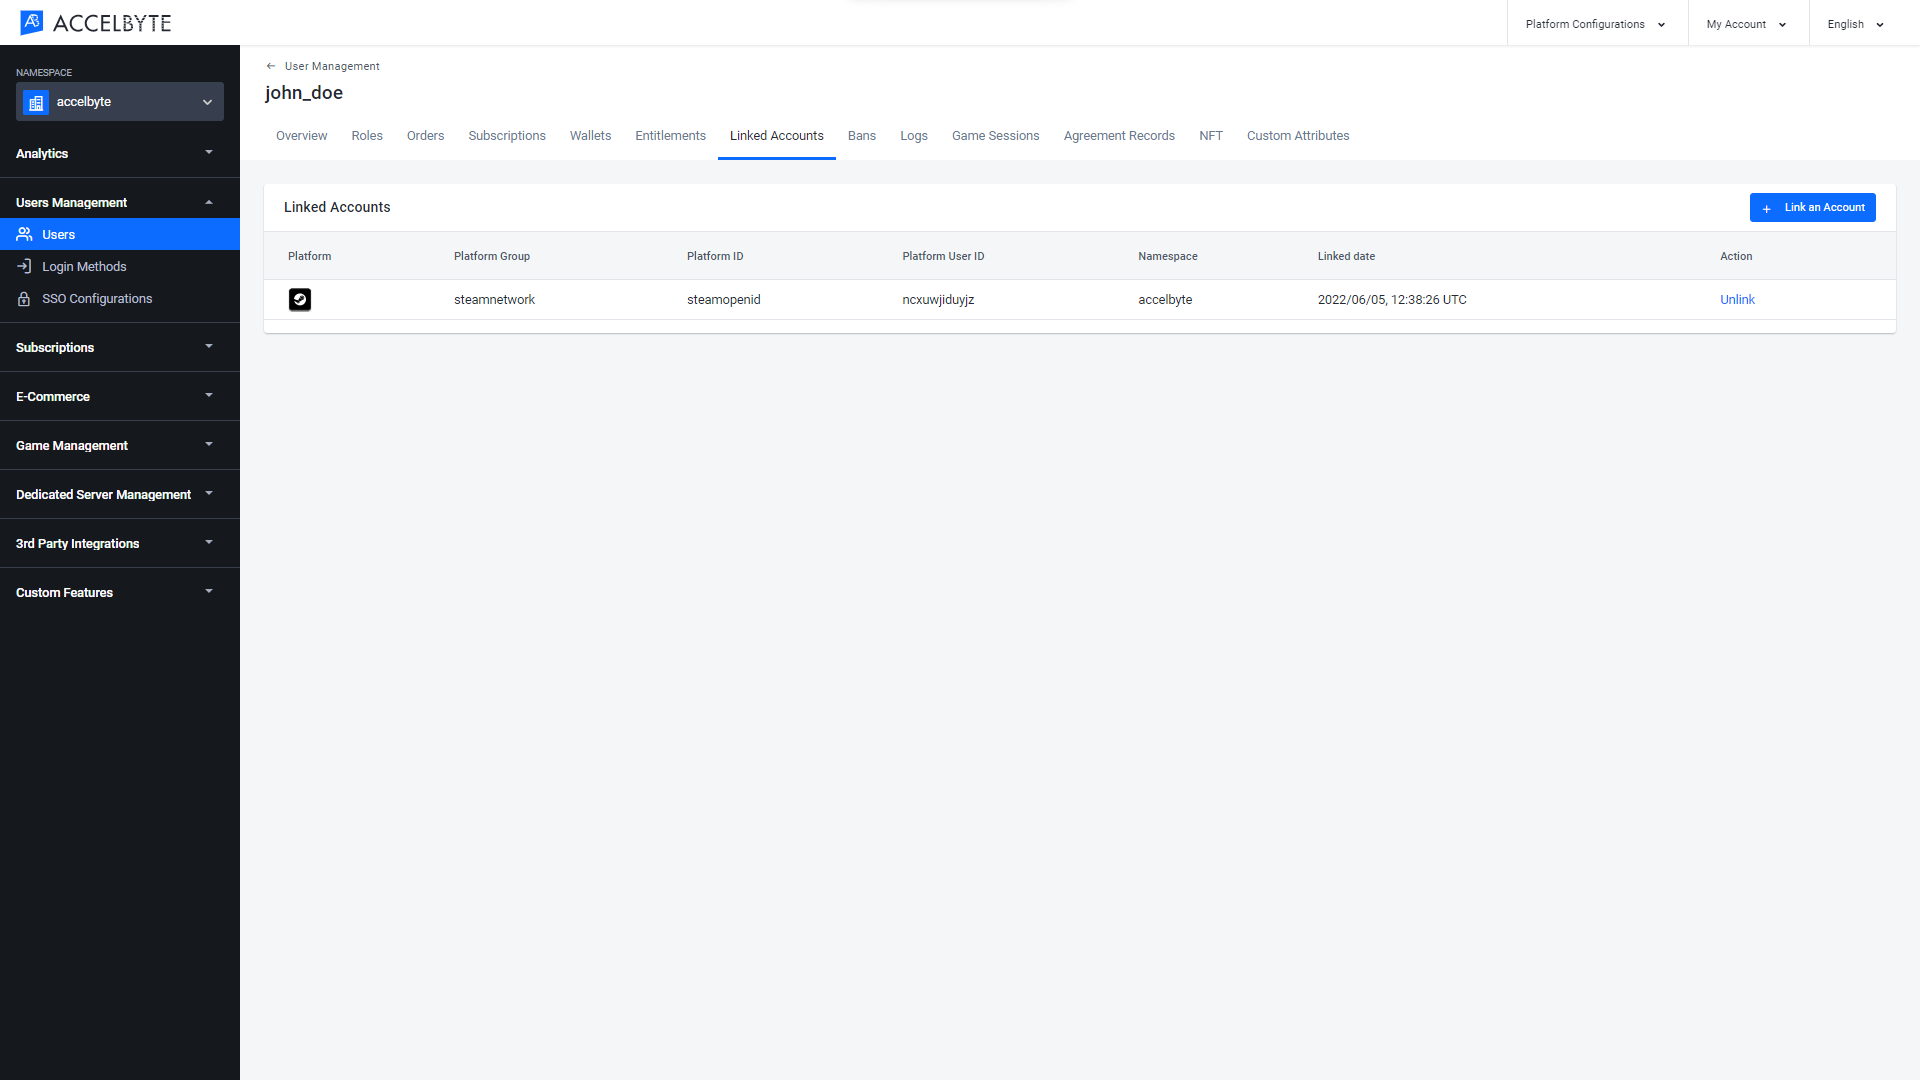
The new linked account will be added to the Linked Accounts list.
Unlink a third-party account
Search the target user and go to the User Overview page. Select the Linked Accounts tab.
On the Linked Accounts tab, select the third-party account you want to unlink and click Unlink under the Action column.

A Delete Item popup will appear. Click Unlink to proceed.

The selected third-party account will be removed from the list.
Related concepts
- To learn how to enable third-party logins for your players, read the authentication documentation.