Unreal Engine Module - Quick Match with DS - Set up game sessions
This tutorial isn't yet applicable for the AccelByte Gaming Service (AGS) Starter tier. It requires the Armada, a dynamic game server manager feature, which isn't currently supported on AGS Starter.
About
To implement matchmaking, you need to set up the matchmaking configurations in the Admin Portal. This section will guide you through all configurations needed to make matchmaking for the Elimination game mode, which is a mode where four players compete against each other. Since the flow is the same, you can create the configuration for the Team Deathmatch game mode on your own.
Create Session Template
Session Template is a configuration template that defines your game session. In this section, you will learn how to create a Session Template for the Elimination game mode using a dedicated server (DS).
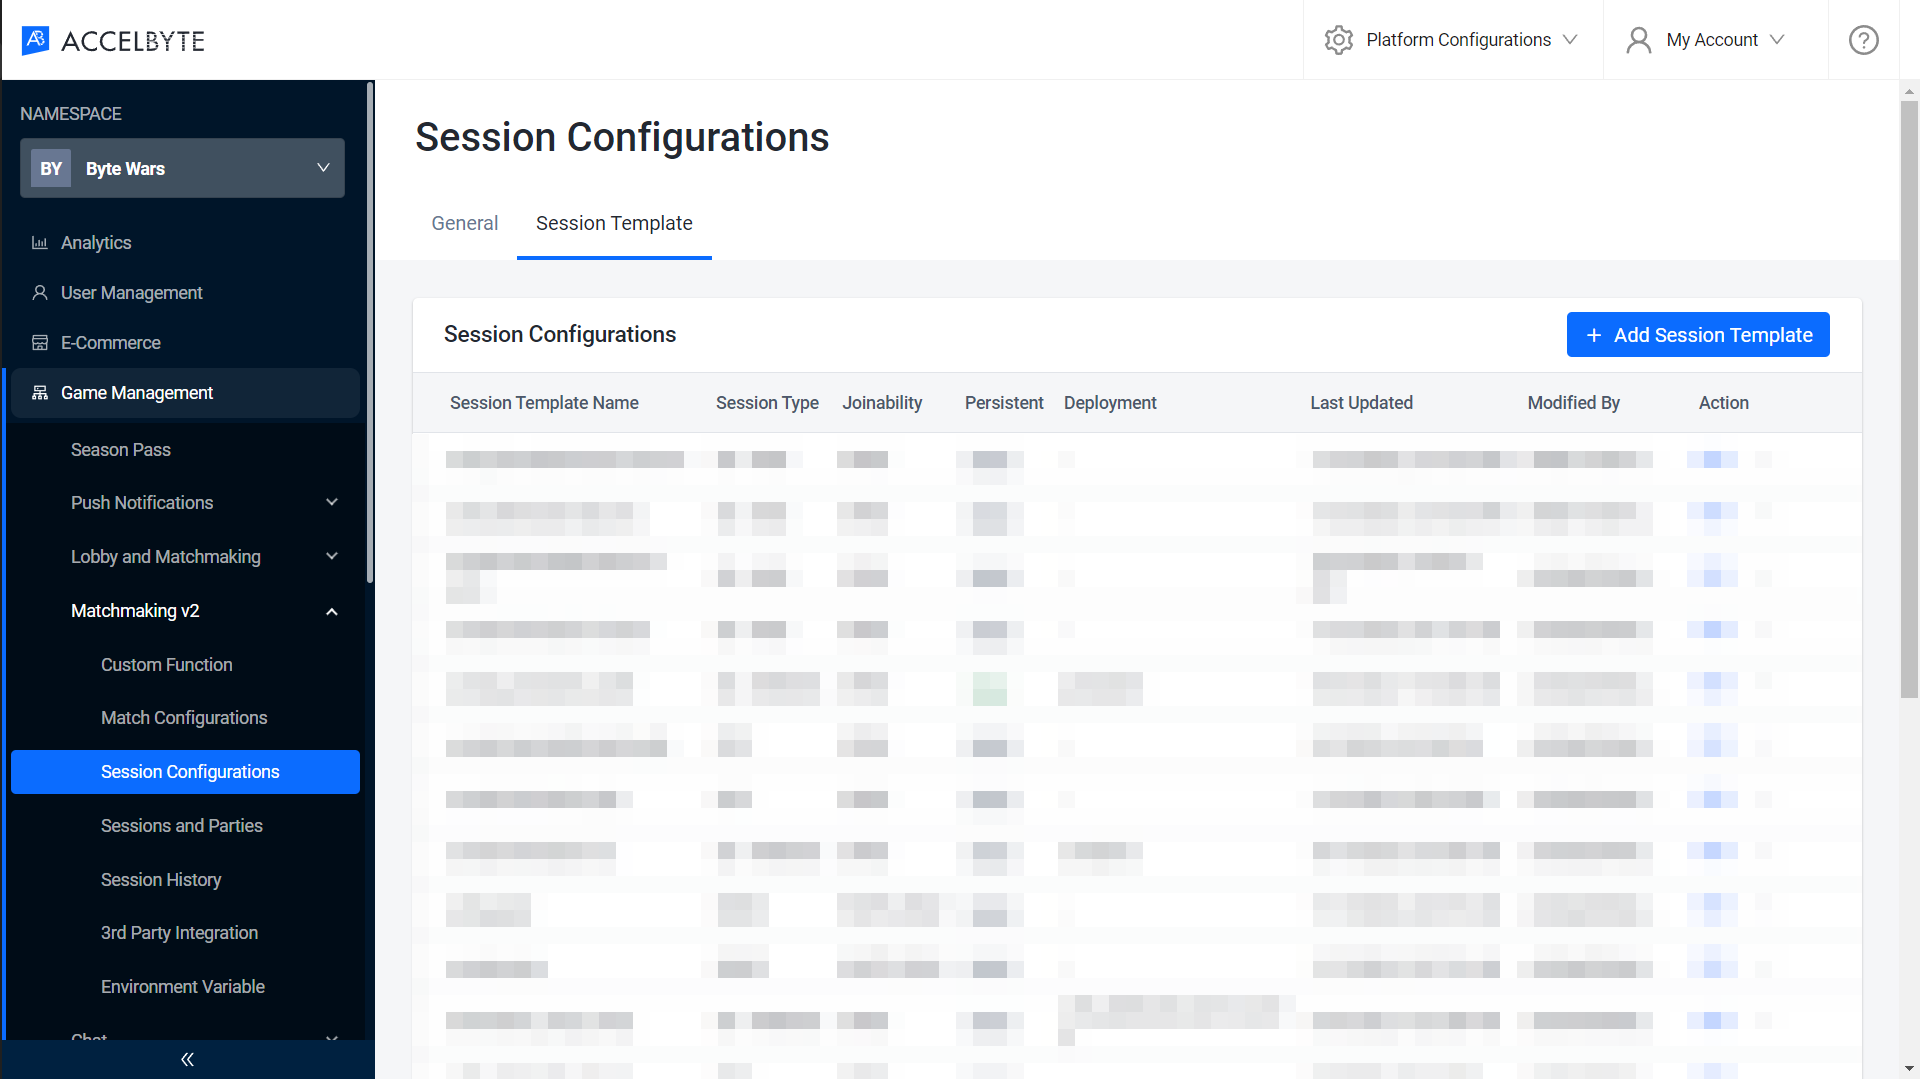
Open AccelByte's Demo Admin Portal dashboard and select your game namespace. From the side panel menu of the dashboard, select Game Management > Matchmaking V2 > Session Configurations, select Session Template tab on the shown page, and click Add Session Template.
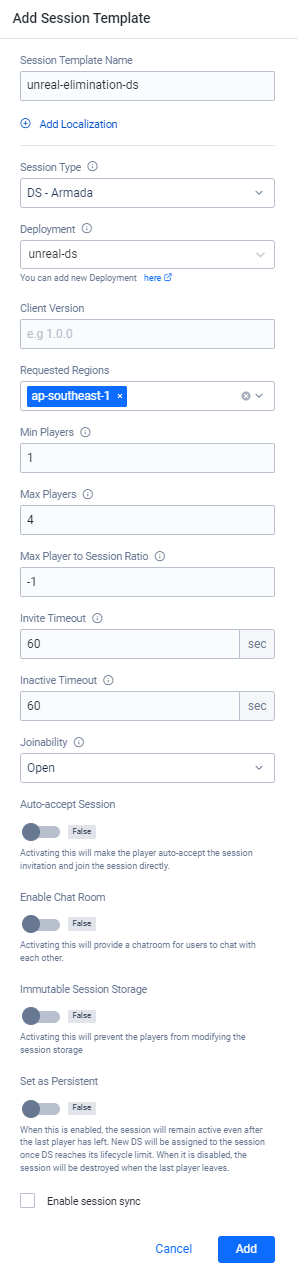
Next, on the new window, you need to fill out your Session Template configuration. For the Elimination game mode, you need a minimum of one player and a maximum of four players. Fill out the fields like the following.
- Session Template Name: the name of your Session Template. Set it to
unreal-elimination-ds. - Session Type: the type of your Session Template. Set it to either DS-Armada.
- Deployment: the deployment configuration that will be used for this session's DS. Set it to your DS deployment. For more information, please refer to the Module: Run a Dedicated Server on Armada.
- Requested Regions: the requested region to match make. Set it to your DS available regions.
- Min Players: the minimum number of players in the session. Set it to 1.
- Max Players: the maximum number of players in the session. Set it to 4.
- Joinability: the joinability of the session. We want the matchmaking to be open to everyone, so set it to Open.
- Session Template Name: the name of your Session Template. Set it to
In this example, we show a configuration that uses the DS-Armada. Your final Session Template configuration should be similar to this. Click the Add button to finalize your configuration.
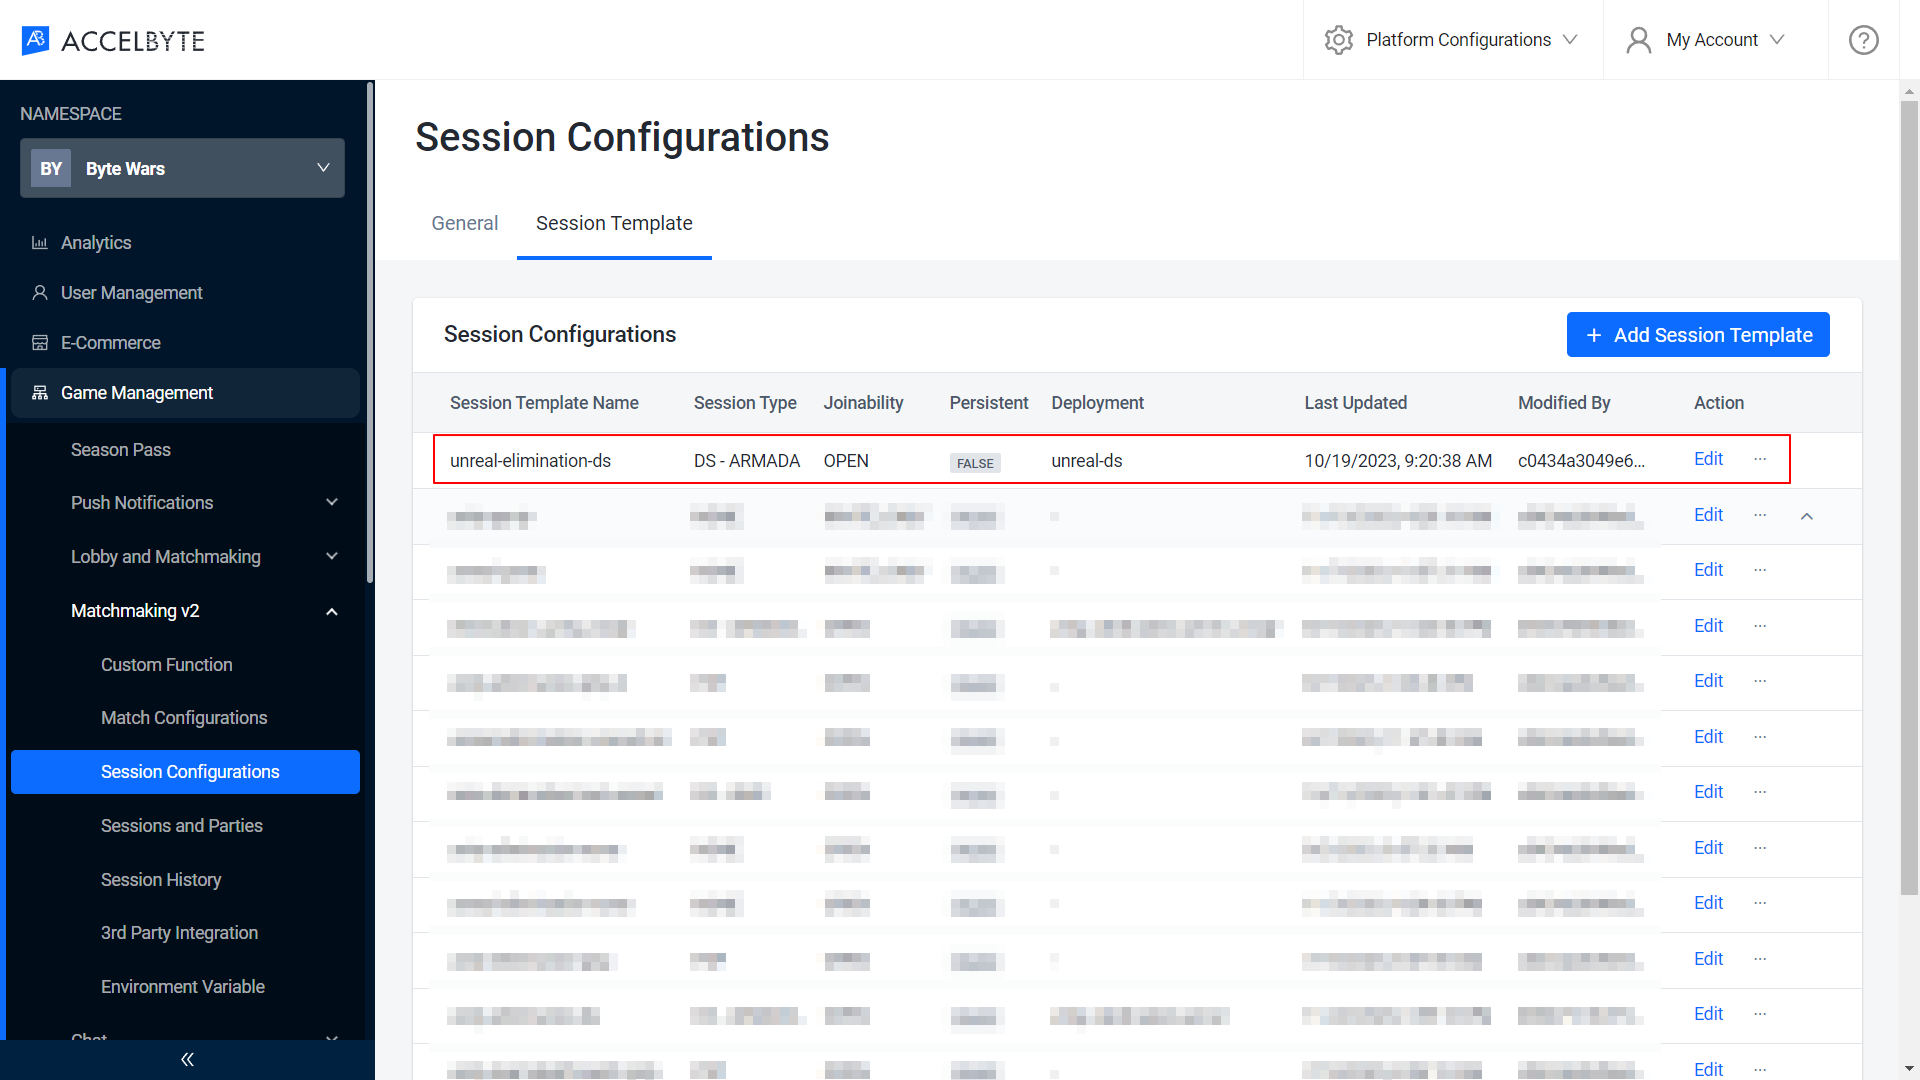
Now, your newly created Session Template should appear on the list.
Congratulations! You have successfully configured a new Session Template. For the Team Deathmatch game mode, you can create its Session Template using a similar flow. Set the name as
unreal-teamdeathmatch-dswith a minimum player of 2 and a maximum player of 8, so you have 4v4 game mode.
Create a Match Ruleset
A Match Ruleset is a configuration that defines how your players will be matched. Basically, it is a rule of how your matchmaking should work. This section will guide you to create a Match Ruleset for the Elimination game mode.
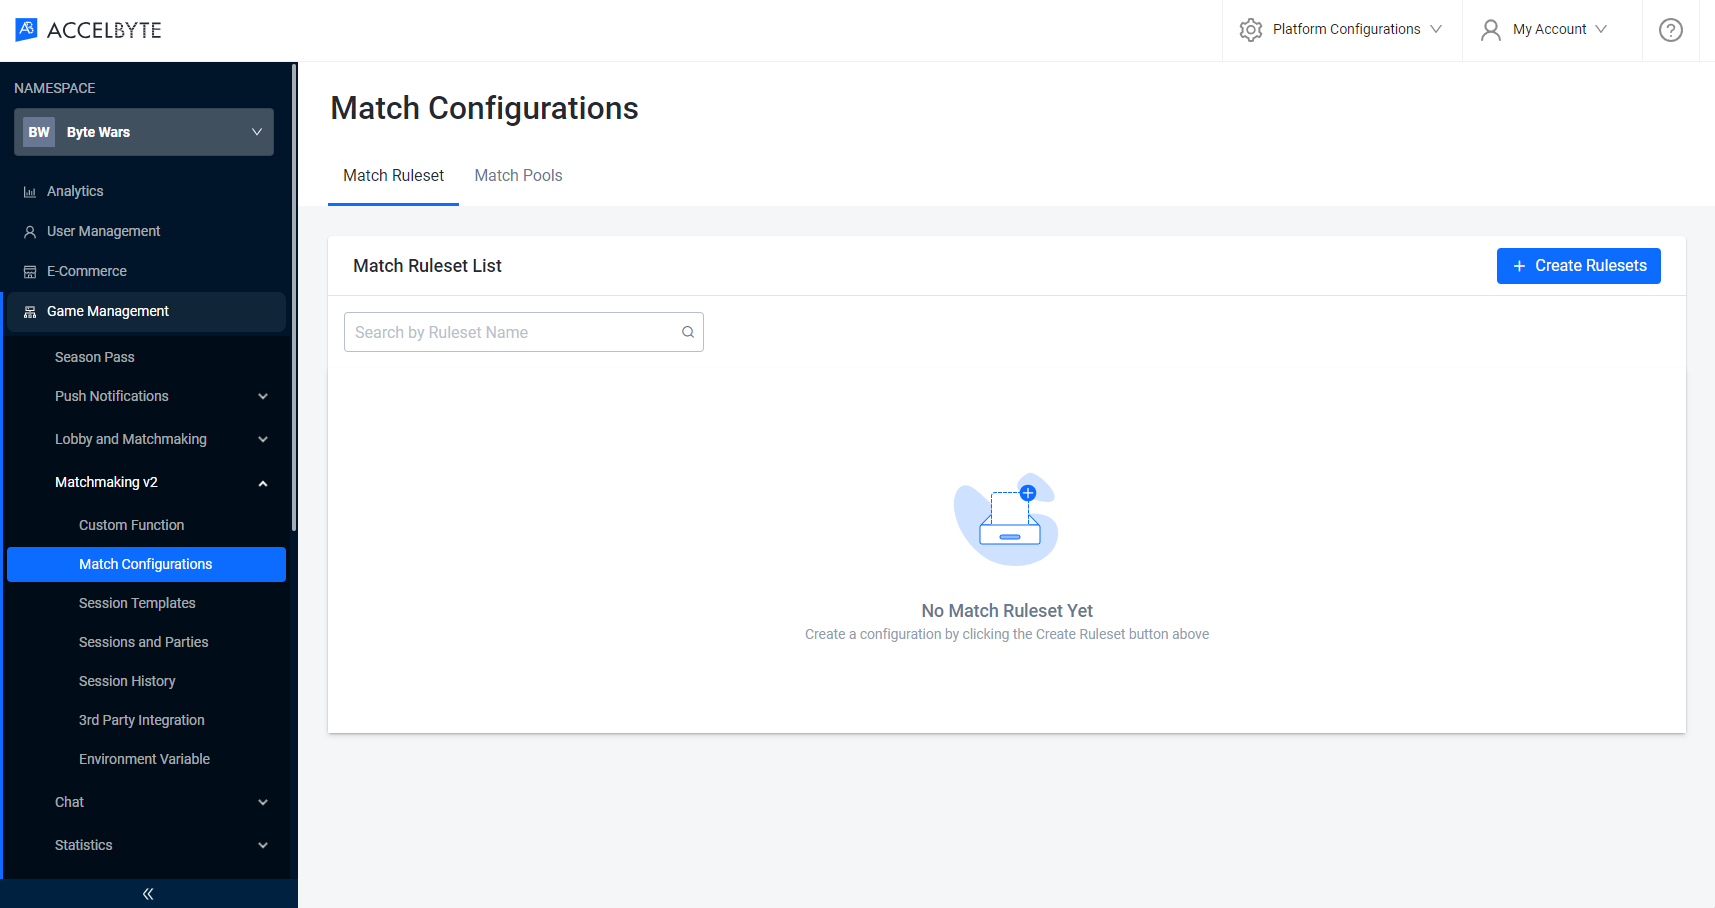
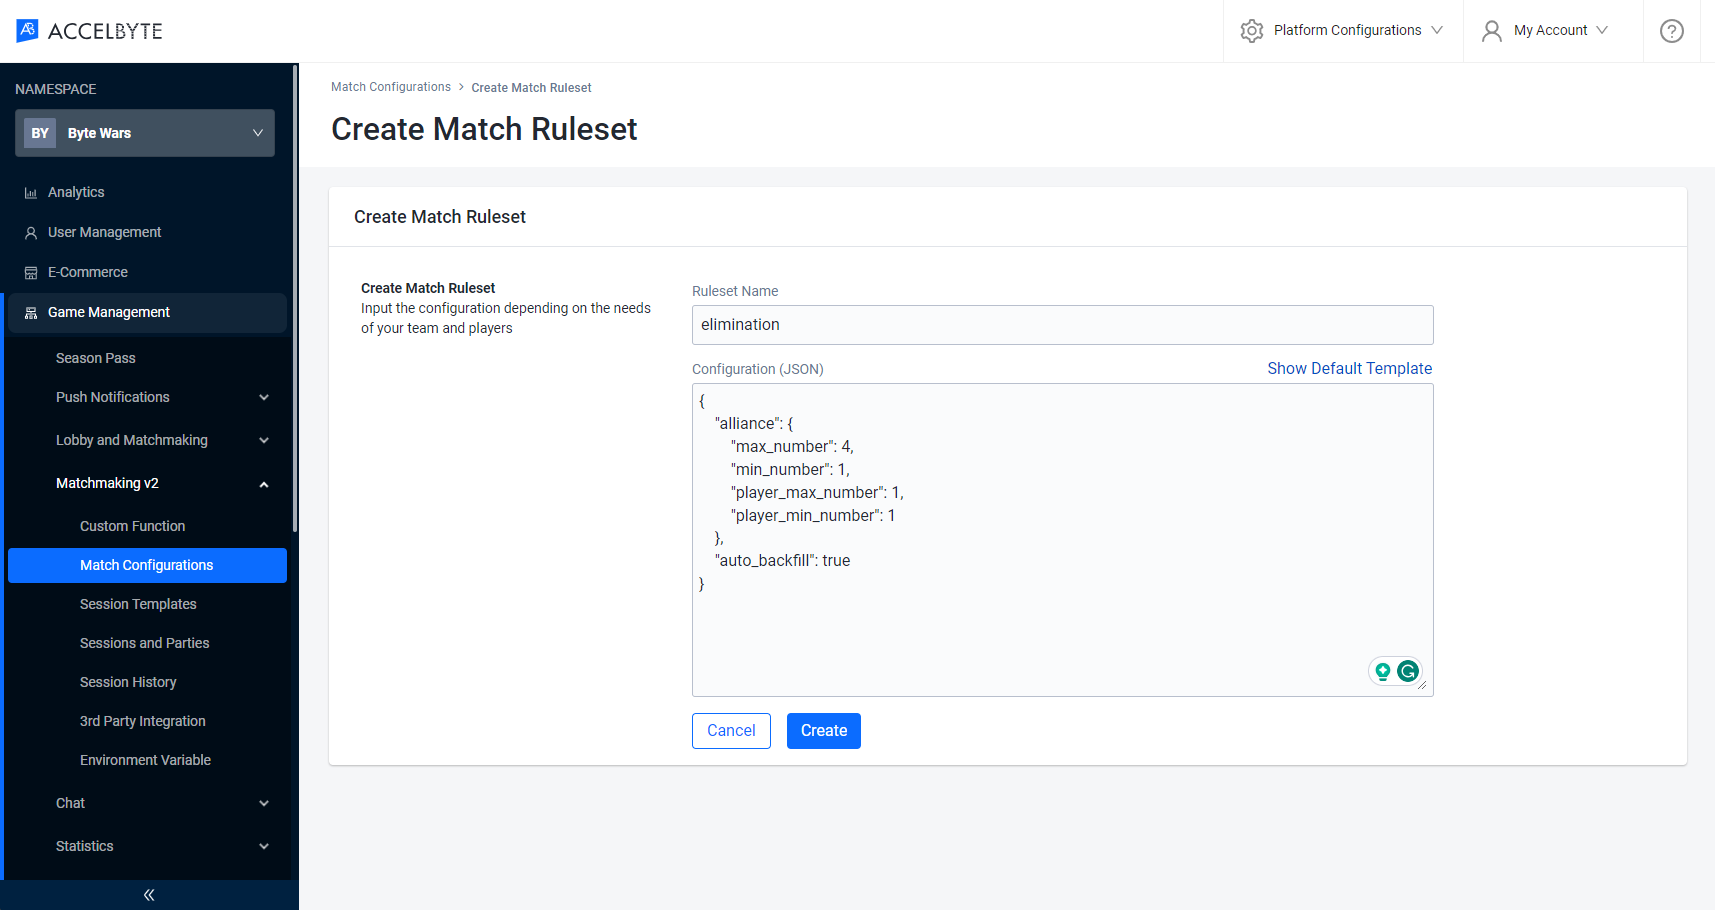
Open AccelByte's Demo Admin Portal dashboard and select your game namespace. From the side menu panel of the dashboard, select Game Management > Matchmaking v2 > Match Configurations. Under the Match Ruleset tab, select the Create Ruleset button to create a new Match Ruleset.
On the Create Match Ruleset screen, some JSON will already be filled out for you. Replace it with the JSON below and name the new Match Rule as elimination. Once finished, click Create to add your new Match Ruleset.
{
    "alliance": {
        "max_number": 4,
        "min_number": 1,
        "player_max_number": 1,
        "player_min_number": 1
    },
    "auto_backfill": true
}
alliance is the attribute to define your match members, such as how many teams and players are in a match. This attribute should contain the following fields:
- max_number is the maximum number of teams. Set it to four teams.
- min_number is the minimum number of teams. Set it to one team.
- player_max_number is the maximum number of players in a team. Set it to one player.
- player_min_number is the minimum number of players in a team. Set it to one player.
auto_backfill is a flag for whether the game's dedicated server should use backfill or not. You will learn more about it in the next section. For now, set it to true.
Your final Match Ruleset configuration should look like this. Click the Create button to finalize your configuration.
Your newly created Match Ruleset will be displayed on the list.

Congratulations! You have successfully configured a new Match Ruleset. For the Team Deathmatch game mode, you can create its Match Rule using a similar flow. Set the name as
teamdeathmatchwith the following JSON config, so you have 4v4 game mode.{
"alliance": {
"max_number": 2,
"min_number": 2,
"player_max_number": 1,
"player_min_number": 4
},
"auto_backfill": true
}
Create a Match Pool
Match Pool is a configuration that connects your Match Ruleset to your Session Template. Basically, it will perform matchmaking based on your Match Ruleset and create a game session based on your Session Template. This section will guide you to set up a Match Pool for the Elimination game mode.
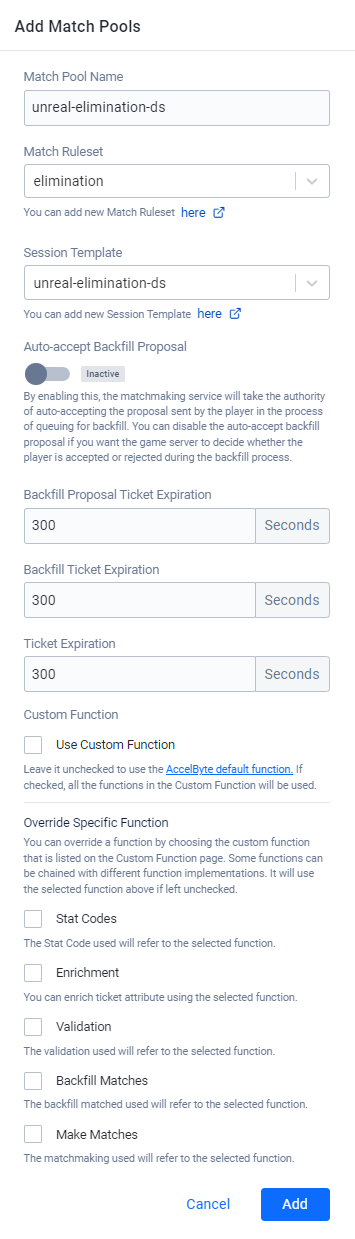
Open AccelByte's Demo Admin Portal dashboard and select your game namespace. From the side menu panel of the dashboard, select Game Management > Matchmaking v2 > Match Configurations. Then, select the Match Pools tab and select the Add Match Pools button to create a new Match Pool.

Next, on the new window, fill out the configuration fields like the following.
- Match Pool Name: the name of the Match Pool. Set it to
unreal-elimination-ds. - Match Ruleset: the Match Rule to use. Set it to the elimination Match Ruleset you created earlier.
- Session Template: the Session Template to use. Set it to the
unreal-elimination-dsSession Template you created earlier.
- Match Pool Name: the name of the Match Pool. Set it to
Your final Match Pool configuration should look like this. Click the Add button to finalize your configuration.
Now, your newly created Match Pool should be displayed on the list.
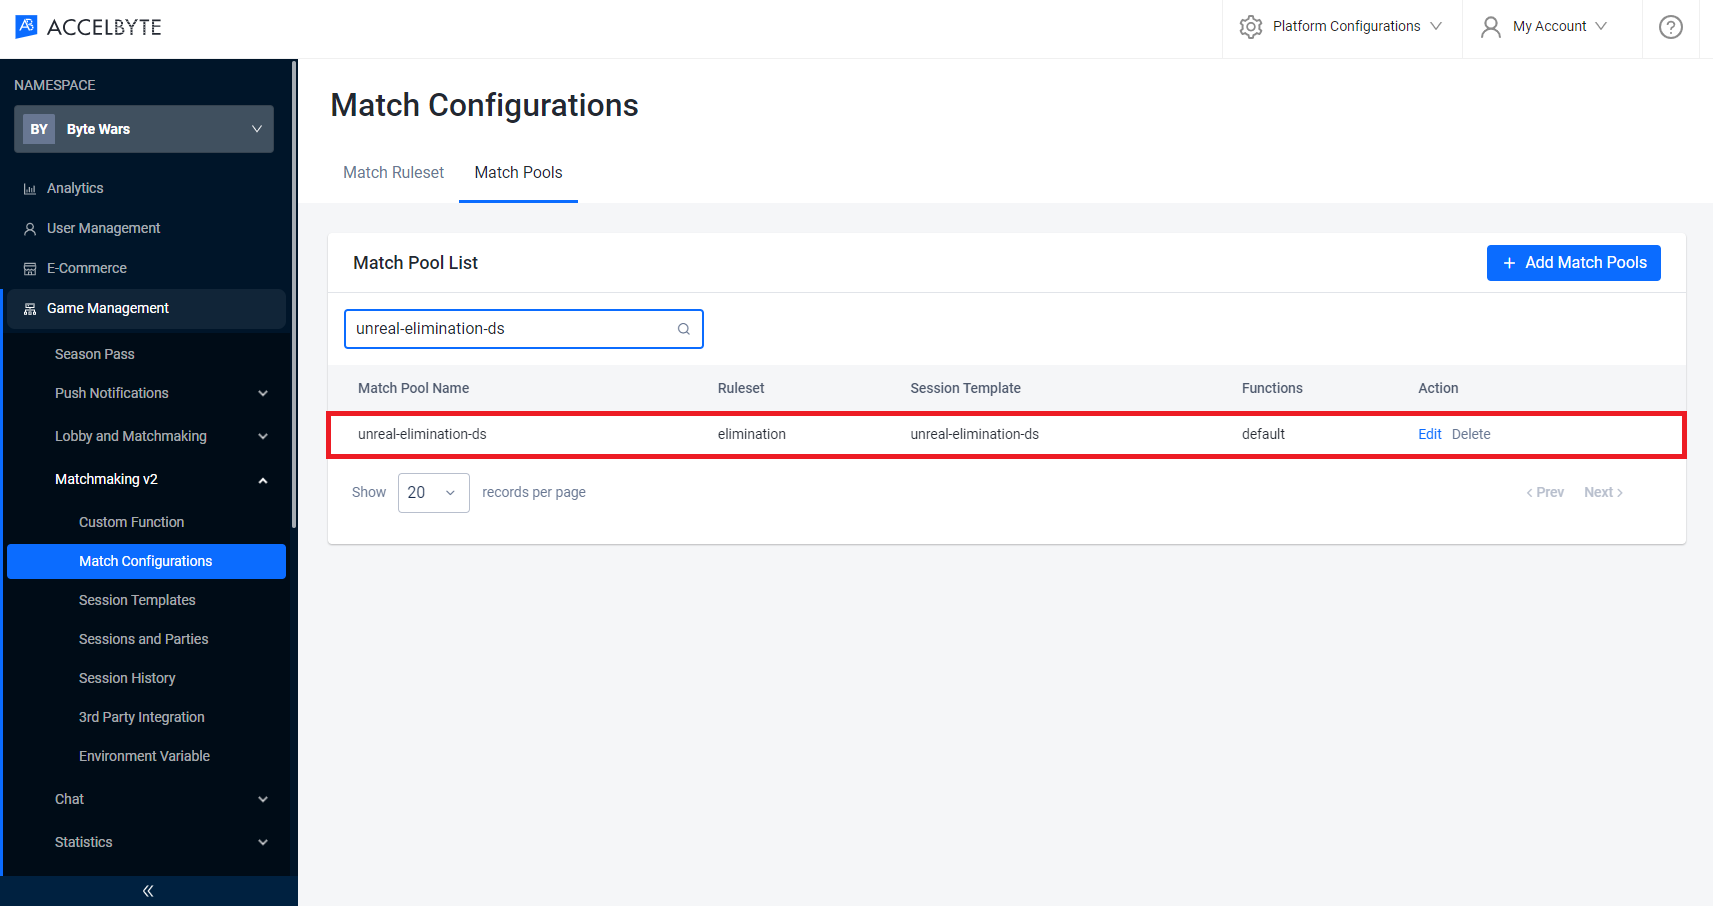
Congratulations! You have successfully configured a new Match Pool. For the Team Deathmatch game mode, you can create its Match Pool using a similar flow. Set the name as
unreal-teamdeathmatch-dsand set the Session Template asunreal-teamdeathmatch-dsand the Match Ruleset asteamdeathmatch.