Manage access control for applications
Overview
We define an Identity and Access Management (IAM) client as an application, such as a game server or website that requests access to protected platform resources. IAM clients enable you to control which resources an application can access, as opposed to a user.
This guide will show you:
- How IAM clients work.
- How to manage IAM clients in the AGS Admin Portal.
- How to get an application access token using AccelByte Gaming Services (AGS) SDKs.
Prerequisites
Access to the AGS Admin Portal and the permissions for IAM clients management.
Required permissions
Make sure your account has these permissions before you attempt to manage IAM clients in the Admin Portal.
| Usage | Resource | Action |
|---|---|---|
| Create a Client | ADMIN:NAMESPACE:{namespace}:CLIENT | Create |
| Retrieve Client | ADMIN:NAMESPACE:{namespace}:CLIENT | Read |
| Update Client | ADMIN:NAMESPACE:{namespace}:CLIENT | Update |
| Delete Client | ADMIN:NAMESPACE:{namespace}:CLIENT | Delete |
| Add Client Permission | ADMIN:NAMESPACE:{namespace}:CLIENT | Update |
| Update Client Permission | ADMIN:NAMESPACE:{namespace}:CLIENT | Update |
| Delete Client Permission | ADMIN:NAMESPACE:{namespace}:CLIENT | Update |
Understand how IAM clients work
AGS IAM clients implement the OAuth 2.0 framework.
You can define this under the publisher or game namespace, depending on whether the intended application is specific to one of your games or used by your publisher platform.
IAM client types
There are two client types based on the OAuth 2.0 Client Type framework:
A confidential client requires a combination of Client ID and Client Secret to authorize on the backend. You need confidential clients when you need server-to-server (S2S) calls to admin endpoints in AGS. As a result, you will typically define specific access permissions on the client. Therefore, you should only use confidential clients in cases where you can control who has access to the client's ID and secret to prevent unauthorized users from accessing your services.
A public client does not specify a client secret; you only need the client ID. Public clients are best for applications that require a user to log in with their user account and only need client-to-server calls to public endpoints in AGS. In this case, the access permissions come from the user's account.
Most used IAM clients
Here are the most used IAM client archetypes:
Game client: You should configure IAM clients for game clients as Public in most cases.
Game server hosted by Armada: Configure IAM clients for dedicated servers as Public or Confidential. However, you need to assign permissions to the client if your dedicated servers don't log in as a user. This is the most common case.
Dedicated server uploader: IAM clients for uploading dedicated server builds. Since access for uploaders is usually tightly controlled, it is best to specify these types of clients as Confidential.
Manage IAM clients
Create an IAM client
In the Admin Portal, ensure that you are in the right namespace. Then, go to the Authentication section and click the IAM Clients menu.
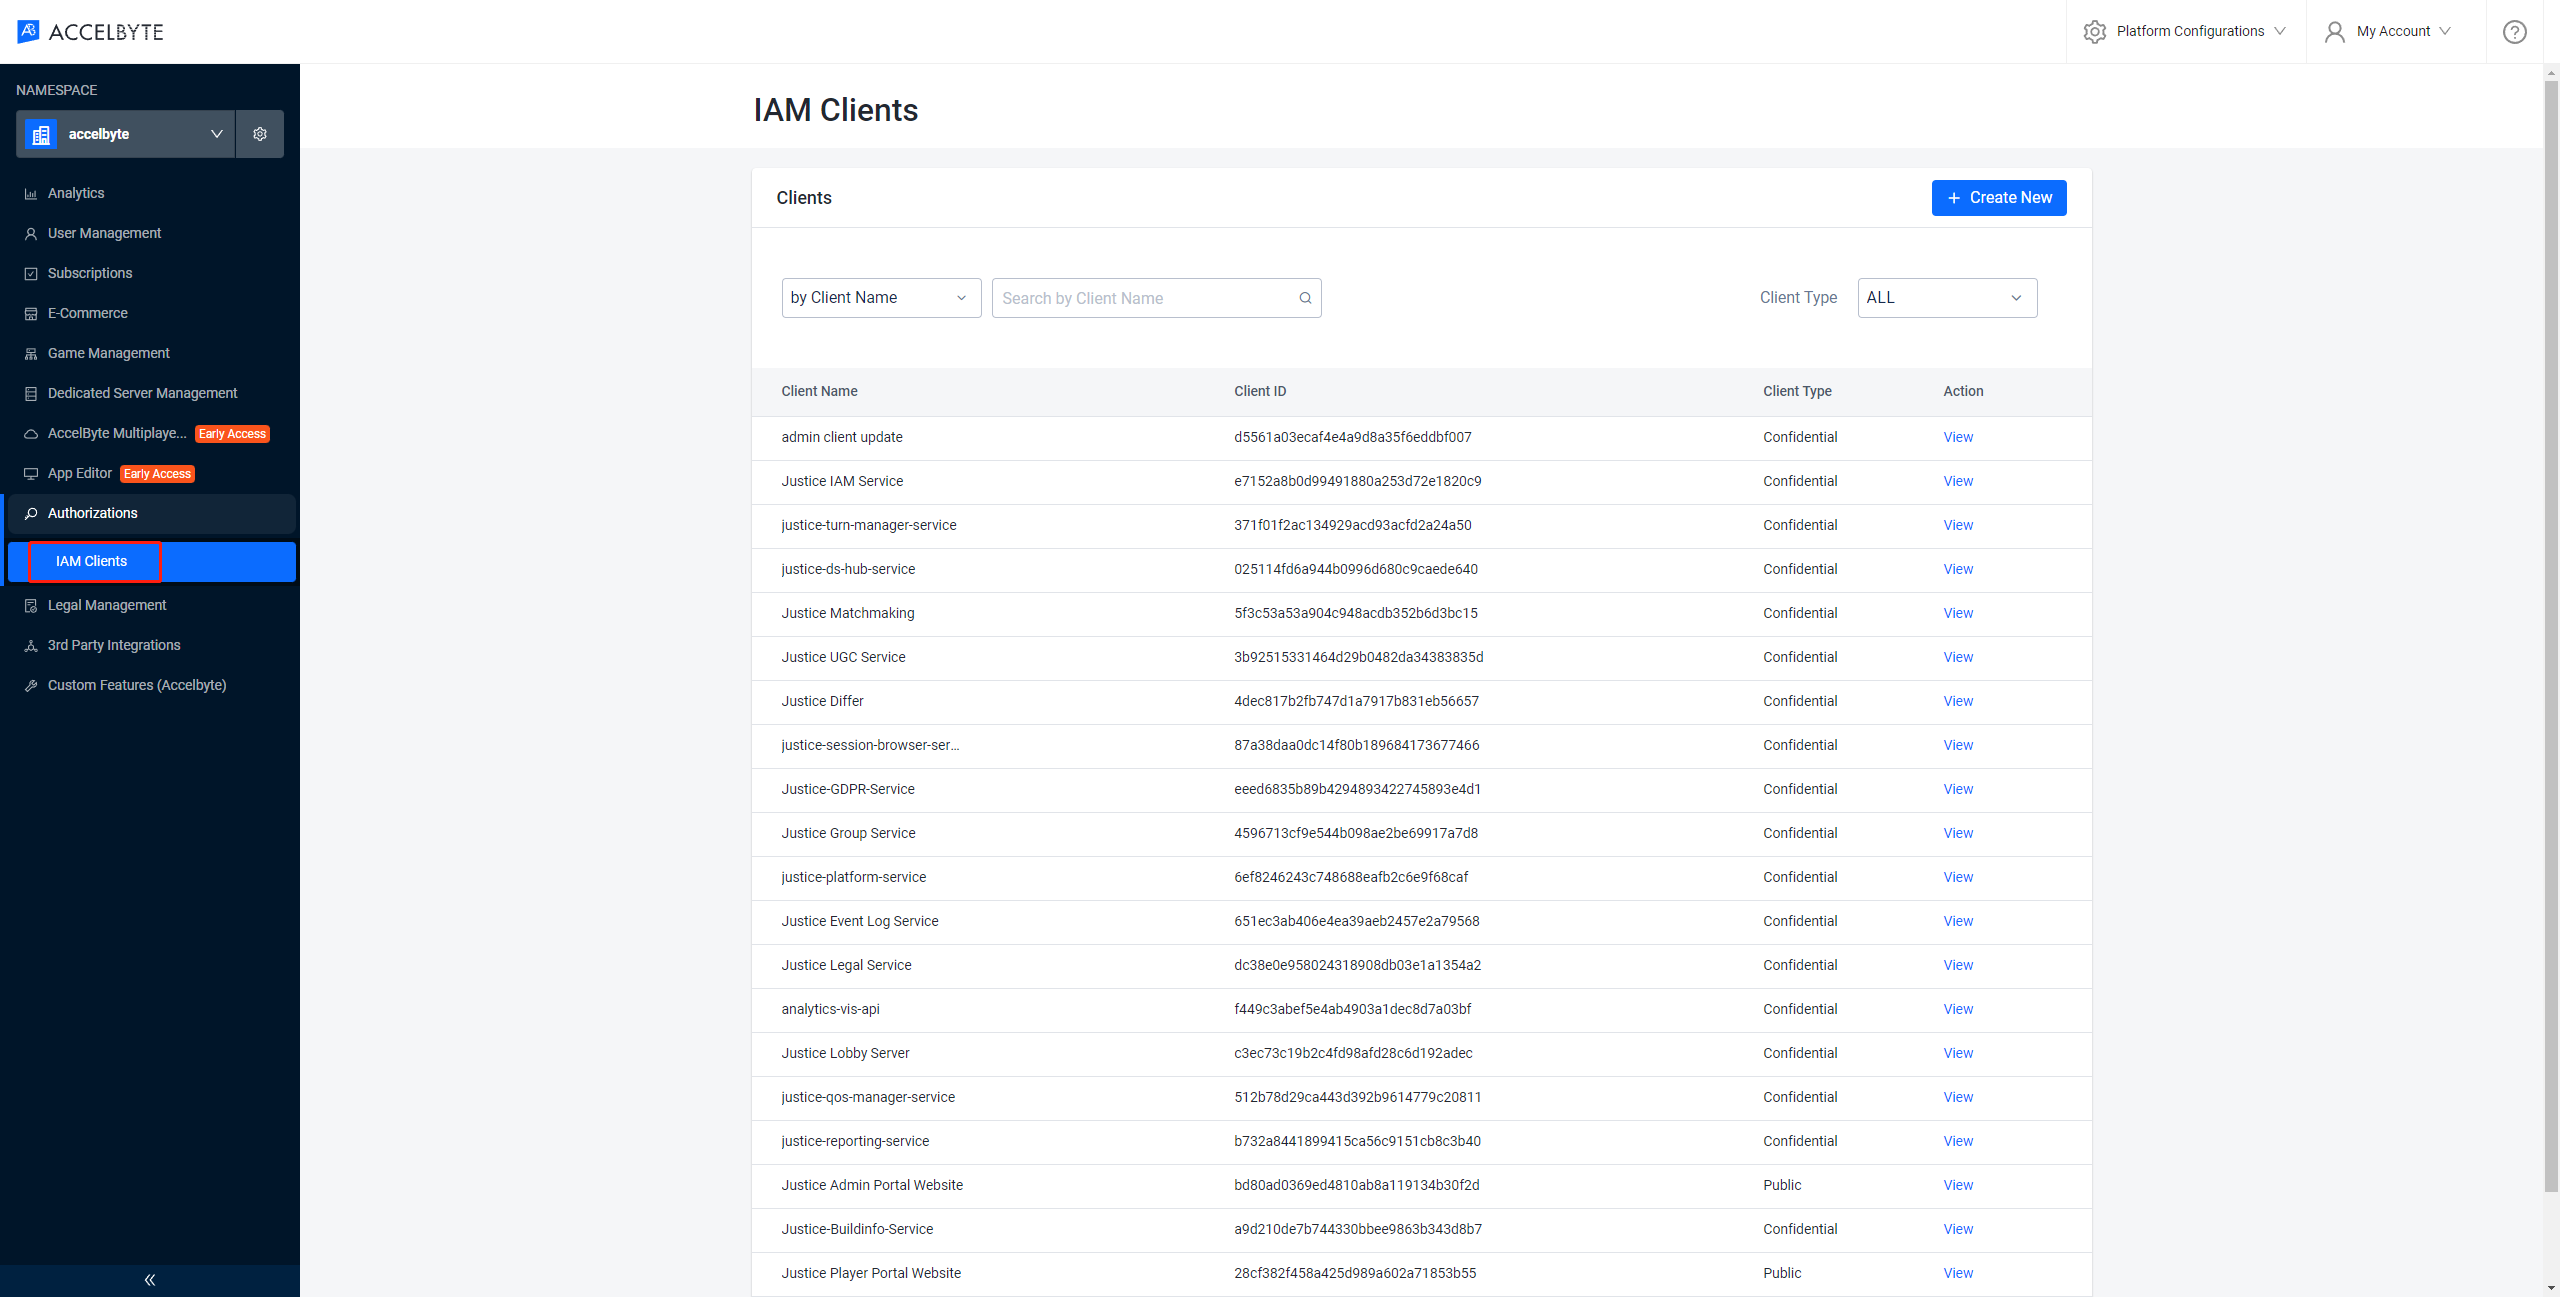
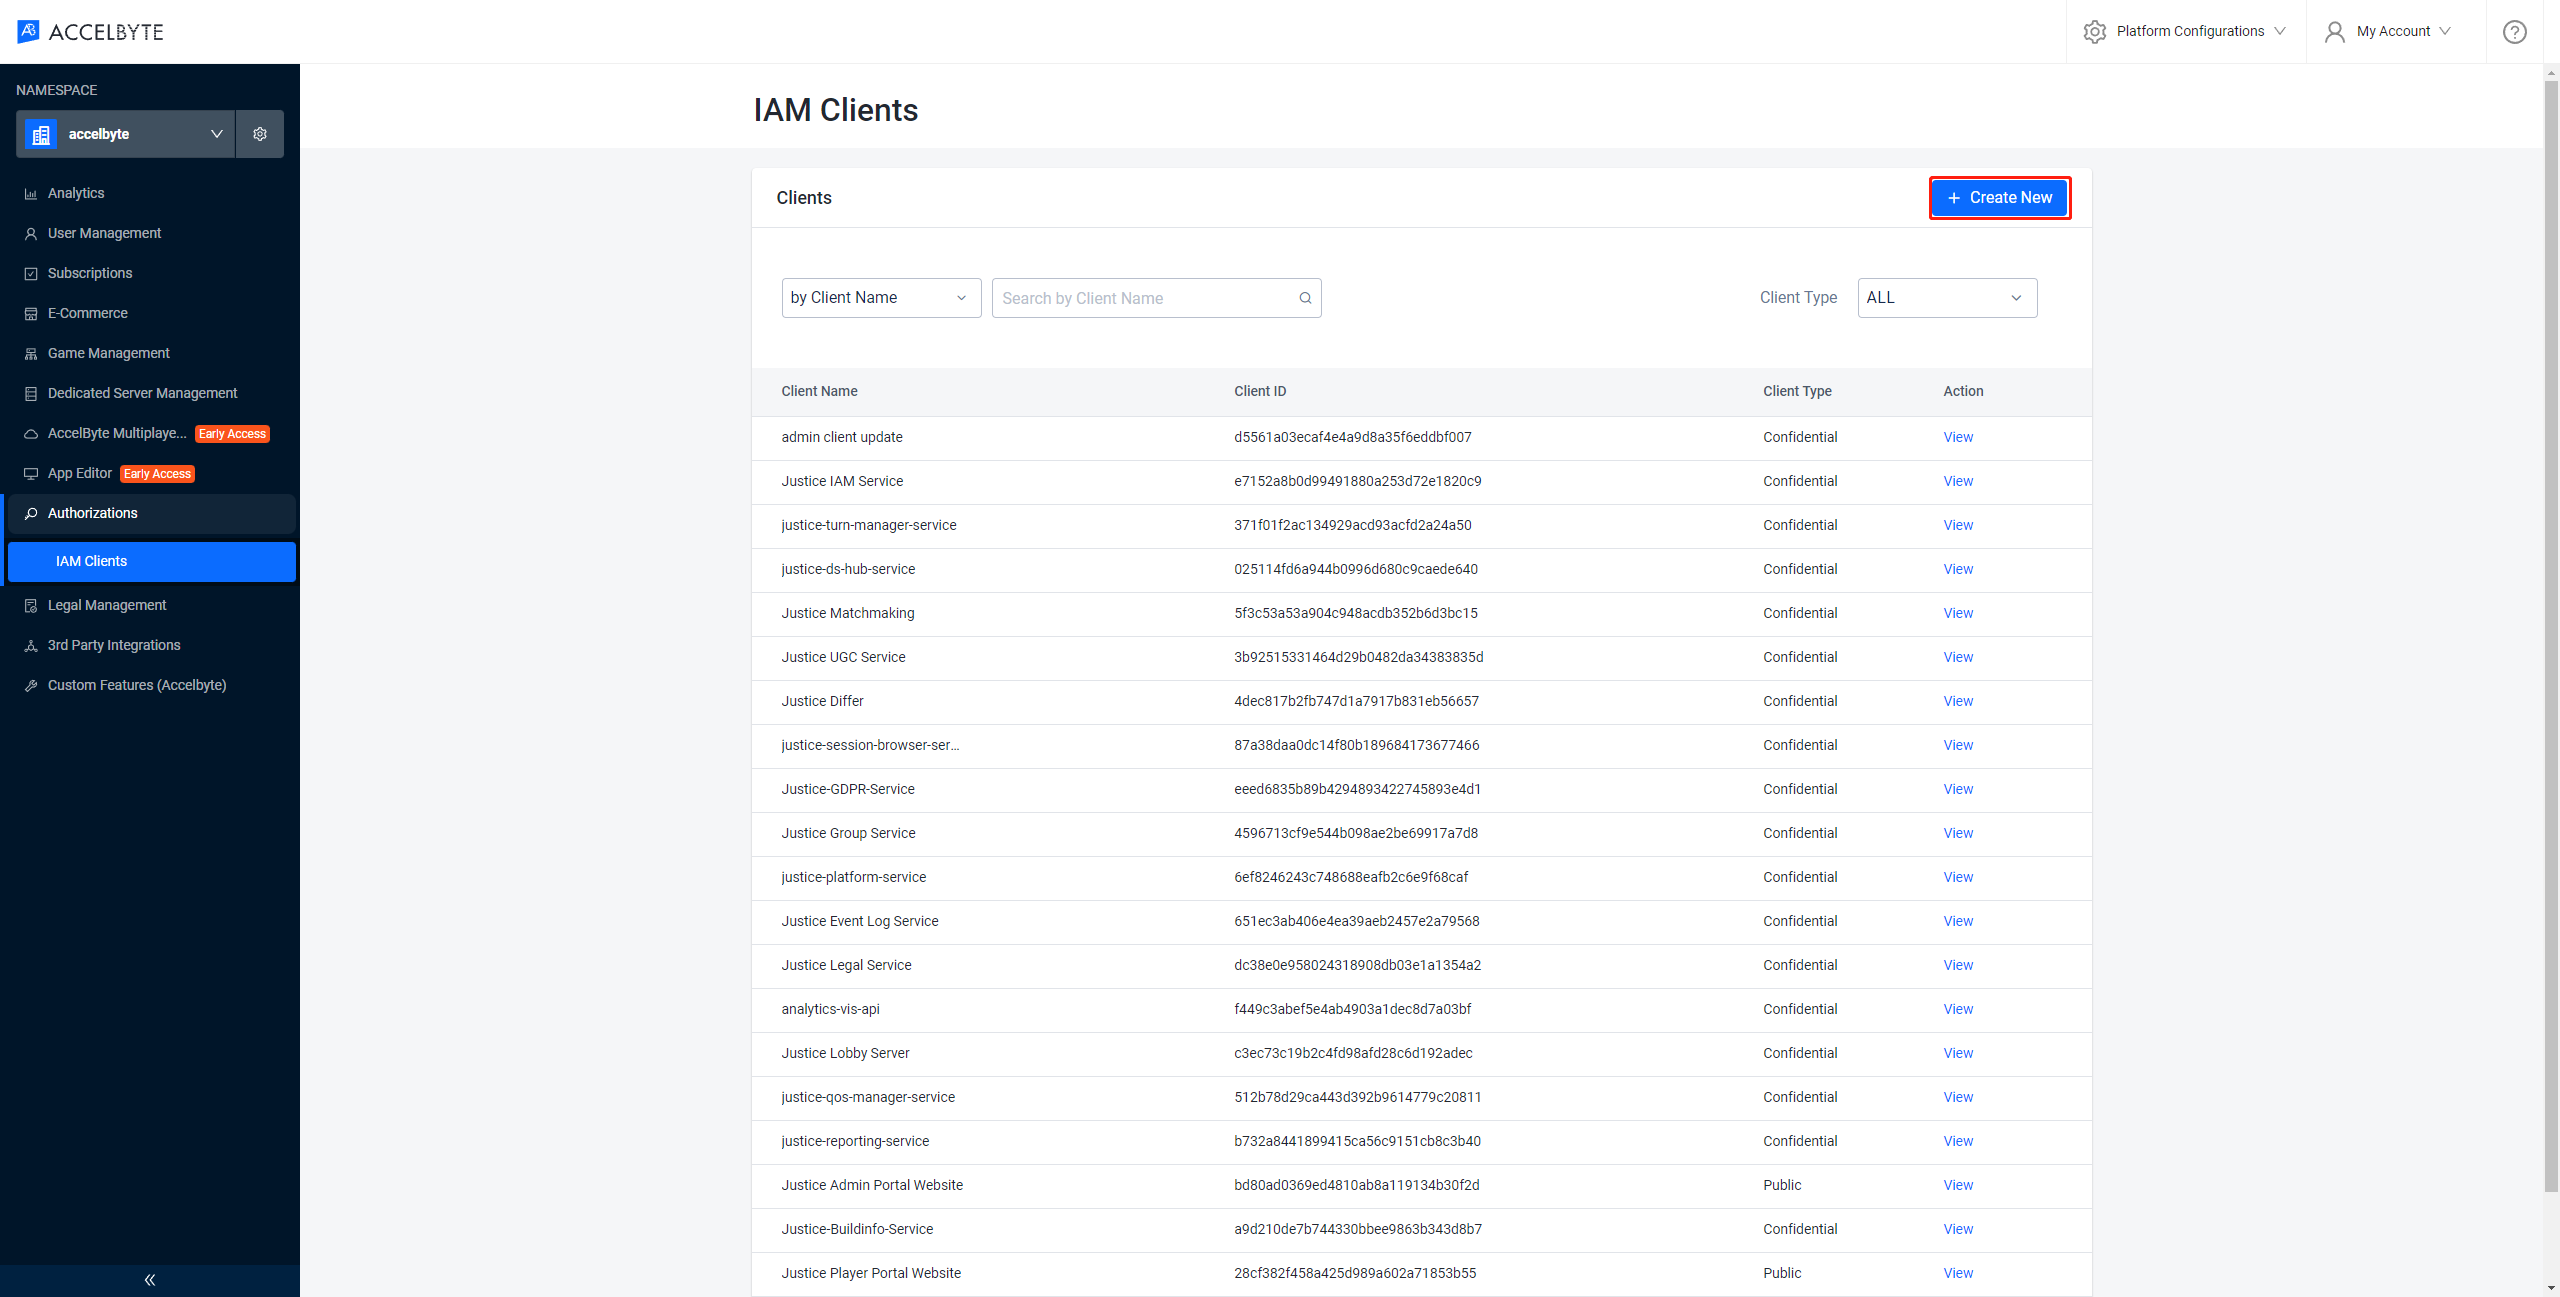
On the IAM Clients page, click Create New and fill out the appropriate fields.
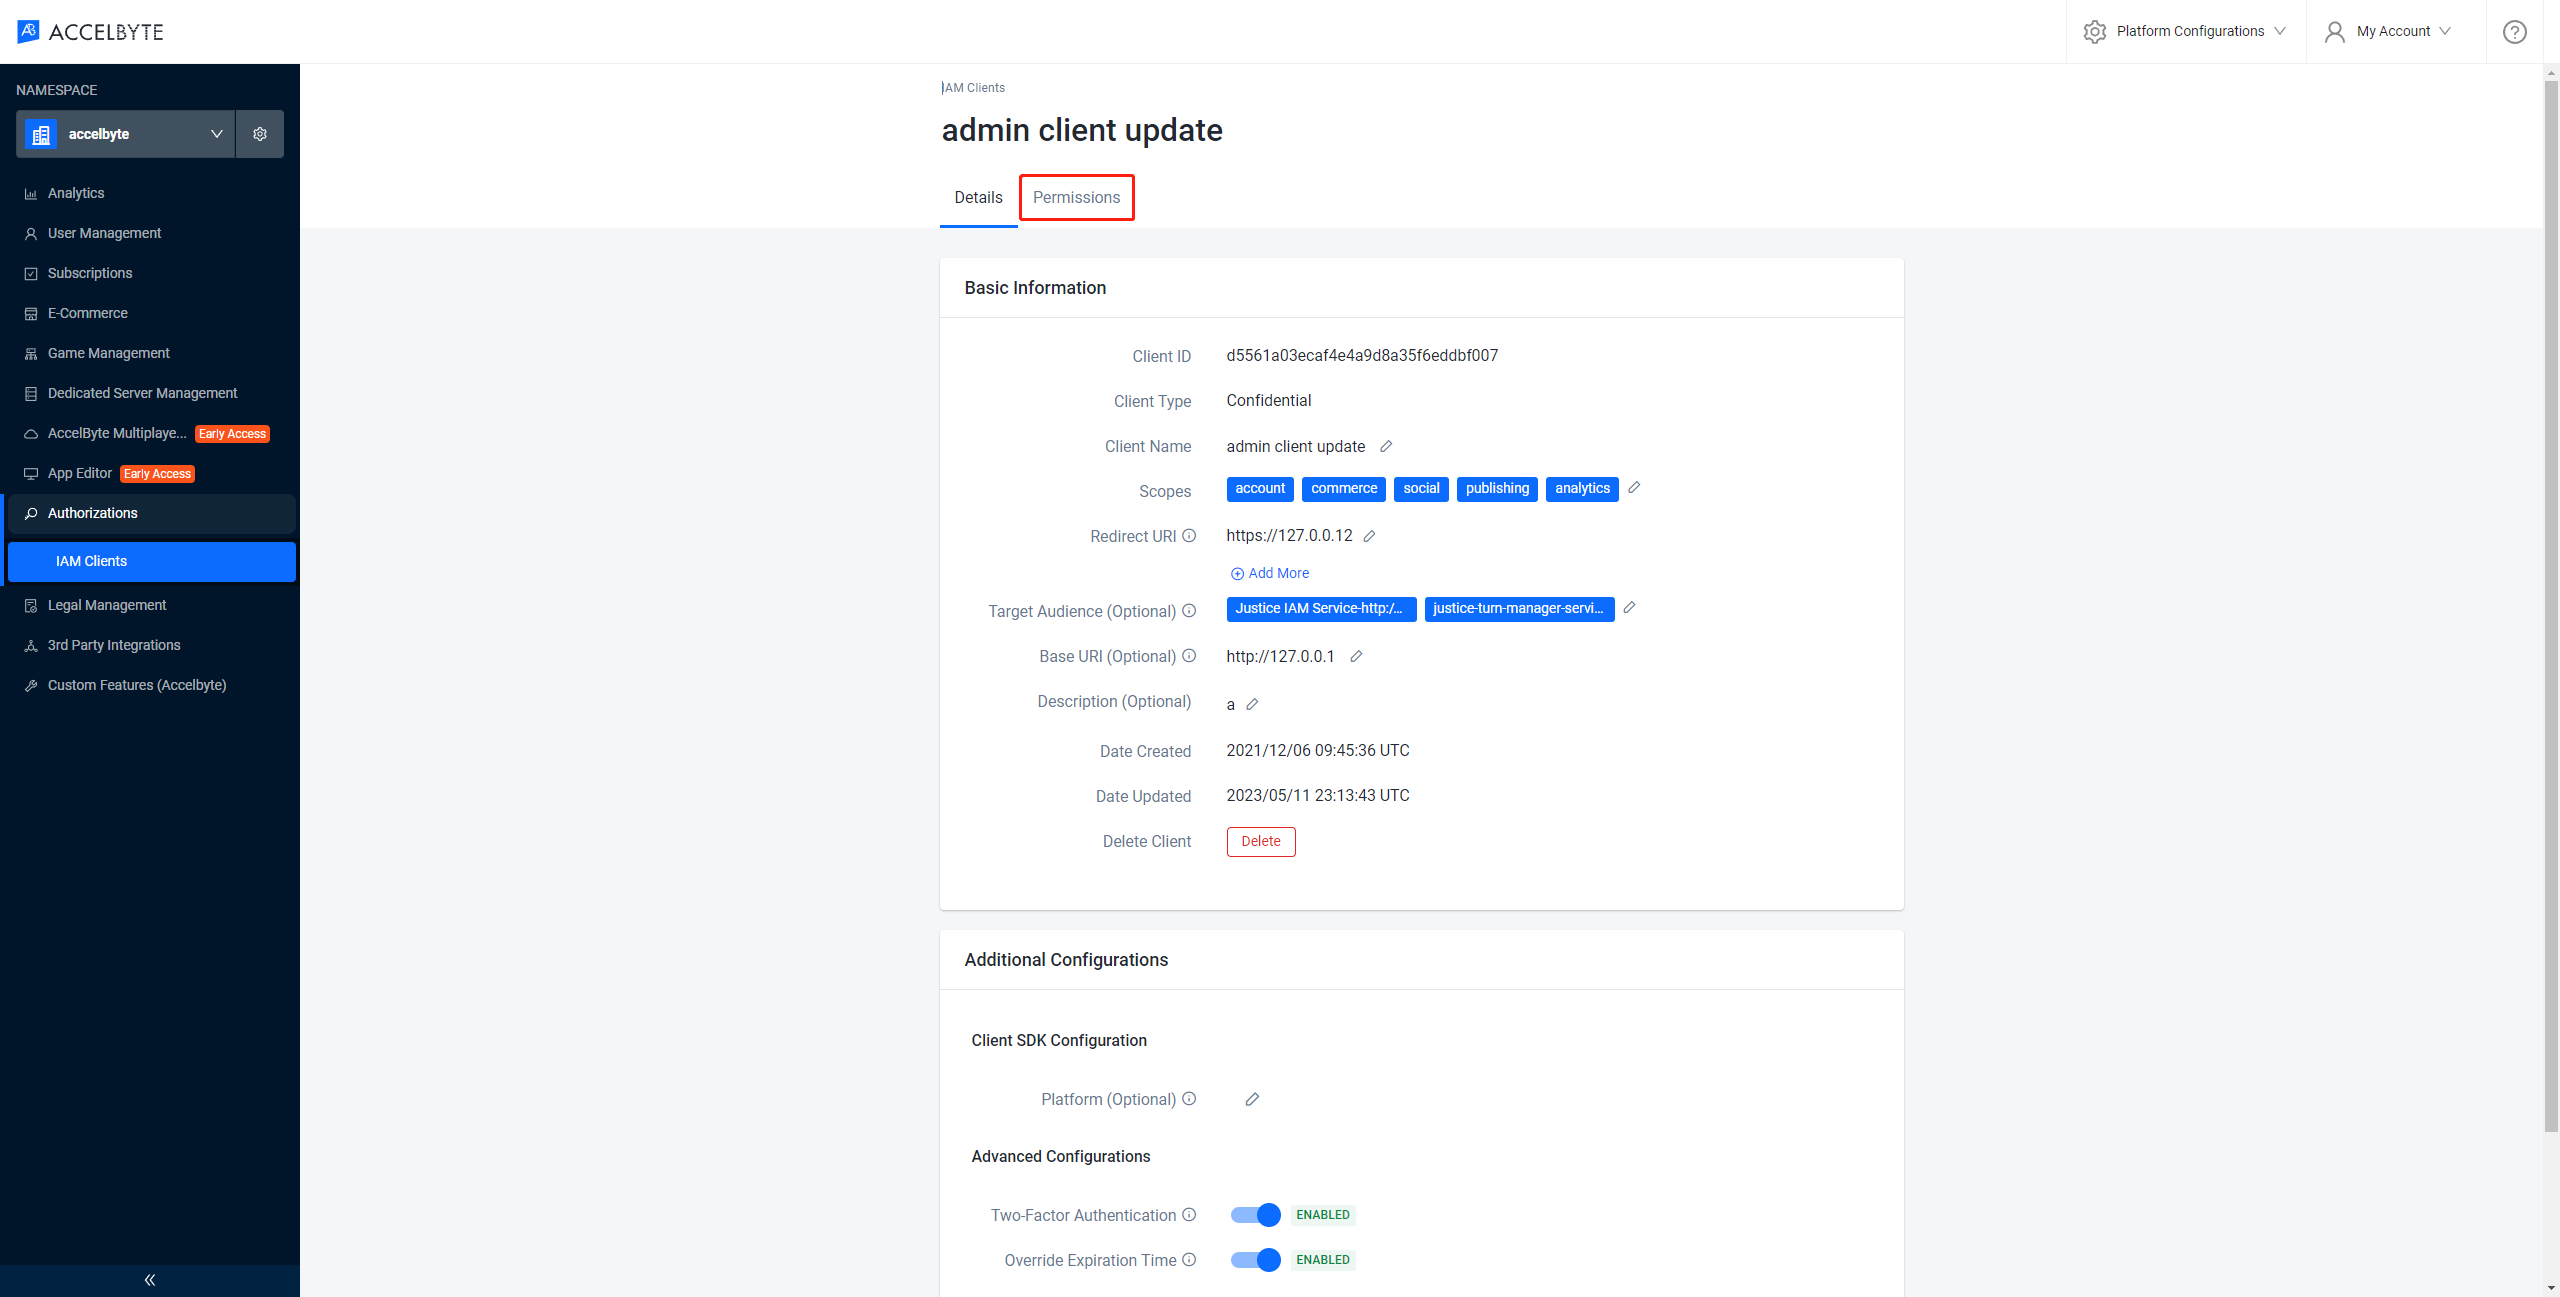
In the Basic Information section, there are essential fields for each IAM client.

Client ID serves as the unique ID for the client across the system. The system generates it automatically when you create the client.
Client Type defines how the client interacts with AGS services. You can choose between Public and Confidential. Refer to the Client types section to read more about this.
Secret serves as the password for confidential clients. You can fill the field in manually or click Generate Client Secret to have the system create one for you.
WARNINGOnce you create the client, you can no longer access the client secret. Make sure you save the secret in a secure place.
Client Name serves as the name of the client and is how the system identifies them in user-facing forms and documents.
Scopes is a mechanism in OAuth 2.0 that limits which resources an IAM Client can access. You can select a service from the dropdown menu to add it to the IAM client's scope. Learn more about Scopes by reading the OAuth 2.0 documentation.
Redirect URI is only for clients that represent web-based applications, such as a website or a launcher. For web-based clients, set the value to the URL that the system redirects the user to upon successful login. As the system requires this field for all clients, you can input the default value of
http://127.0.0.1for non web-based clients, such as game servers, game clients, or server uploaders.Use Target Audience to constrain which service endpoints the client can access. When given a value, it serves as a white list to allow backend services to quickly reject connection attempts before checking client or user permissions. When a client attempts to access a service endpoint, the service first checks the client's Target Audience list. The system rejects the connection attempt if the service's URI does not match the Base URI of any of the clients in the Target Audience field. If the client passes the Target Audience check, or if the client's Target Audience field is empty, the service proceeds to the next authentication step in the client's request, such as checking its permissions and scopes. The Target Audience dropdown contains a list of clients from the namespace that the client is in, along with the Base URI value that client specifies.
You only need Base URI for clients that the service uses. Set it to the URI of the service itself. Leave the value empty for clients you don't intend to use to allow a service to access the rest of the platform.
Use Description to give a clear description of the IAM client.
Client SDK Configuration is used by AGS SDKs that you integrate within games.

Platform defines which third-party platform the SDK client runs on. This field is optional. If you choose not to bind to any third-party platform, leave it blank.
注記The system requires this platform information for cross-platform features. For example, cross-platform virtual currency and wallet.
Advanced Configuration allows you to override behaviors for specific IAM clients.
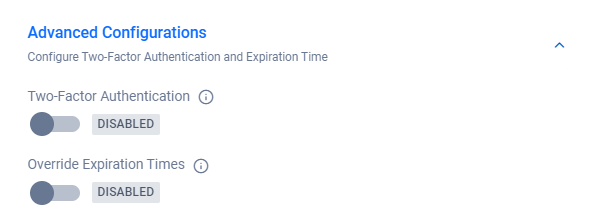
Use Two-Factor Authentication to toggle the activation status of two-factor authentication (2FA) for the client.
Use Override Expiration Time to override the default Access Token Expiration Times and Refresh Token Expiration Times. You can use this field to change the expiration times to better suit your game's play style or for testing purposes.
Click Create.
Add permissions to a client
After you create a client, add permissions to it by following these steps.
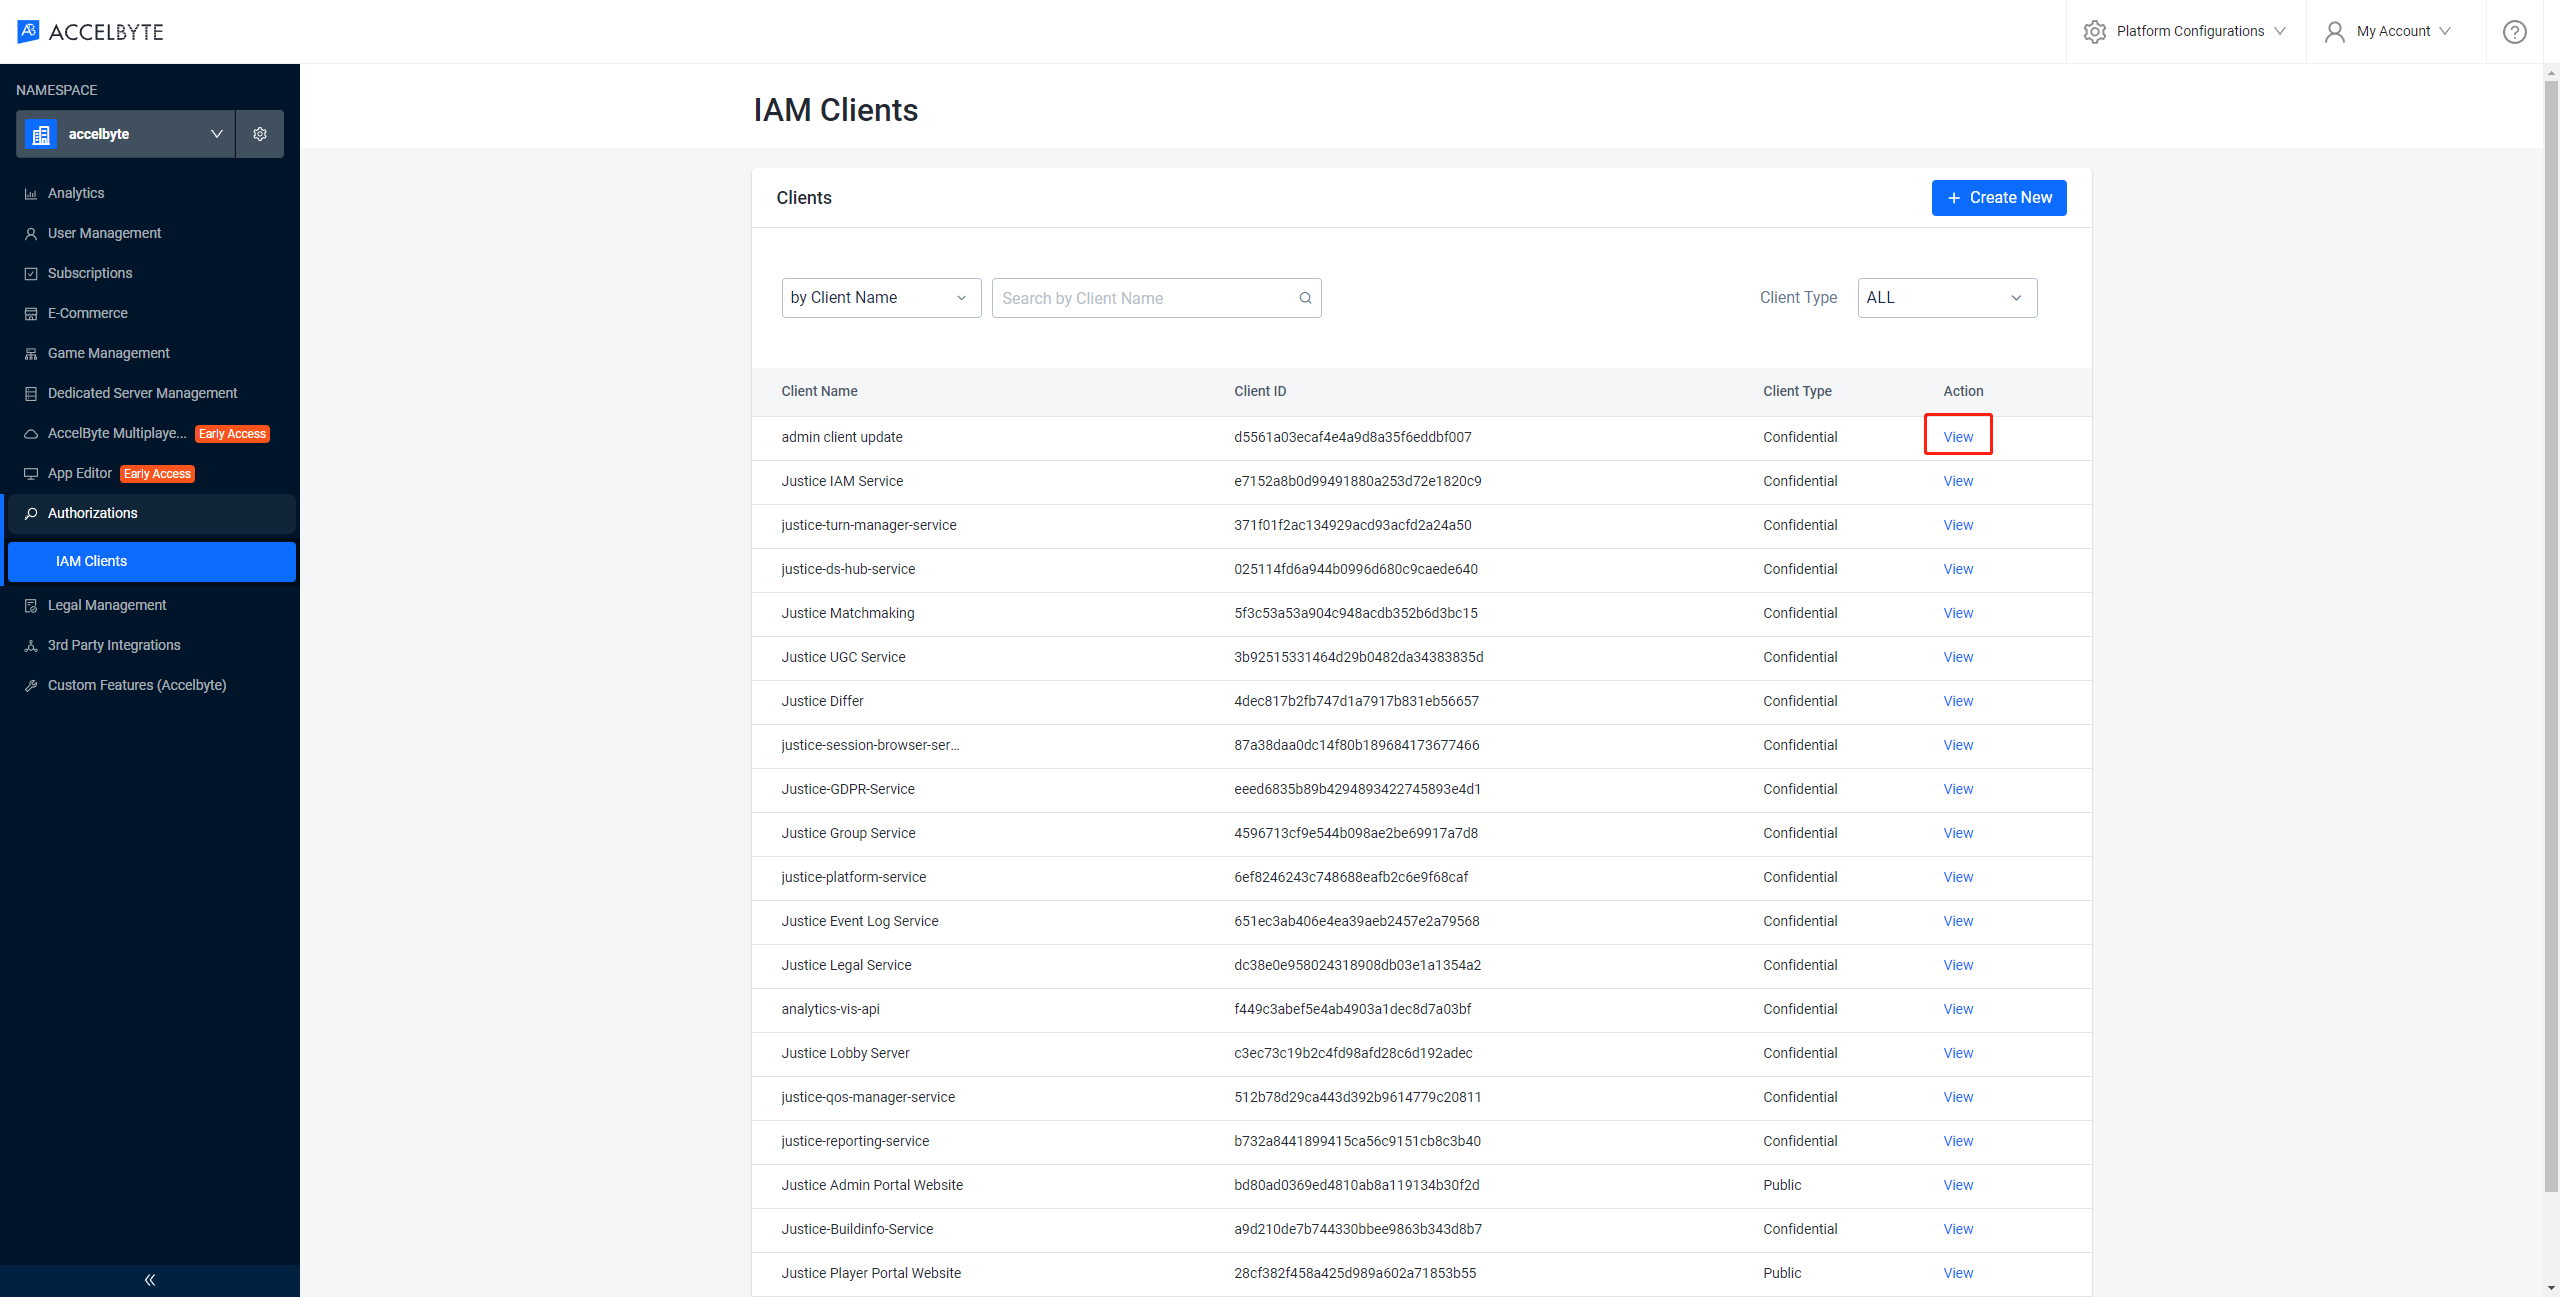
In the Admin Portal, ensure that you're in the right namespace. Then, go to the Authentication section and click the IAM Clients menu.
Click View next to the client to which you want to add permissions.
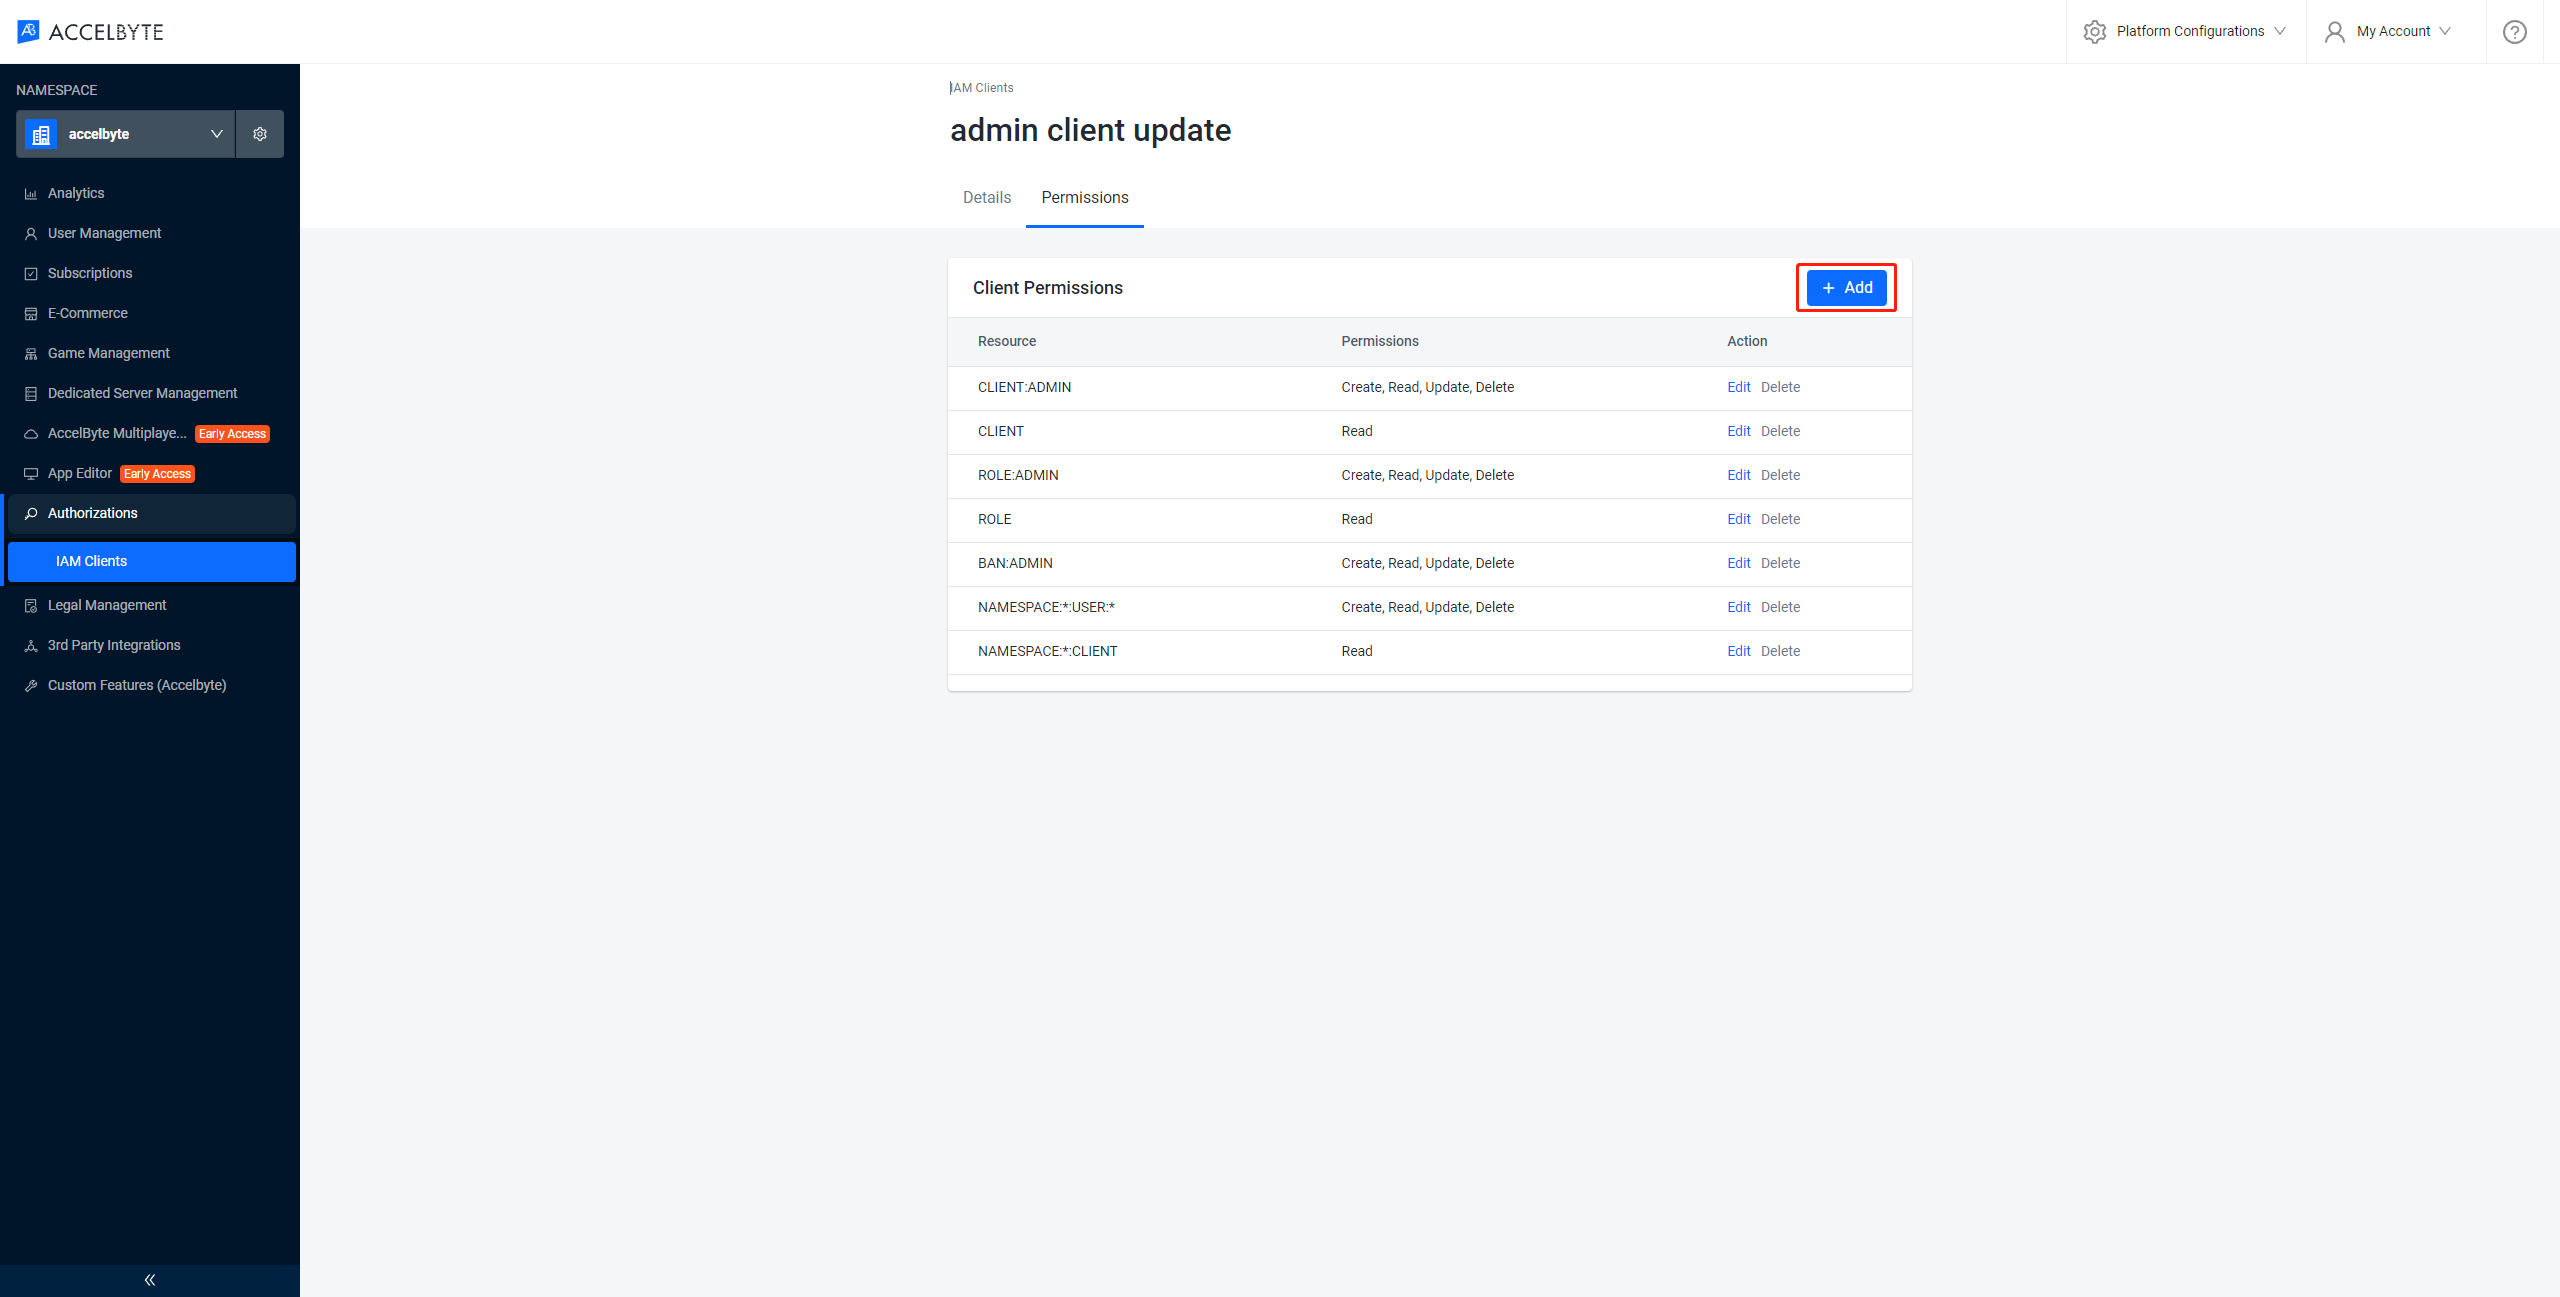
On the Client Details page, switch to the Permissions tab.
Click Add to add a new permission to the client.
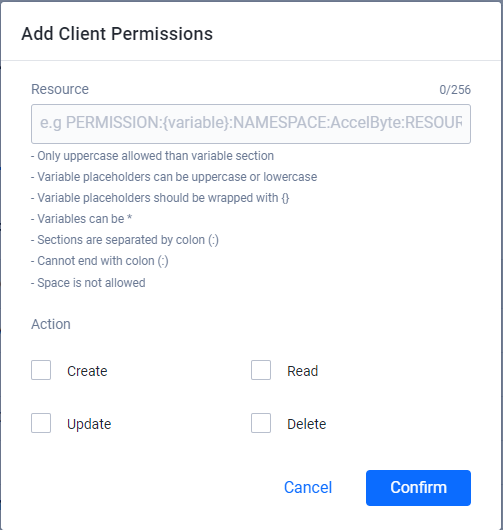
Fill in the required fields.
Enter a permission tag in the Resource field. A permission resource is a string containing multiple tokens that the system uses to grant access to specific resources. For more information, see the Permissions page.
Select the action or actions the permission requires in the Action field.
Here's a list of example permissions required by a Dedicated Server client.
Dedicated Server Client (Mandatory)
Permission Action ADMIN:DSM READ NAMESPACE:{namespace}:DSM:SERVER UPDATE Dedicated Server Client (Optional)
Permission Action ADMIN:NAMESPACE:{namespace}:ENTITLEMENT READ ADMIN:NAMESPACE:{namespace}:PARTY:STORAGE READ, UPDATE ADMIN:NAMESPACE:{namespace}:STATITEM UPDATE ADMIN:NAMESPACE:{namespace}:USER:*:ACHIEVEMENT UPDATE ADMIN:NAMESPACE:{namespace}:USER:*:CLOUDSAVE:RECORD CREATE, READ, UPDATE, DELETE ADMIN:NAMESPACE:{namespace}:USER:*:ENTITLEMENT READ ADMIN:NAMESPACE:{namespace}:USER:*:PUBLIC:CLOUDSAVE:RECORD CREATE, READ, UPDATE ADMIN:NAMESPACE:{namespace}:USER:*:STATITEM CREATE, READ, UPDATE ADMIN:NAMESPACE:{namespace}:USER:*:WALLET UPDATE NAMESPACE:{namespace}:SESSION CREATE, READ, UPDATE ADMIN:NAMESPACE:{namespace}:MATCHMAKING:CHANNEL CREATE, DELETE
The permission appears in the client permissions list.
Get application access token using AGS SDKs
A Credential client requires a valid access token for S2S calls to AGS services.
The code below generates a valid access token using AGS SDK for a Credential client.
- Unreal
- Unity
bool bServerLoggedIn = false;
bool bServerLoginComplete = false;
FRegistry::ServerOauth2.LoginWithClientCredentials(FVoidHandler::CreateLambda([&bServerLoggedIn, &bServerLoginComplete]()
{
   UE_LOG(LogAccelByteEcommerceTest, Log, TEXT("Server Login Success"));
   bServerLoginComplete = bServerLoggedIn = true;
}), FErrorHandler::CreateLambda([&bServerLoggedIn, &bServerLoginComplete](int32 ErrCode, FString const& ErrMsg)
{
   UE_LOG(LogAccelByteEcommerceTest, Error, TEXT("Server Login Success"));
   bServerLoginComplete = true;
}));
WaitUntil(bServerLoginComplete, "Waiting for server logged in...");
DedicatedServer server = AccelByteServerPlugin.GetDedicatedServer();
Result loginServerResult = null;
server.LoginWithClientCredentials(result => loginServerResult = result);
yield return TestHelper.WaitForValue(() => loginServerResult);