Manage season passes
Overview
A season pass can maintain and enhance user engagement in the game. Game admins can manage season passes from the AccelByte Gaming Services (AGS) Admin Portal. This document covers how you can manage season passes.
Goals
After finishing this guide, you should understand:
- How to clone, unpublish, and retire a season
- How to add localizations and background images
- How to reorder tiers
- How to manage user advancement in the Admin Portal
Prerequisites
- Access to the AGS Admin Portal
- Access to the AccelByte Season Pass API documentation
- Access to the AccelByte Ecommerce API to configure the required information
Clone a season
Sometimes, you want to have two seasons that are similar to each other. To make the configuration process faster, you can clone an existing season. To clone a season in the Admin Portal, you can follow the steps below:
In the Draft Seasons section, choose the draft season you want to clone by opening the season’s Action menu and clicking Clone.
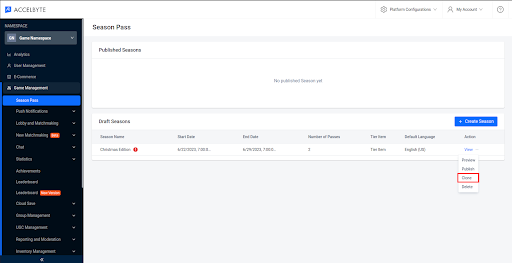 備考
備考You can also clone a published season to a draft season.
The Clone Season form will appear. Fill in the required fields:
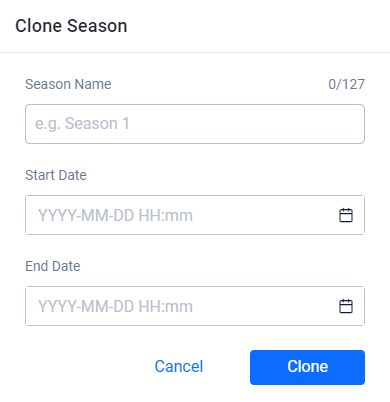
- Input a name for the new clone in the Season Name field.
- Input a start date for the new clone in the Start Date field.
- Input an end date for the new clone in the End Date field.
All other season data, such as passes and tiers, will be cloned automatically to the target season.
When you’re finished, click Clone. A new draft season will be created in the list.
Add localization to a season
Go to the Game Management section in your game namespace and select Season Pass. Click the View action of your target draft season.

The Season Details page will appear. In the Basic Information tab, scroll down to the Publishing Contents section. To add a new localization, click the Add Language button.

The Add Localization form will appear. Fill in the required fields:
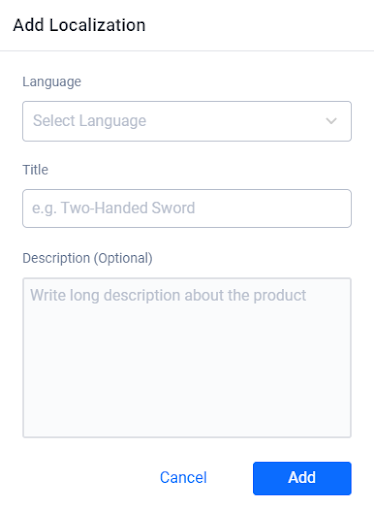
- Select the language for the new localization in the Language dropdown.
- Type the localized season name in the Title field.
- Type a localized description of the season in the Description field.
When you're finished, click Add. The localization will be added to the list.
Once you've added the localization, you can edit it at any time by clicking on the pencil button.
Upload a background image for a season
Go to the Game Management section in your game namespace and select Season Pass. Click the View action of your target draft season.

The Season Details page will appear. In the Basic Information tab, scroll down to the Publishing Contents section. Select the Images tab and then click the Upload button.

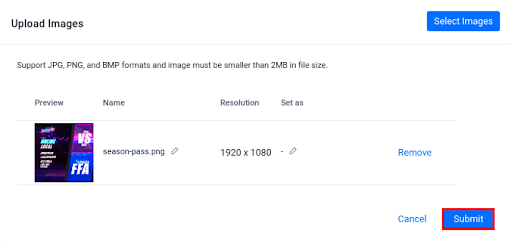
The Upload Images form will appear. Click the Select Images button to browse for your desired image from your directory.

Upload the image. After it is uploaded, make sure to check that the image is correct. You can also change the name of the image by clicking the pencil icon next to the image's Name field. Once you're done, click Submit and the image will be uploaded.
Unpublish a season
Unpublishing a season is a way to take a season down temporarily to fix a minor problem in the season configuration, such as adjusting the end date, updating the localizations or Images, or deaking with to a legal issue. Unpublishing a season will make it so that your players cannot participate further in the season event, but the data from the season event will still remain. After you've fixed the problem, you can republish the season. Since the data is still saved, players will be able to continue their progress from before the season was unpublished. You can unpublish a season by following the steps below:
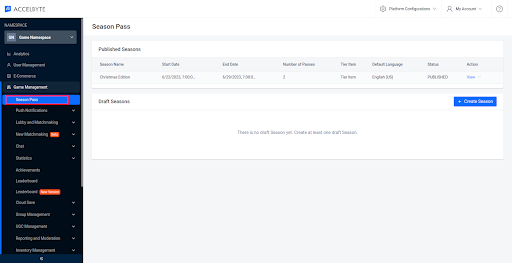
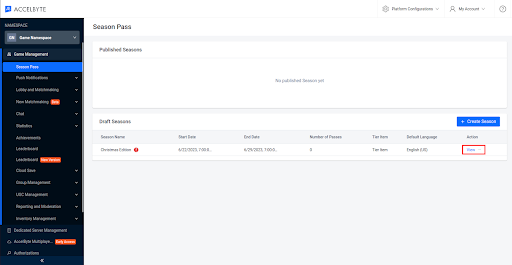
Go to the Game Management section in your game namespace and select Season Pass.
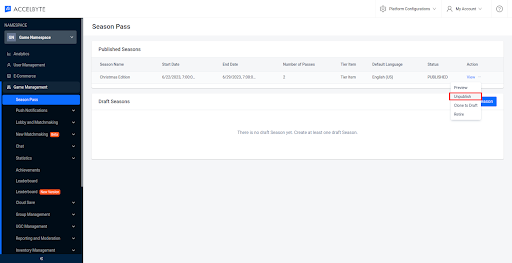
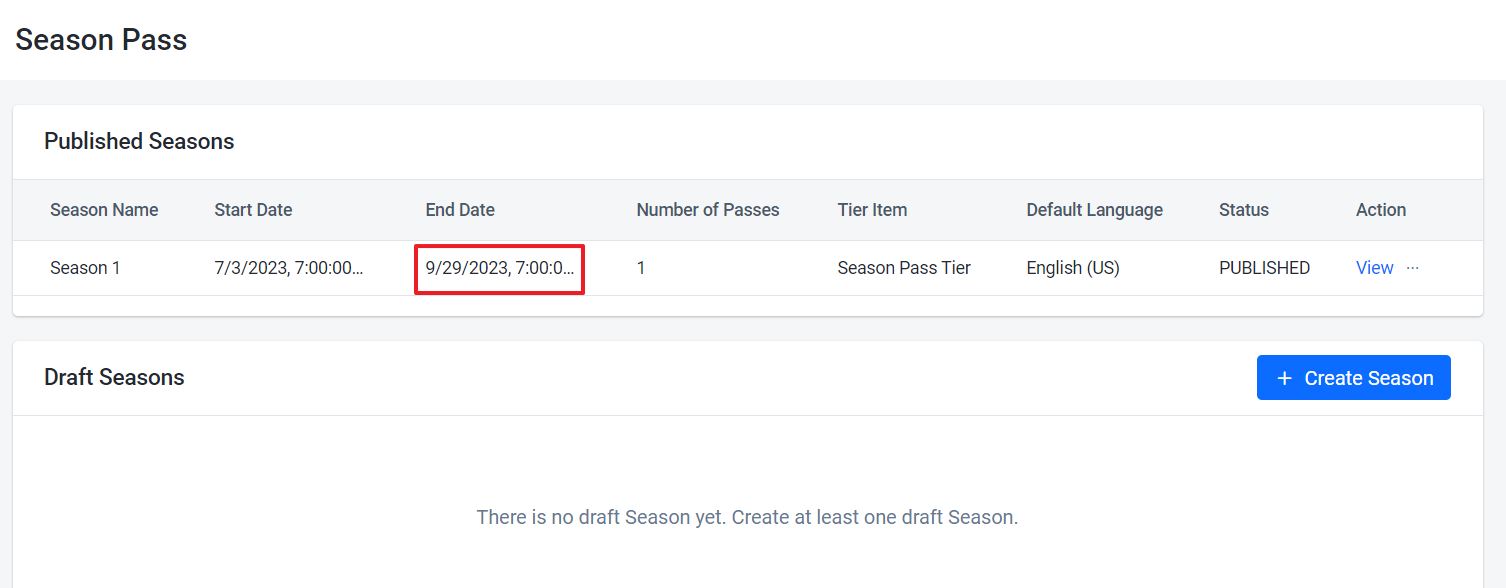
In the Published Seasons section, choose the season you want to unpublish and click Unpublish in that season's Action column.
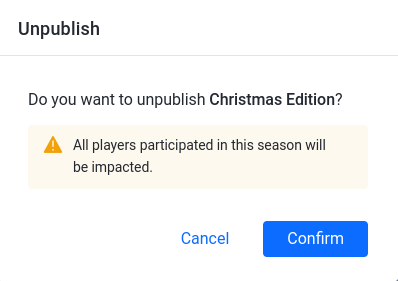
A confirmation message will appear. To unpublish this season, click the Confirm button.
Use case: Using unpublish to extend a season pass
Extending the season is a way for game publishers to extend the season pass past the expiry date. You need to unpublish the current season first, and update the desired date to extend the season pass, then you can re-publish the season pass. The data from the season event will still remain. To extend the season pass, you can follow the steps below
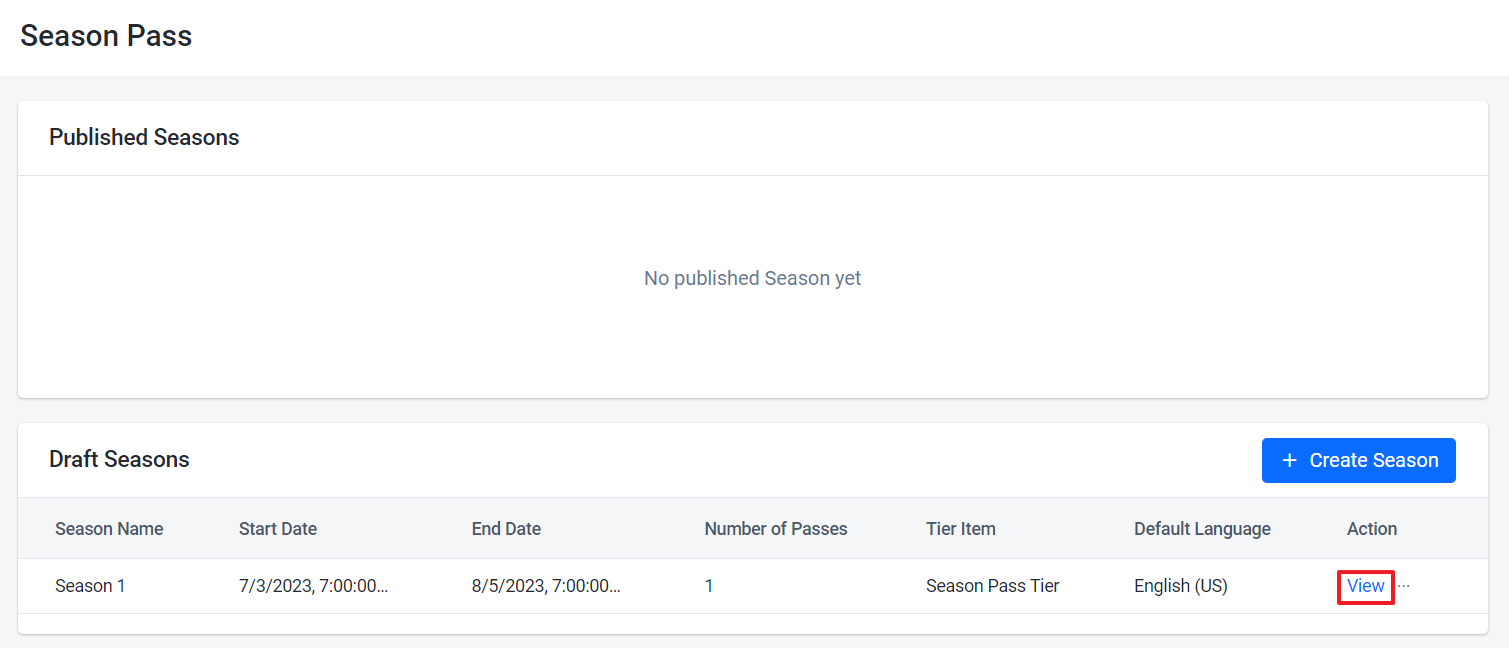
After unpublishing the season, it will be displayed back to the Draft Seasons then, click the View button
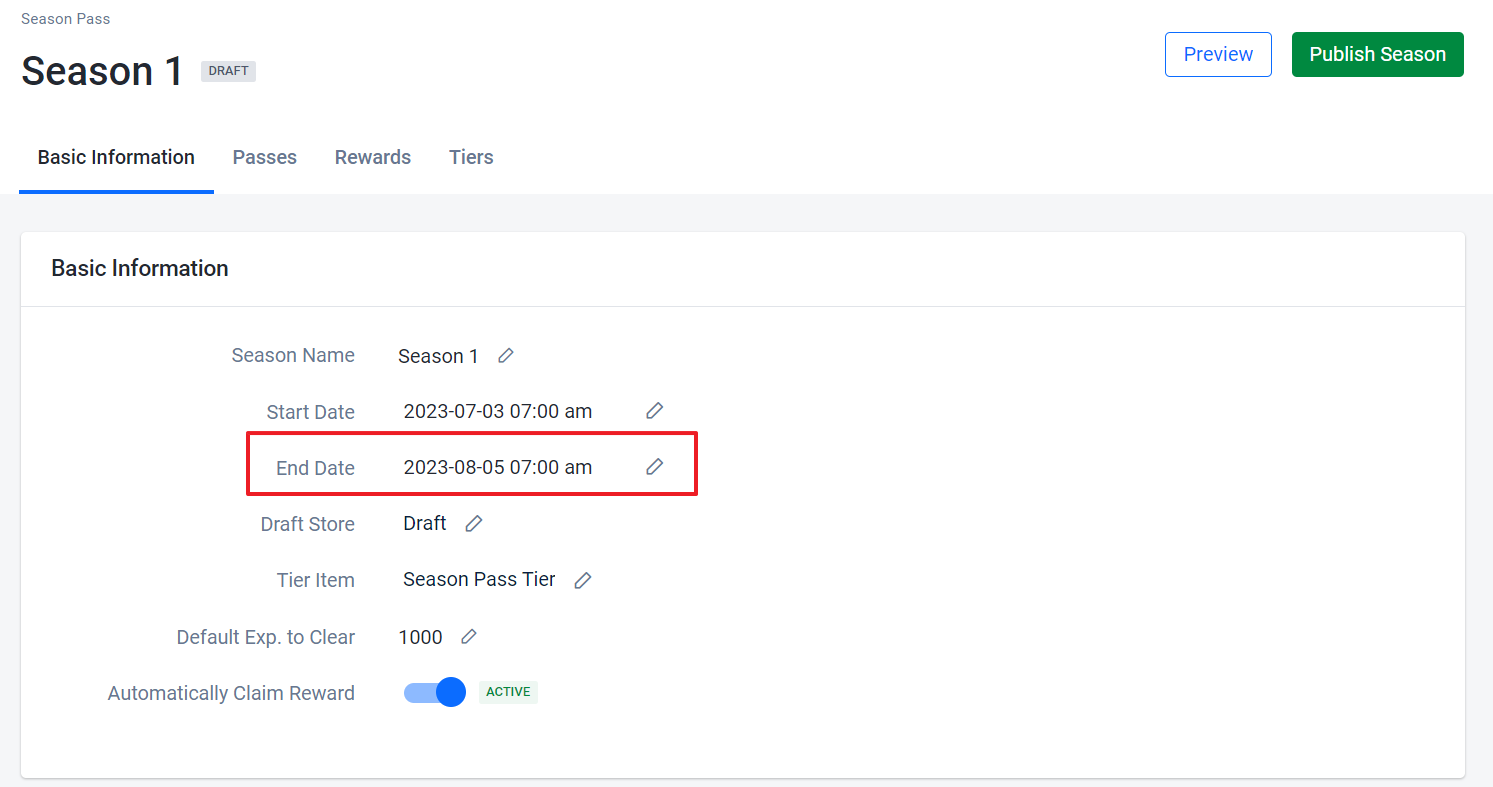
We could extend the season expiration date and select the specific end date from the Basic Information using the pencil button
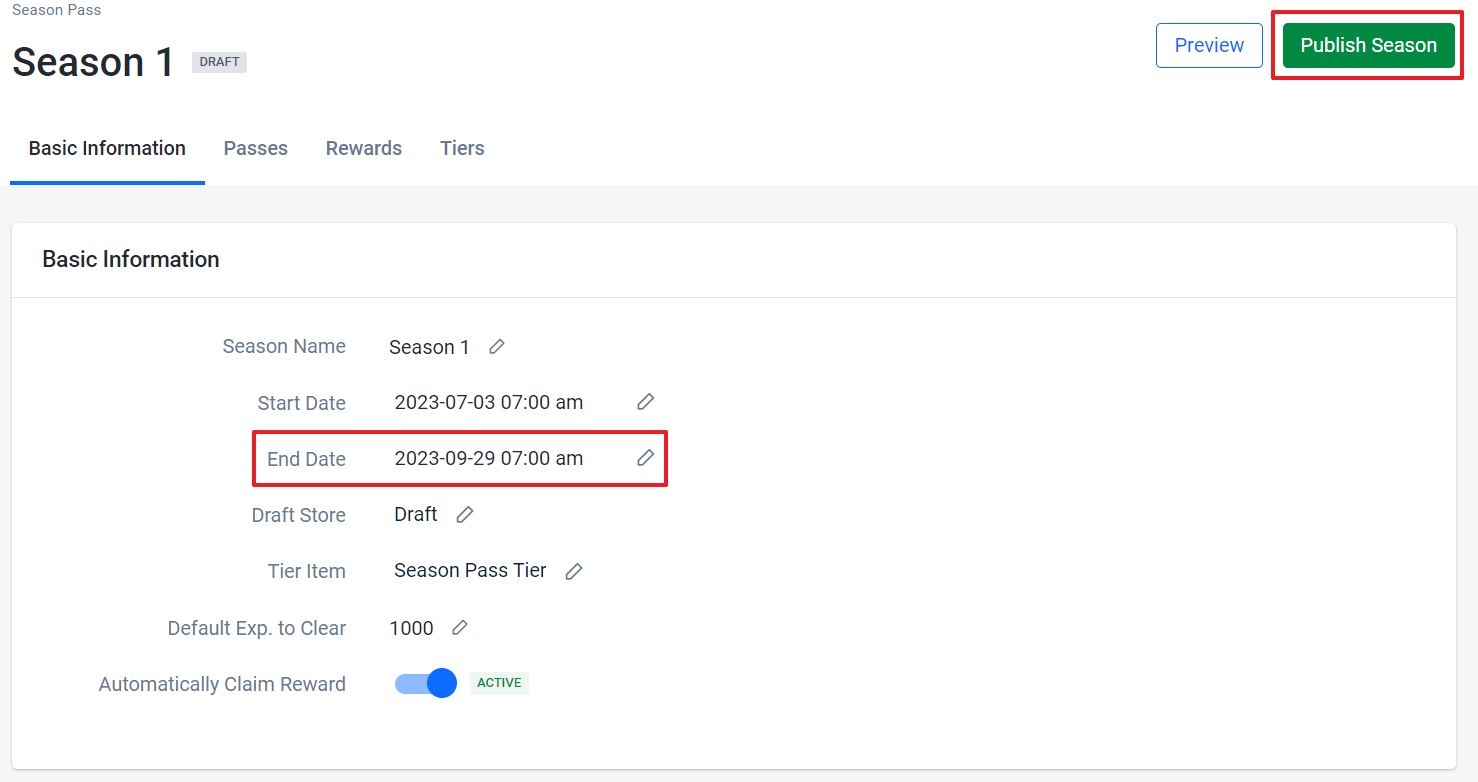
The season date is updated, and then click Publish Season button to re-publish the season pass
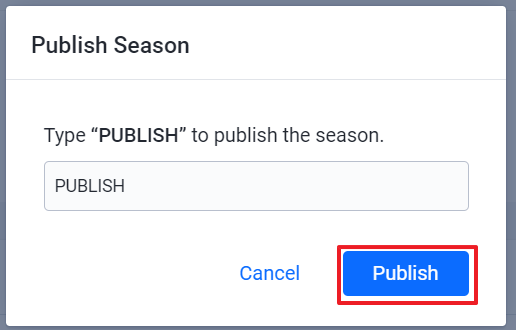
Type PUBLISH and click the Publish button
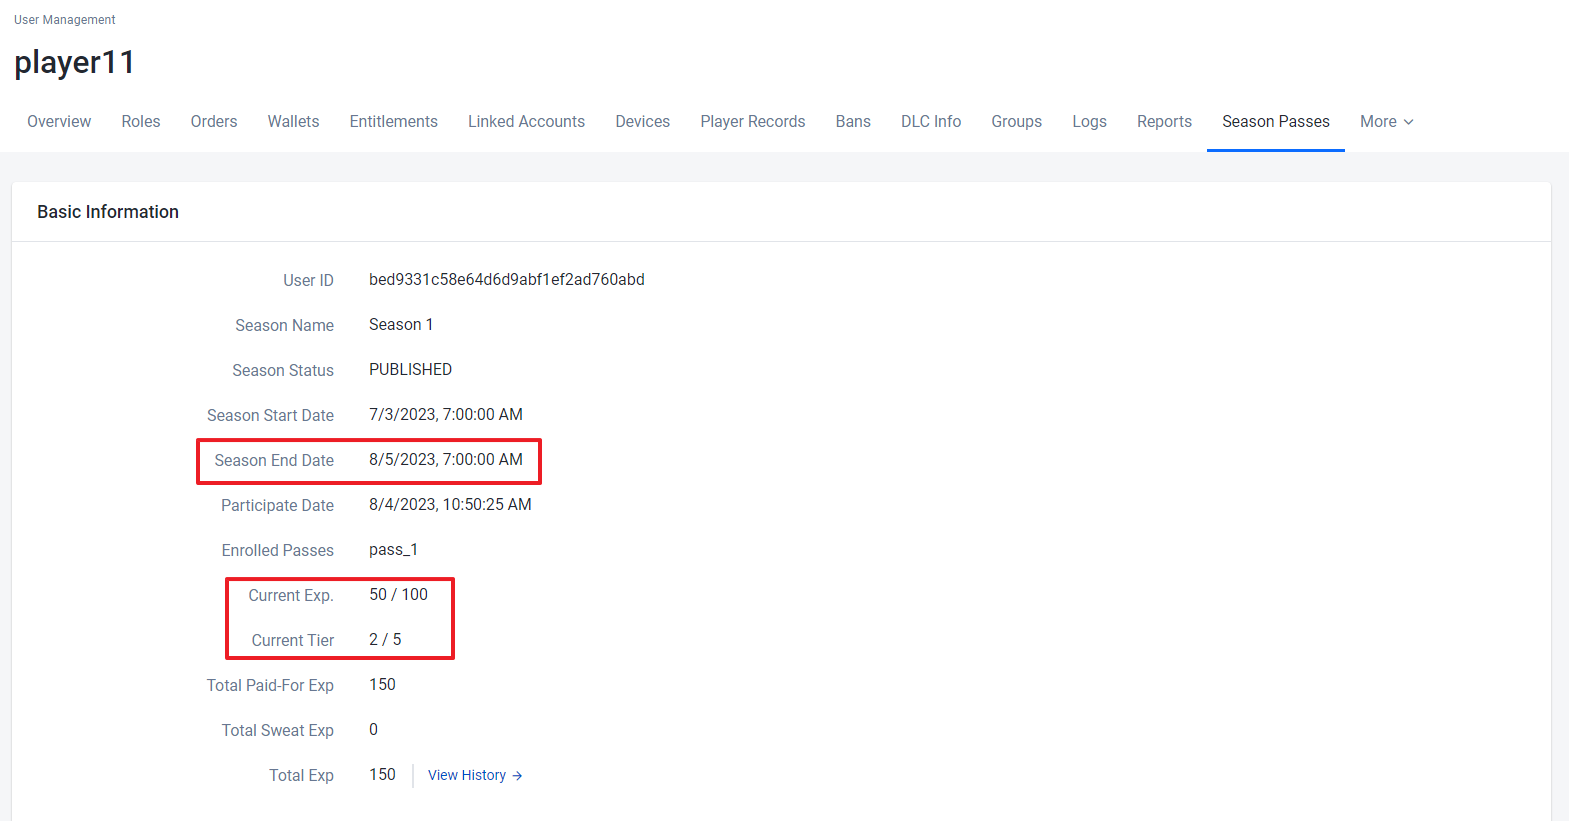
Season Pass is extended and the player data from the season event will still remain
Season player data Before extend the date
Season player data After extend the date

Additional Note : You need to wait for a few minutes to get the updated season pass data
Retire a season
Seasons have end dates when players are no longer able to participate in the season events but will still be able to claim any rewards they have earned. You can retire a season to make it so that players can no longer claim rewards or otherwise interact with the season. Retire a current season by following the steps below:
Go to the Game Management section in your game namespace and select Season Pass.

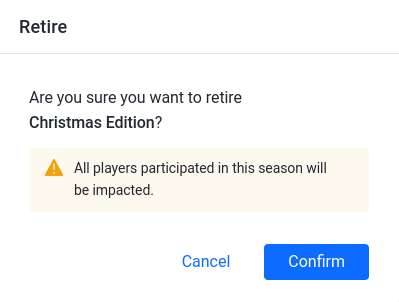
In the Published Seasons section, choose the season you want to retire and click Retire in that season’s Action column.

A confirmation message will appear. To retire the season, click Confirm.
Add localization to a pass
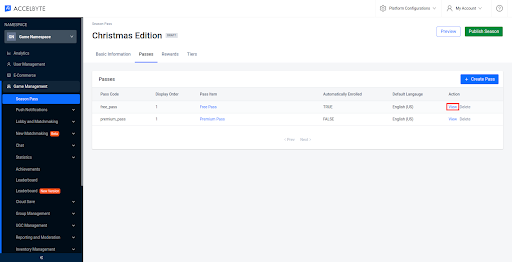
Go to the Game Management section in your game namespace and select Season Pass. Click the View action of your target draft season.

On the Season Details page, select the Passes tab and then click View in that pass's Action column.

The Passes Details page will appear. Scroll down to the Publishing Contents section. To add a new localization, click the Add Language button.

The Add Localization form will appear. Fill in the required fields:
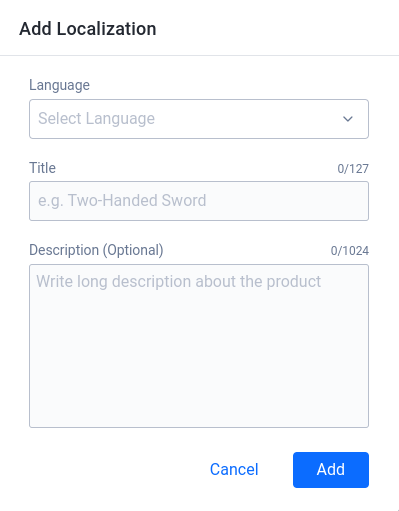
- Select the language for the new localization in the Default Language field.
- Type the localized pass name in the Title field.
- Type a localized description of the pass in the Description field.
When you're finished, click Add. The localization will be added to the list.
Once you’ve added the localization, you can edit it by clicking on the pencil icon or delete it when no longer needed.
Upload a background image for a pass
Go to the Game Management section in your game namespace and select Season Pass. Click the View action of your target draft season.

On the Season Details page, click the Passes tab and click View in the pass’s Action column.
The Passes Details page will appear. Scroll down to the Publishing Contents section. Select the Images tab and click the Upload button.
The Upload Images form will appear. Click the Select Images button, upload the desired image from your directory, and click Submit.
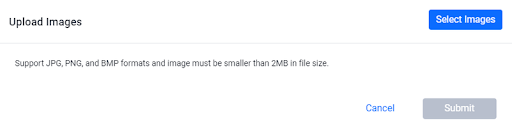
After the image is uploaded, make sure the image is correct. You can also change the name of the image. Once you're done, click Submit and the background image will be uploaded.

Reorder tiers
You can reorder a season pass event's tiers. Reordering tiers will also reorder their properties, such as the tier's Exp. to Clear requirements and their associated rewards. You can reorder a season pass event's tiers by following the steps below.
Go to the Game Management section in your game namespace and select Season Pass. Click the View action of your target draft season.
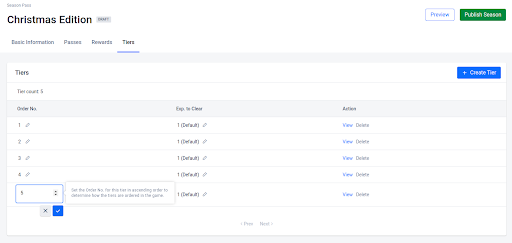
On the Season Details page, select the Tiers tab. You will see a list of tiers that have already been created for this event. For more information on creating tiers, see the Create a tier.

Click the pencil icon in the Order No. column of the tier that you want to move. Input the desired order value, then click the check mark. The tiers will be reordered. For example, if you change the 3rd tier to order number 1, tiers 1 and 2 will become tiers 2 and 3.
Manage user advancement
You can manually advance a user to the next tier by following the steps below:
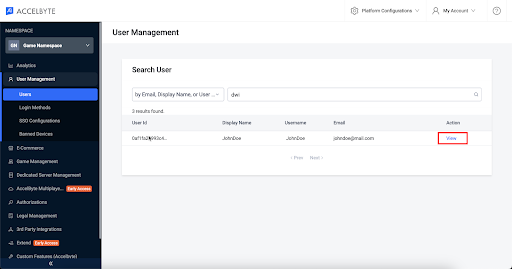
In the Admin Portal, choose the target game namespace. Then, go to the User Management section of the left navigation menu and select Users.

Select the search filter from the dropdown menu in the Search User panel that corresponds to the player's account information that you have on hand. Type that information in the text box and press Enter to search. The results of your search will appear. Browse the list to find the account you're looking for and click View in the Action column of the account listing to open it.
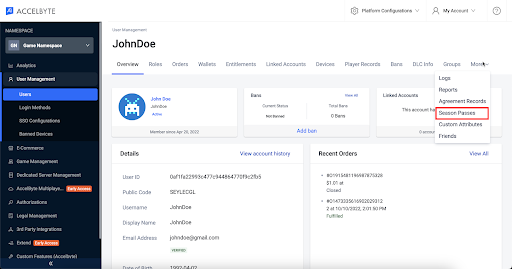
The User Overview will appear, giving you a quick look at player data such as their wallet balance, ban status, and linked accounts, also more detailed records of the player's activity. Open the Season Passes tab from the ribbon at the top of the page.
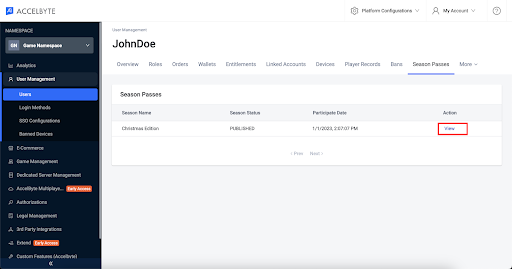
On the Season Pass Information page, click the View button of the selected season pass.
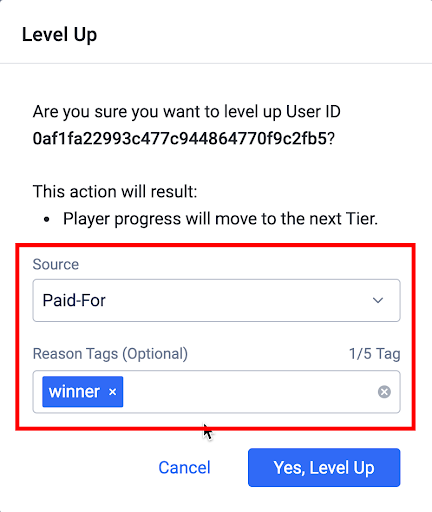
On the Season Pass Details of the User page, click the Level Up button to advance the user to the next tier.
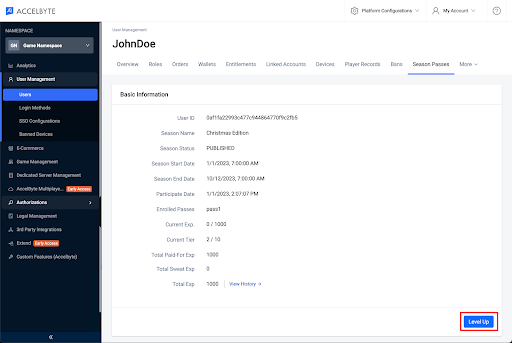
A confirmation message appears. Fill in the following fields:
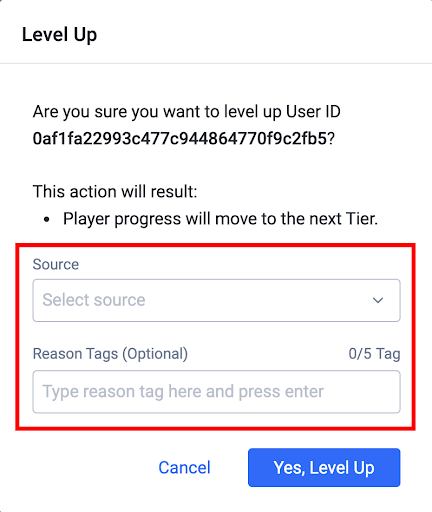
- Fill the Source field with the options from the dropdown to define the source of the advancement. Choose Paid-For if the player got their advancement through purchasing a level upgrade. Choose Sweat if the player got their advancement through gameplay and engagement with your game.
- Fill the Reason Tags with the reason why the player got their advancement.
To advance the user to the next tier, click Yes, Level Up. The user will be advanced to the next tier.