Unreal Engine Module - Login with Device ID - Put it all together
Connecting UI with login implementation
In this section, you will learn how to connect the login menu widget with the login implementation we created in the previous section.
We are going to get the reference of AuthEssentialsSubsystem_Starter subsystem, set up the callback function to listen when login process is completed, set up the login credentials, and then send the login request.
By default, we have hooked the
AuthEssentialsSubsystem_Startersubsystem to a variable calledAuthSubsystem. You can find this definition in theLoginWidget_Starterclass CPP file like the following.void ULoginWidget_Starter::NativeConstruct()
{
Super::NativeConstruct();
GameInstance = Cast<UAccelByteWarsGameInstance>(GetGameInstance());
ensure(GameInstance);
AuthSubsystem = GameInstance->GetSubsystem<UAuthEssentialsSubsystem_Starter>();
ensure(AuthSubsystem);
PromptSubsystem = GameInstance->GetSubsystem<UPromptSubsystem>();
ensure(PromptSubsystem);
SetLoginState(ELoginState::Default);
OnRetryLoginDelegate.Clear();
}Since we already made the declaration for you, go straight to
LoginWidget_StarterCPP file and navigate toOnLoginComplete()function. This function will be the callback for when login process is completed. This function will display Main Menu widget on login success or display error message on login failed.void ULoginWidget_Starter::OnLoginComplete(bool bWasSuccessful, const FString& ErrorMessage)
{
if (bWasSuccessful)
{
// When login success, open Main Menu widget.
UAccelByteWarsBaseUI* BaseUIWidget = Cast<UAccelByteWarsBaseUI>(GameInstance->GetBaseUIWidget());
ensure(BaseUIWidget);
BaseUIWidget->PushWidgetToStack(EBaseUIStackType::Menu, MainMenuWidgetClass);
}
else
{
// When login failed, show error message.
Tb_FailedMessage->SetText(FText::FromString(ErrorMessage));
SetLoginState(ELoginState::Failed);
}
}Now, we can start to send the login request. Still in the CPP file, navigate to
OnLoginWithDeviceIdButtonClicked()function and replace the existing implementation with the following.void ULoginWidget_Starter::OnLoginWithDeviceIdButtonClicked()
{
SetLoginState(ELoginState::LoggingIn);
OnRetryLoginDelegate.AddUObject(this, &ThisClass::OnLoginWithDeviceIdButtonClicked);
// Get player controller.
APlayerController* PC = GetWorld()->GetFirstPlayerController();
ensure(PC);
// Set auth credentials and send login with Device ID request.
// Note that login with Device ID only requires the login type.
// It doesn't require id/username nor token/password.
ensure(AuthSubsystem);
AuthSubsystem->SetAuthCredentials(EAccelByteLoginType::DeviceId, TEXT(""), TEXT(""));
AuthSubsystem->Login(PC, FAuthOnLoginCompleteDelegate_Starter::CreateUObject(this, &ThisClass::OnLoginComplete));
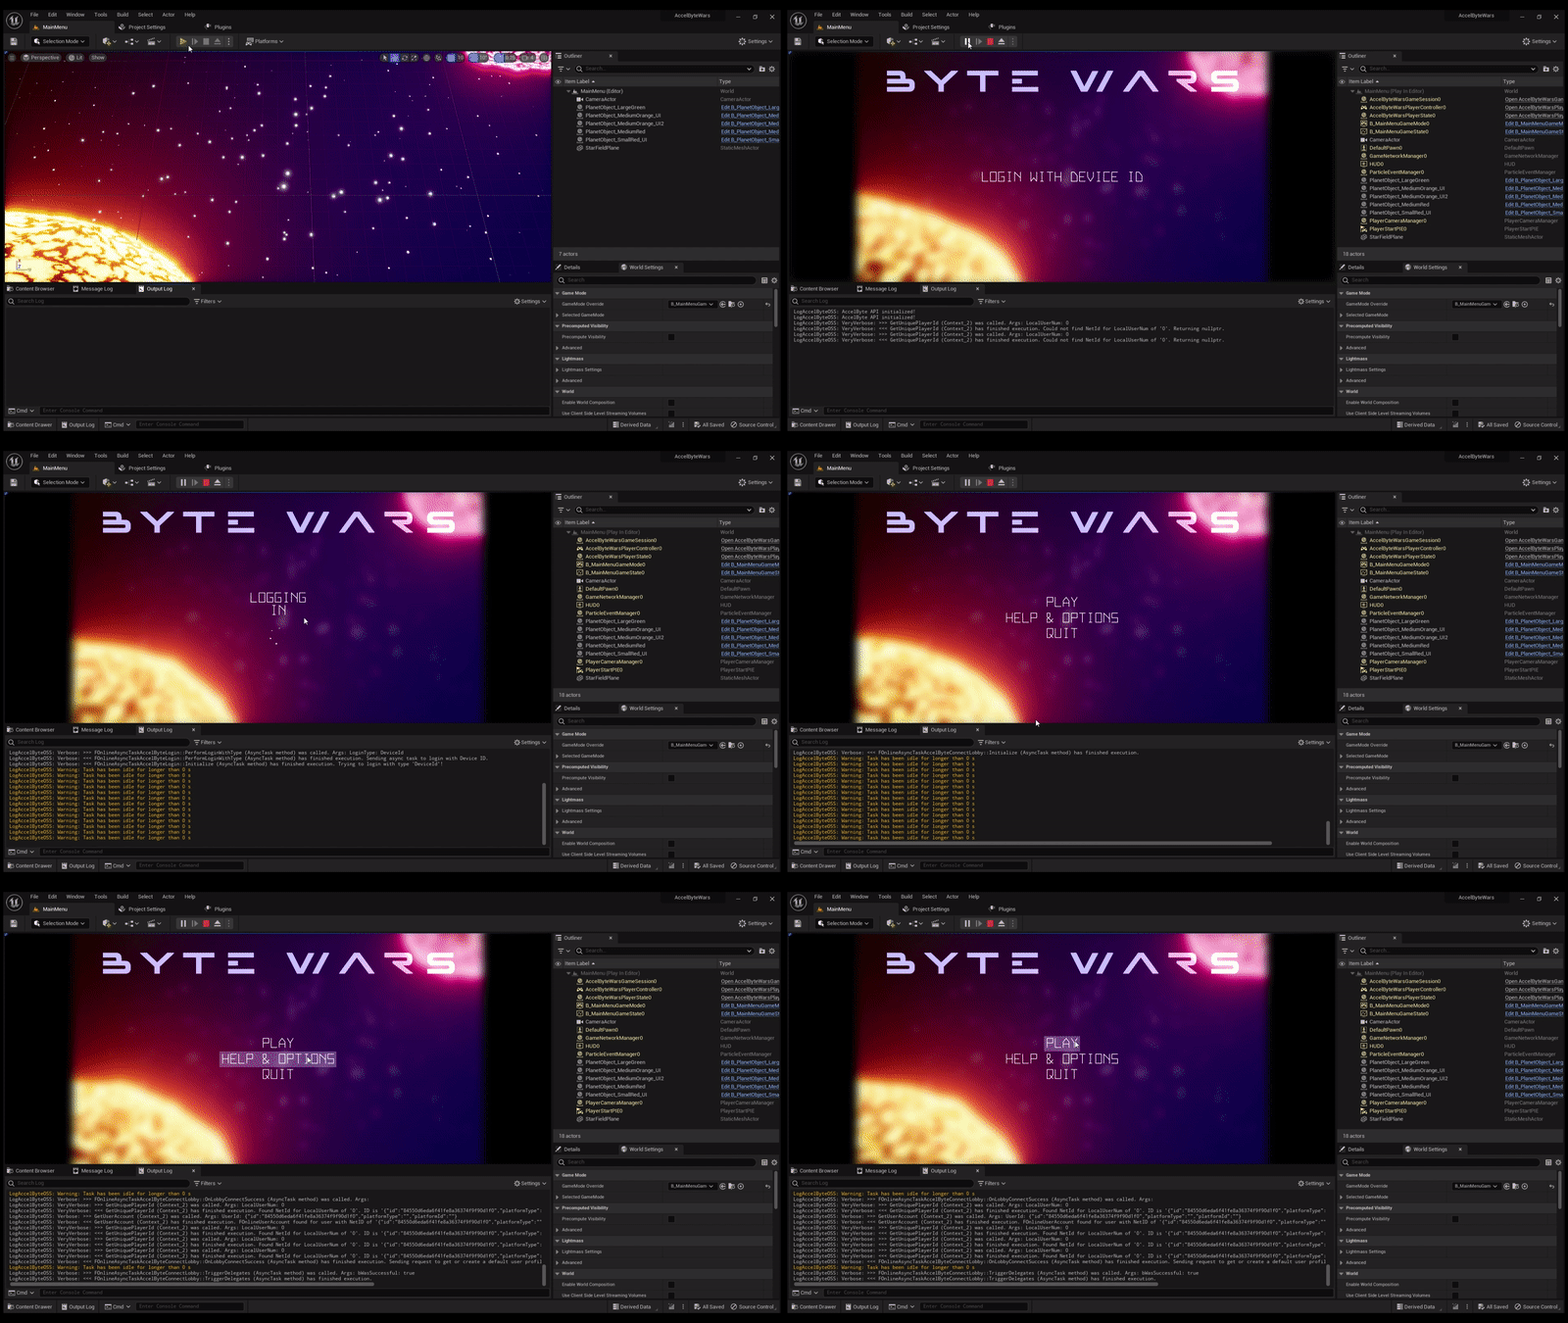
}Build the AccelByteWars project and then run the editor to play the game in PIE mode. You should see the game is running and on button login with device ID clicked, the login response is successful and main menu will be shown.

Congratulations! You have successfully implemented login with Device ID to the login menu widget.